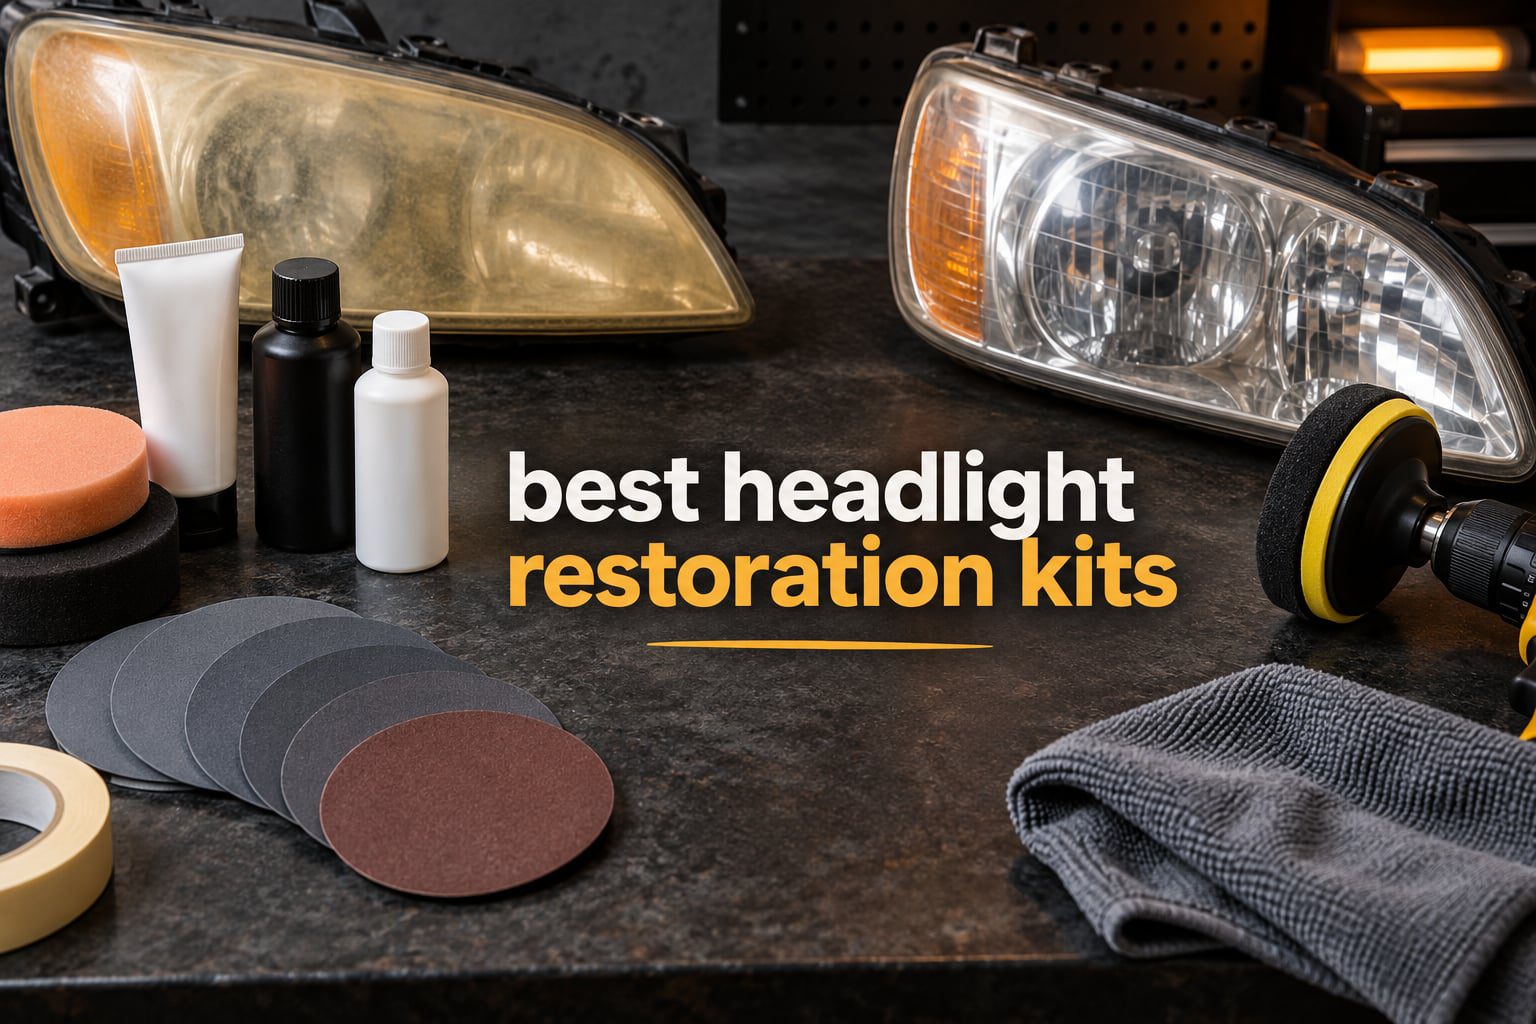
The short answer: the Cerakote Ceramic Headlight Restoration Kit is the best headlight restoration kit most people should buy, because it is a full three-stage system, needs no power tools, and finishes with a chemical-bond ceramic coat instead of a temporary wax. It ranked number one in the Automotive Headlight Restoration Kits category and carries the largest review base of anything we tested.
Yellowed headlights are not a dirty-lens problem. They are a chemical one. A polycarbonate headlamp lens arrives from the factory with a thin clear coat that blocks ultraviolet light, and years of sun, road salt, and engine heat break that coat down into the yellow haze everyone recognises. Headlight restoration kits work by sanding or polishing that dead layer off and replacing it with a fresh UV barrier, which is why a properly restored lens throws noticeably more light down the road at night.
Below we ranked the 10 best headlight restoration kits using the spec sheets, the customer ratings, and the recurring complaints in each product’s reviews. We also pulled in what owners say on forums like r/AskMechanics, because the biggest difference between these kits is not how clear they make a lens on day one. It is whether the lens is still clear a year later. If you enjoy kit-based problem solving in other rooms of the house, we rank the best rotisserie kits the same way.
Table of Contents
- Top 3 Best Headlight Restoration Kits (October 2026)
- All 10 Headlight Restoration Kits Compared in 2026
- 1. Cerakote Ceramic Headlight Restoration Kit – Best Overall and No Drill Needed
- 2. 3M Headlight Lens Restoration System 39008 – Best Value Drill Kit
- 3. Sylvania Headlight Restoration Kit – Best for Heavy Oxidation
- 4. 3M Ultra Headlight Restoration Kit 39195 – Best All-In-One Box
- 5. Meguiar’s Two Step Headlight Restoration Kit – Best No-Sandings Fix
- 6. Mothers NuLens Headlight Renewal Kit – Best for Pitted Lenses
- 7. Rain-X 610153 Headlight Restoration Kit – Best Machine Polishing System
- 8. Clear Lights Tech 3-Wipe Restoration Kit – Best Quick Wipe-On Refresh
- 9. Turtle Wax Headlight Restoration Kit – Best Starter Kit for Beginners
- 10. Chemical Guys Headlight Restoration and Ceramic Kit – Best for Trim and Taillights
- How to Choose a Headlight Restoration Kit That Outlasts the Rest
- Frequently Asked Questions
- Our Final Verdict on Headlight Restoration Kits in 2026
Top 3 Best Headlight Restoration Kits (October 2026)

Cerakote Ceramic Headlight Kit
- 8 oxidation wipes
- sanding kit
- 2 ceramic coating wipes
- no power tools

3M Headlight Lens Restorati…
- Drill pad holder
- 500 grit discs
- Trizact refining disc
- rubbing compound

All 10 Headlight Restoration Kits Compared in 2026
| Product | Specs | Action |
|---|---|---|
| Cerakote Ceramic Headlight Restoration Kit |
|
Check Latest Price |
| 3M Headlight Lens Restoration System 39008 |
|
Check Latest Price |
| Sylvania Headlight Restoration Kit |
|
Check Latest Price |
 3M Ultra Headlight Restoration Kit 39195 3M Ultra Headlight Restoration Kit 39195 |
|
Check Latest Price |
 Meguiar’s Two Step Headlight Restoration Kit Meguiar’s Two Step Headlight Restoration Kit |
|
Check Latest Price |
 Mothers NuLens Headlight Renewal Kit Mothers NuLens Headlight Renewal Kit |
|
Check Latest Price |
 Rain-X 610153 Headlight Restoration Kit Rain-X 610153 Headlight Restoration Kit |
|
Check Latest Price |
 Clear Lights Tech 3-Wipe Restoration Kit Clear Lights Tech 3-Wipe Restoration Kit |
|
Check Latest Price |
 Turtle Wax Headlight Restoration Kit Turtle Wax Headlight Restoration Kit |
|
Check Latest Price |
 Chemical Guys Headlight Restoration Ceramic Kit Chemical Guys Headlight Restoration Ceramic Kit |
|
Check Latest Price |
1. Cerakote Ceramic Headlight Restoration Kit – Best Overall and No Drill Needed
CERAKOTE® Ceramic Headlight Restoration Kit, 10 Wipe Kit
10-wipe system
8 oxidation wipes, sanding kit, 2 ceramic wipes
No power tools
About 30 minutes
Pros
- No power tools and roughly 30 minutes of work
- Ceramic coating chemically bonds for long UV protection
- Clears badly yellowed lenses in one pass
- Excellent manufacturer support
Cons
- Slight yellow tint can remain on some lenses
- Sanding step is slow on intricate lens shapes
- Instructions reference the wrong pad colours
The Cerakote kit is the one I keep recommending to friends. It is a 10-wipe box containing eight Step 1 oxidation removing wipes, a Step 2 sanding kit, and two Step 3 ceramic coating wipes, and the whole job is designed around a household microfibre towel rather than a drill.
What sets it apart from the cheap kits is the third step. Most budget systems finish with a wax or solvent-based sealant that softens and streaks after a few months of car washes. Cerakote uses a true ceramic coating that chemically bonds to the lens, and 80 percent of its ratings are five stars across 74k+ reviews.
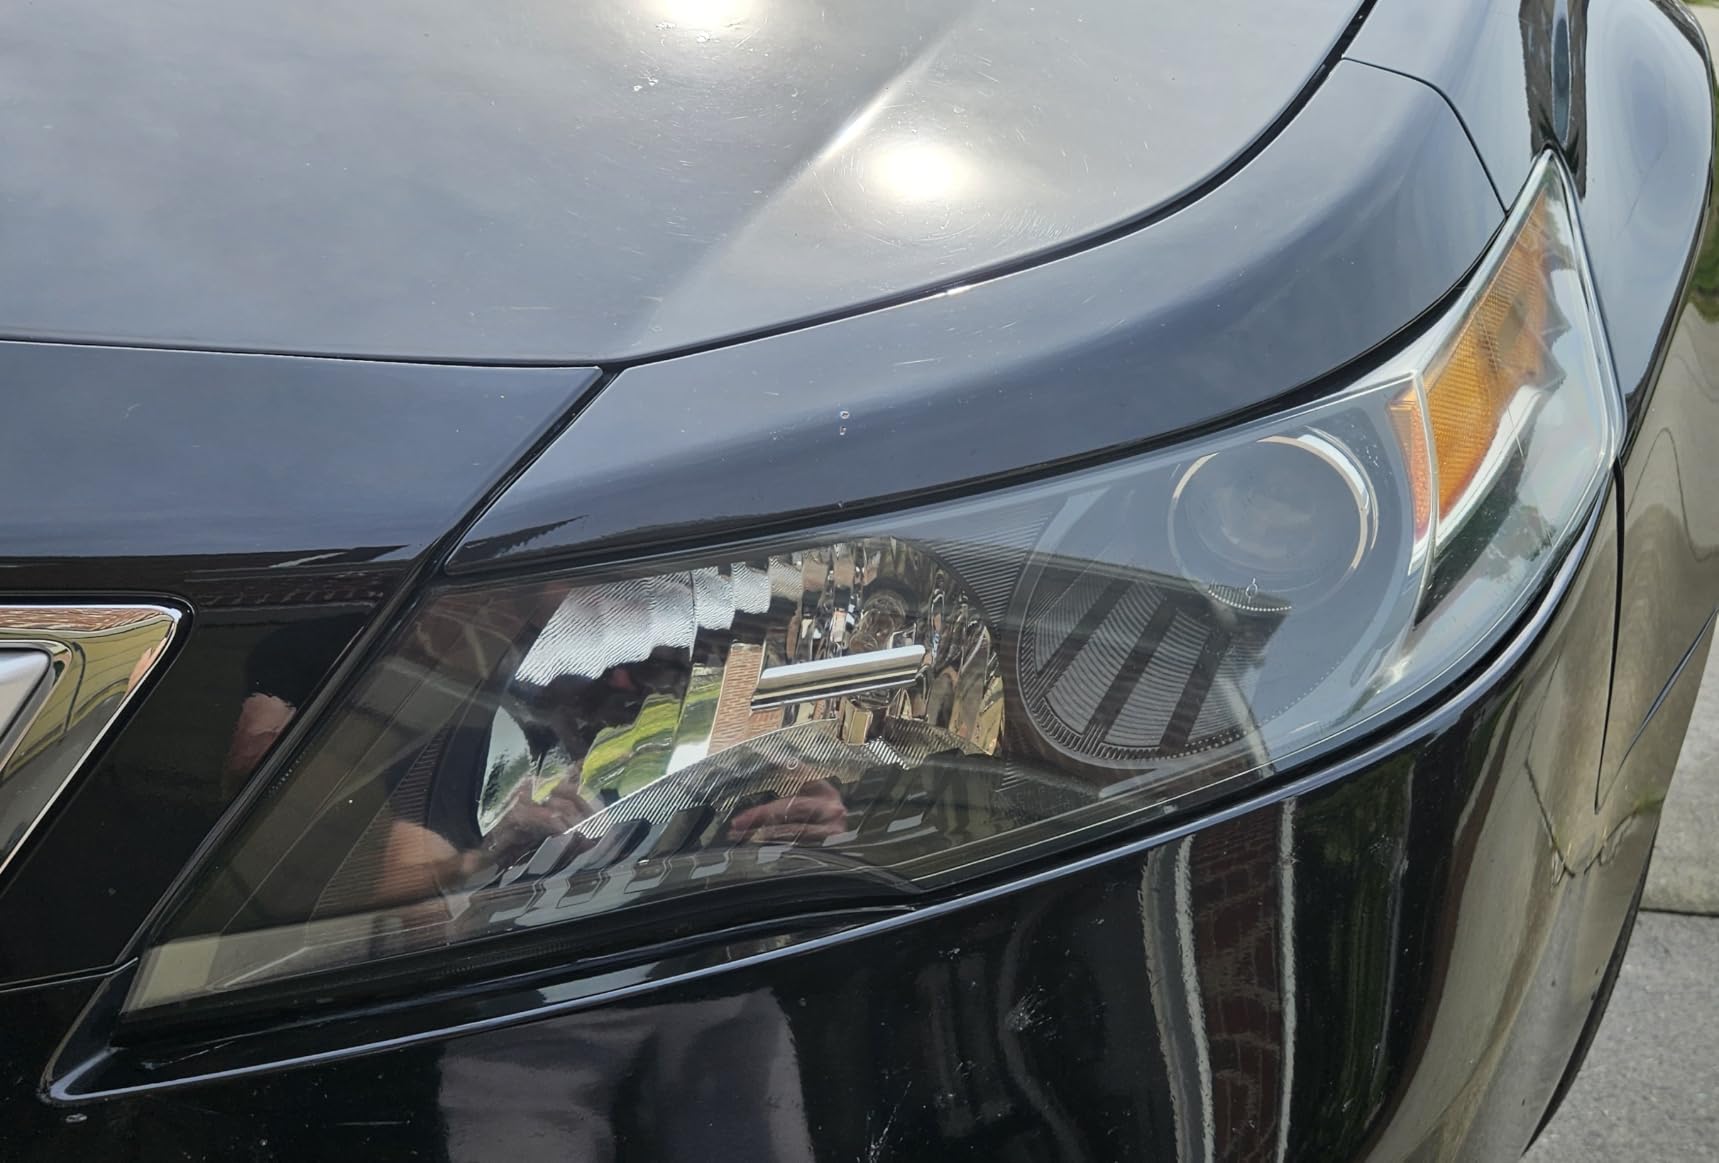
The instruction sheet calls the whole process a 30 minute job, and for a lens with moderate haze that is about right. The sanding pad is where the time goes, particularly on a lens with a complex curved shape where you have to work section by section to keep pressure even.
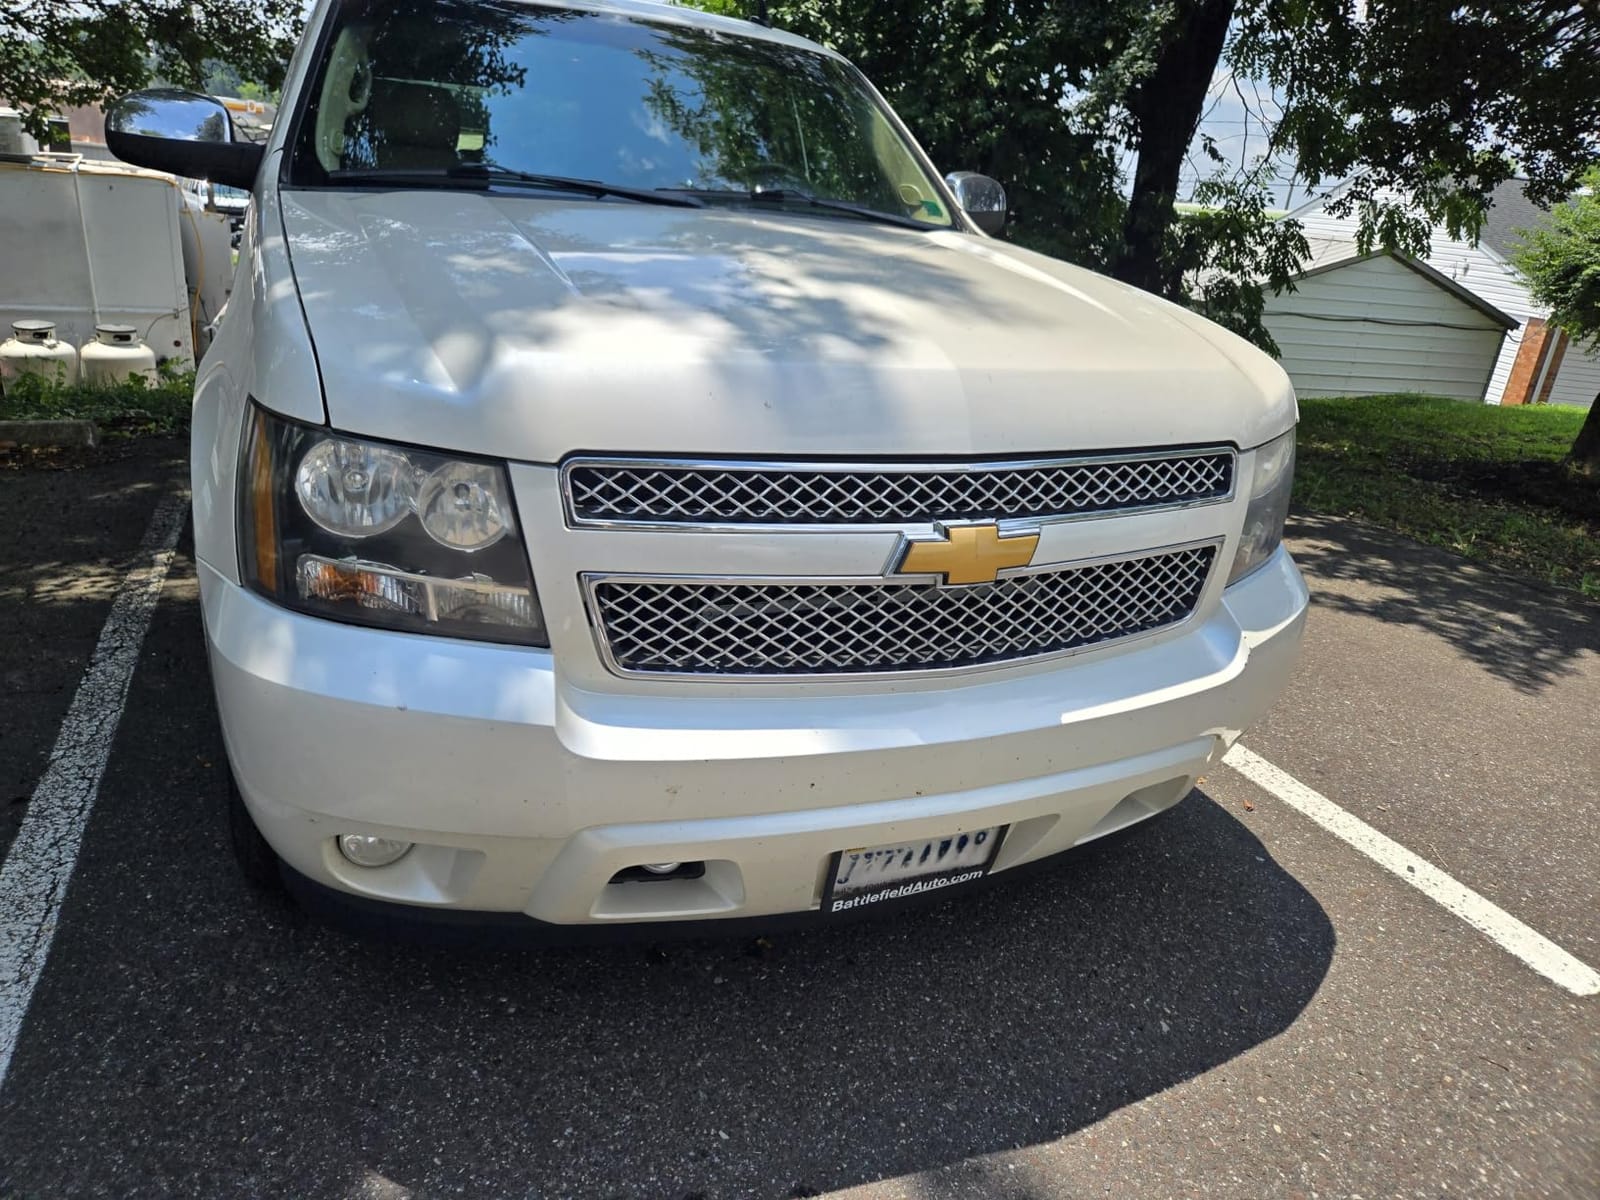
Owners on r/AskMechanics and r/cars recommend it more often than any other kit we looked at, and the recurring comment is that it takes about 90 minutes on a neglected car rather than the advertised half hour. Haze returning at the six-month mark, the usual complaint with sealant kits, is rarely raised against it.
Why it suits most drivers best
There is no drill to buy, borrow, or learn to use, which removes the single biggest objection people raise about restoration. It also has the broadest application in the box, because the manufacturer lists headlights, fog lights, brake lights, and third brake lights as intended uses.
If your lenses are yellowed rather than deeply pitted, this is the lowest-risk way to get a real ceramic coating onto a lens. If they are pitted or scratched, read the pitted-lens section below first.
Where it falls short
A small number of buyers report a faint yellow cast that survives the full three steps, which usually points to oxidation deeper in the plastic than a wipe system can reach. The sanding step is also the most labour-intensive stage on lenses with lots of ribs and internal facets.
There is a typo in the printed instructions that references the wrong sanding pad colours, so follow the step order rather than the colour names. The included gloves also run small, so have your own pair to hand.
2. 3M Headlight Lens Restoration System 39008 – Best Value Drill Kit
3M Headlight Lens Restoration System, 39008, 1 Kit
Drill-activated system
500 grit discs, Trizact refining disc, rubbing compound
3.25 inch pad holder
Pros
- Drill sanding strips heavy yellowing fast
- Everything needed is in the box
- Clear printed instructions
- Long-lasting clarity after one treatment
Cons
- No UV top coat included so haze can return within a year
- Needs a household drill and 30-40 minutes per headlight
- Masking tape is essential around paint
- Deep pitting may not fully clear
This is the classic drill-powered restoration system, and it is the fastest way we found to move a genuinely bad lens. The box holds a 3.25 inch disc pad holder, six 500 grit Gold sanding discs, four 800 grit White finishing discs, one Trizact refining disc, and a 4.64 ounce bottle of rubbing compound.
The 500 grit discs do the heavy cutting and the Trizact refining disc handles the final optical clarity, which is what separates a properly corrected lens from one that just looks shinier. Ratings sit at 4.5 across more than 33k reviews, and 70 percent of those are five stars.
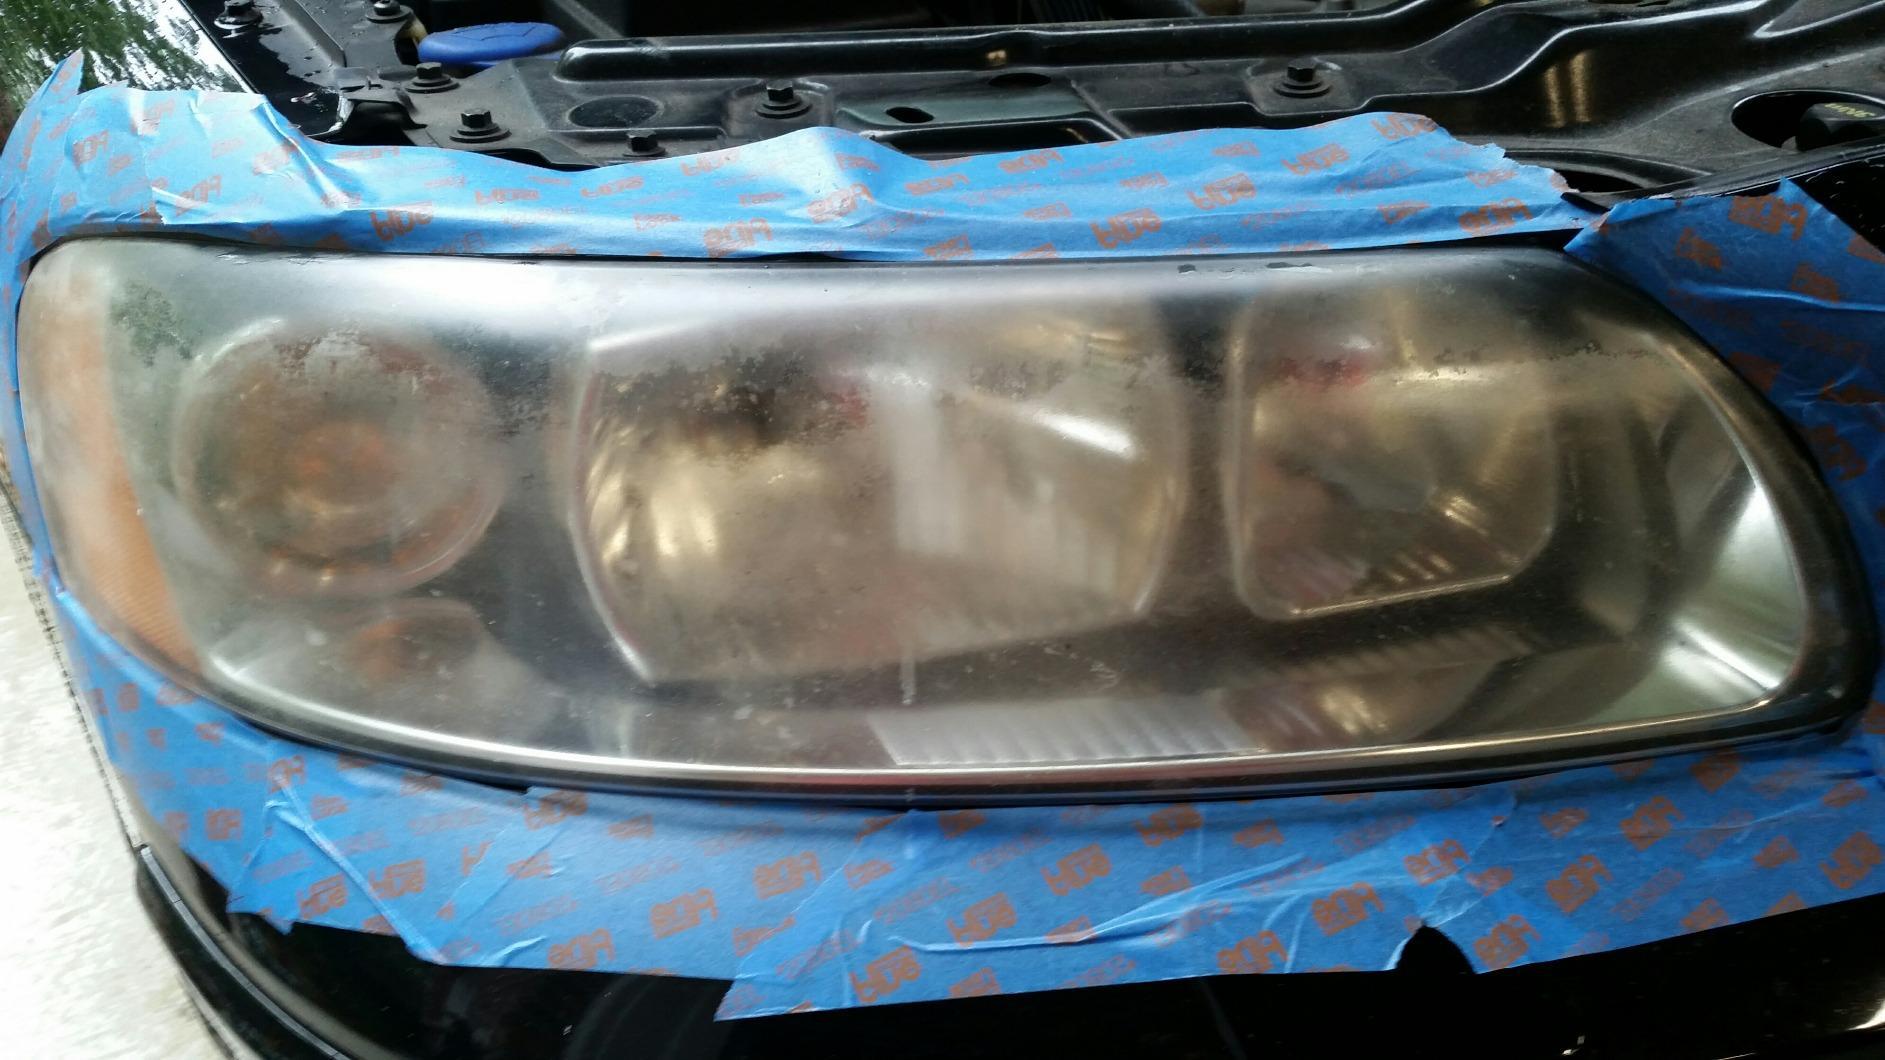
The honest problem with this kit is that it cleans without protecting. There is no UV top coat in the box, so whatever you finish with is bare polycarbonate, and users consistently report yellowing returning inside a year. Pair it with a separate UV protectant and the results hold far longer.
Forum regulars on the 3M family of kits note the same thing. The kit is good for roughly three rounds of use if you seal the sanding packages back up between jobs, because the discs pick up moisture and lose their cut.
Why it suits most drivers best
This is the kit to buy if your lenses are worse than mildly hazy and you own a drill. Thirty minutes of powered sanding will take a lens that hand sanding would fight for an hour, and the Trizact disc leaves optical clarity that wipes cannot match.
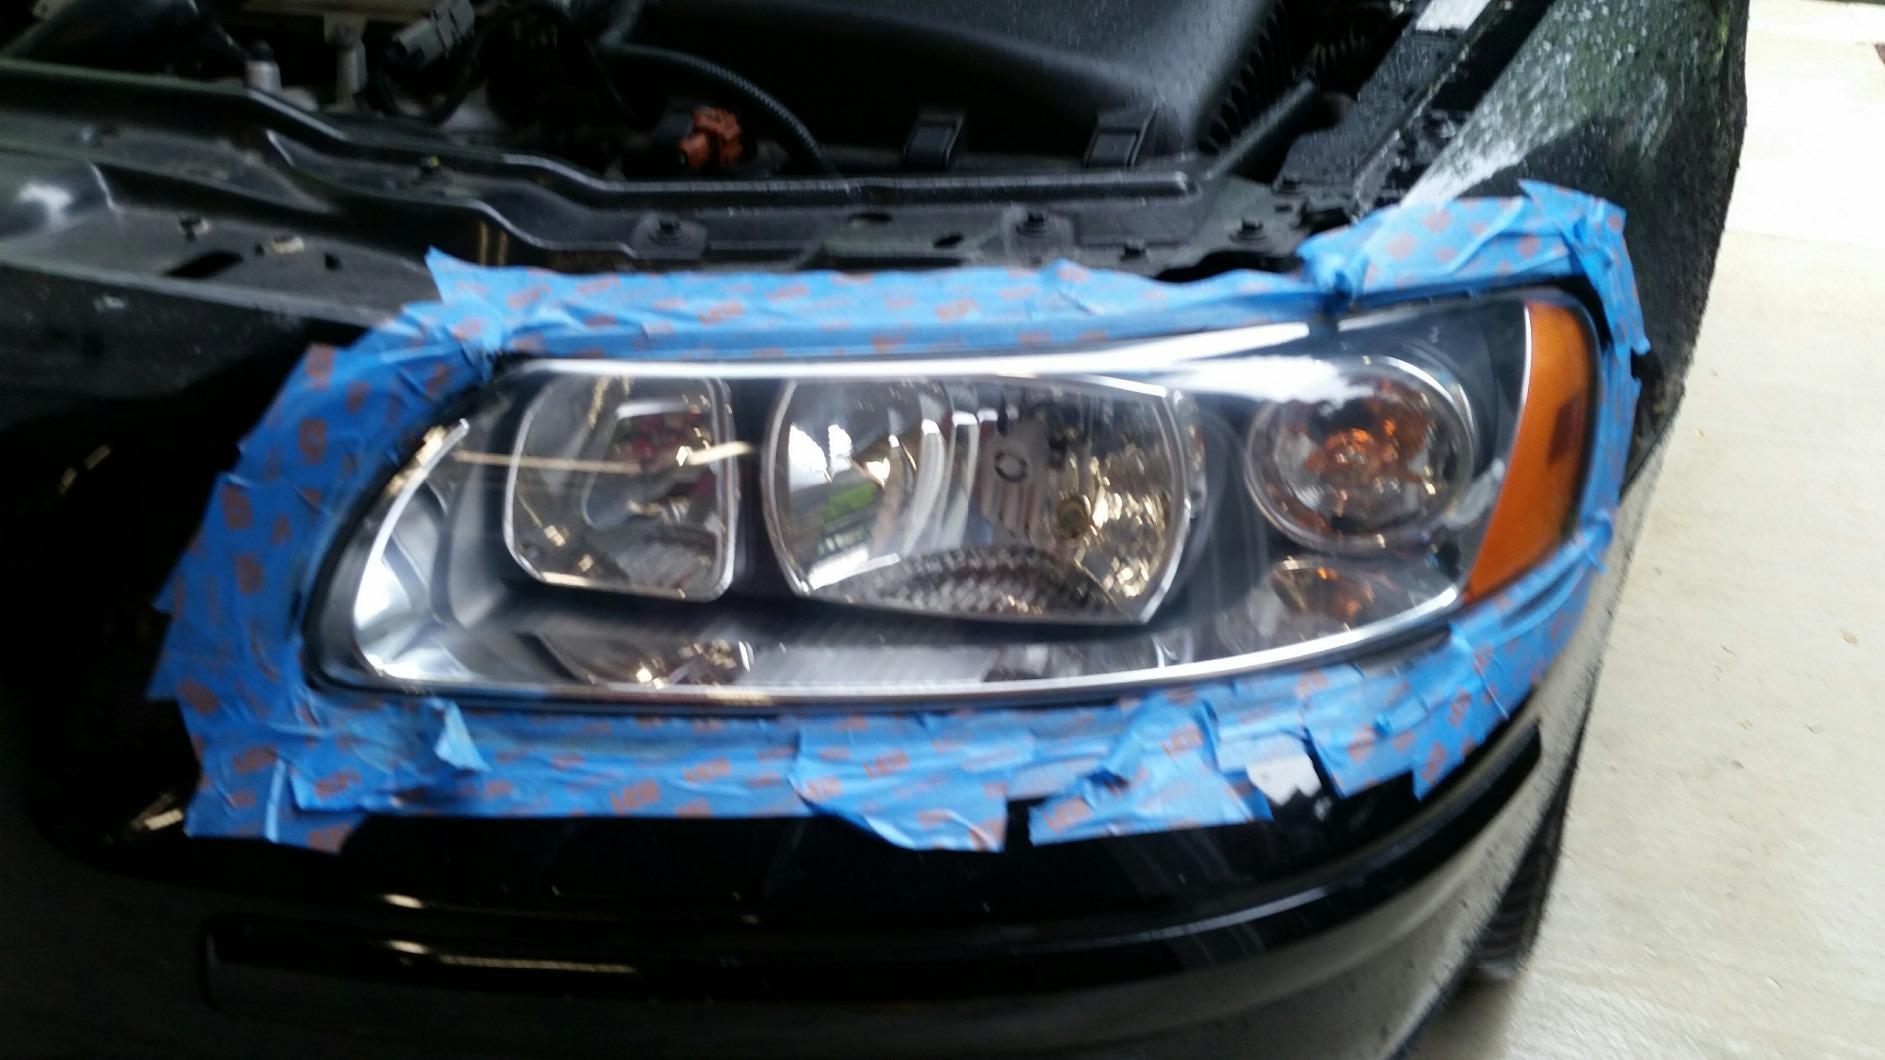
Tape off the bumper and hood paint before you start. Several buyers mention scuffing around the lens edge because the compound migrates, and masking tape costs nothing to prevent it.
Where it falls short
The missing UV protectant is the deal-breaker for anyone who wants a one-time fix rather than an annual chore. Deep pitting and stone-chip scars in the plastic will not clear, no matter how long you spend on the discs.
It is also a drill-only design, so if you have no power tools this is the wrong box. Budget roughly 30 to 40 minutes per headlight rather than per car.
3. Sylvania Headlight Restoration Kit – Best for Heavy Oxidation
SYLVANIA Headlight Restoration Kit, Restores to Like-New Condition
All-in-one system
Surface activator, sandpaper, compound, UV block coat
Covers two lenses
No tools
Pros
- UV block clear coat included in the box
- No power tools needed
- Enough contents for two lenses
- Restores night visibility on badly yellowed lamps
Cons
- Hand sanding is required on every job
- Pitted lenses take real effort to clear
The Sylvania kit is the one forum users reach for when a car has been outside for a decade and the lenses look amber. The manufacturer is OSRAM, a lighting company rather than a detailing brand, and the difference shows in what is inside: a surface activator, premium sandpaper, a clarifying compound, and an exclusive UV block clear coat.
That clear coat is the reason this kit earns its place at number three. Hand-sanding systems frequently arrive with no protection at all, and Sylvania treats the UV barrier as a core part of the process rather than an optional extra. Ratings are 4.6 across 25k+ reviews.
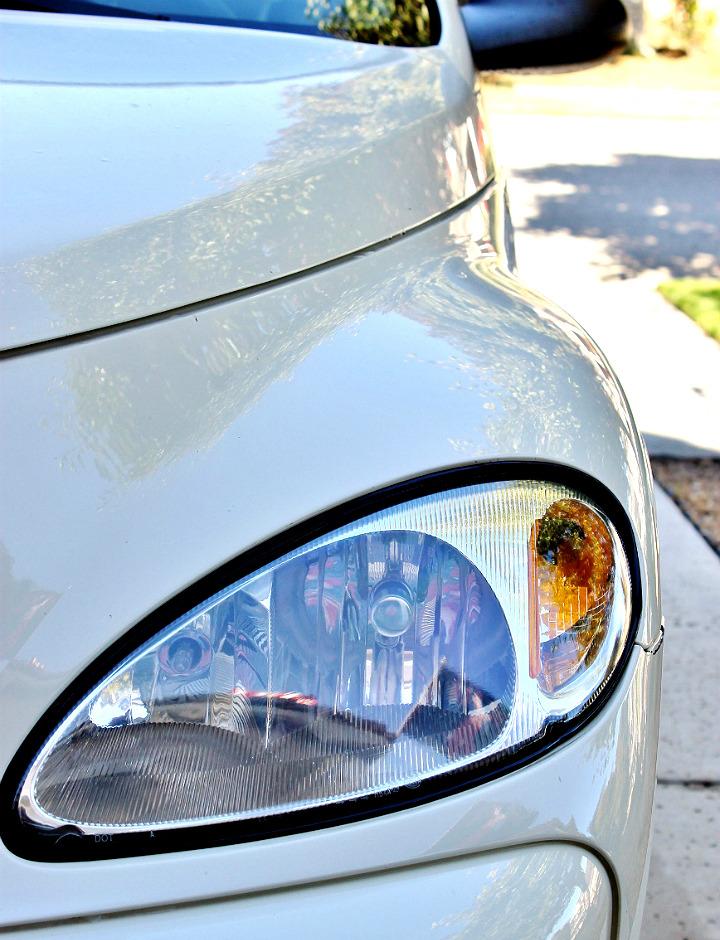
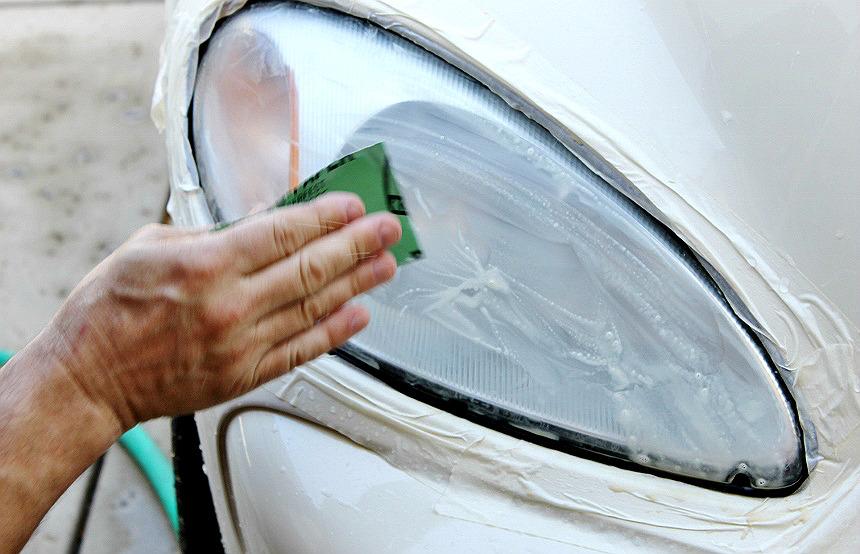
It is a complete kit for two headlight lenses, which works out to be the most efficient multi-lens system here on a per-lens basis. There is no drill and no rotary tool, so the whole thing is done by hand with the supplied sandpaper progression.
That hand work is also the catch. On a heavily pitted lens you will spend most of an hour on each one, and reviewers say the sandpaper is the part that runs out first on the worst jobs. Keep the sheets in a sealed bag between passes so they stay flexible.
Why it suits most drivers best
Owners on car forums repeatedly single out this kit for heavy oxidation because it includes a real UV-blocking polymer coat and a warranty rather than a temporary wax. If your headlights have gone properly yellow, this is the most reliable hand option.
It also covers two lenses in one box, which matters if you are doing a family fleet or your own car plus a partner’s. No power tools means no risk of the compound spinning off the pad and into your paint.
Where it falls short
Deep pitting is where any hand-sanding kit runs out of road. Expect to do two or three passes on lenses that have never been restored, and expect the second lens to be less forgiving than the first once your hand is tired.
It is a 0.96 ounce kit in an 8 by 2 by 6 inch box, so there is no bulk here. You will buy another kit for a second vehicle rather than stretching this one.
4. 3M Ultra Headlight Restoration Kit 39195 – Best All-In-One Box
3M Ultra Headlight Restoration Kit, Contains Masking Tape, Light Sanding Discs, Wax Protectant and More, Use on Plastic Lenses Headlights, Taillights and More, Easy Heavy-Duty Restoration (39195)
Complete package
Masking tape, sanding discs, quick clear coat
Works with or without a drill
Pros
- Masking tape and clear coat are both in the same box
- Heavy yellowing comes off plastic lenses effectively
- Usable by hand or with a drill
- Protects more than the 39008 kit
Cons
- Sanding and polishing take 30-40 minutes per headlight
The 39195 is the version of the 3M system we would actually recommend, because it fixes the two complaints that dog the 39008. It includes masking tape in the box and it includes two applications of 3M Quick Headlight Clear Coat, so you are not finishing with a bare lens.
The abrasive ladder is sensible too, with six 500 grit Gold discs, four 800 grit White finishing discs, and a 3000 grit Trizact refining disc for the final clarity pass. It ranks number two in the headlight restoration category with a 4.6 rating from more than 16k reviews.
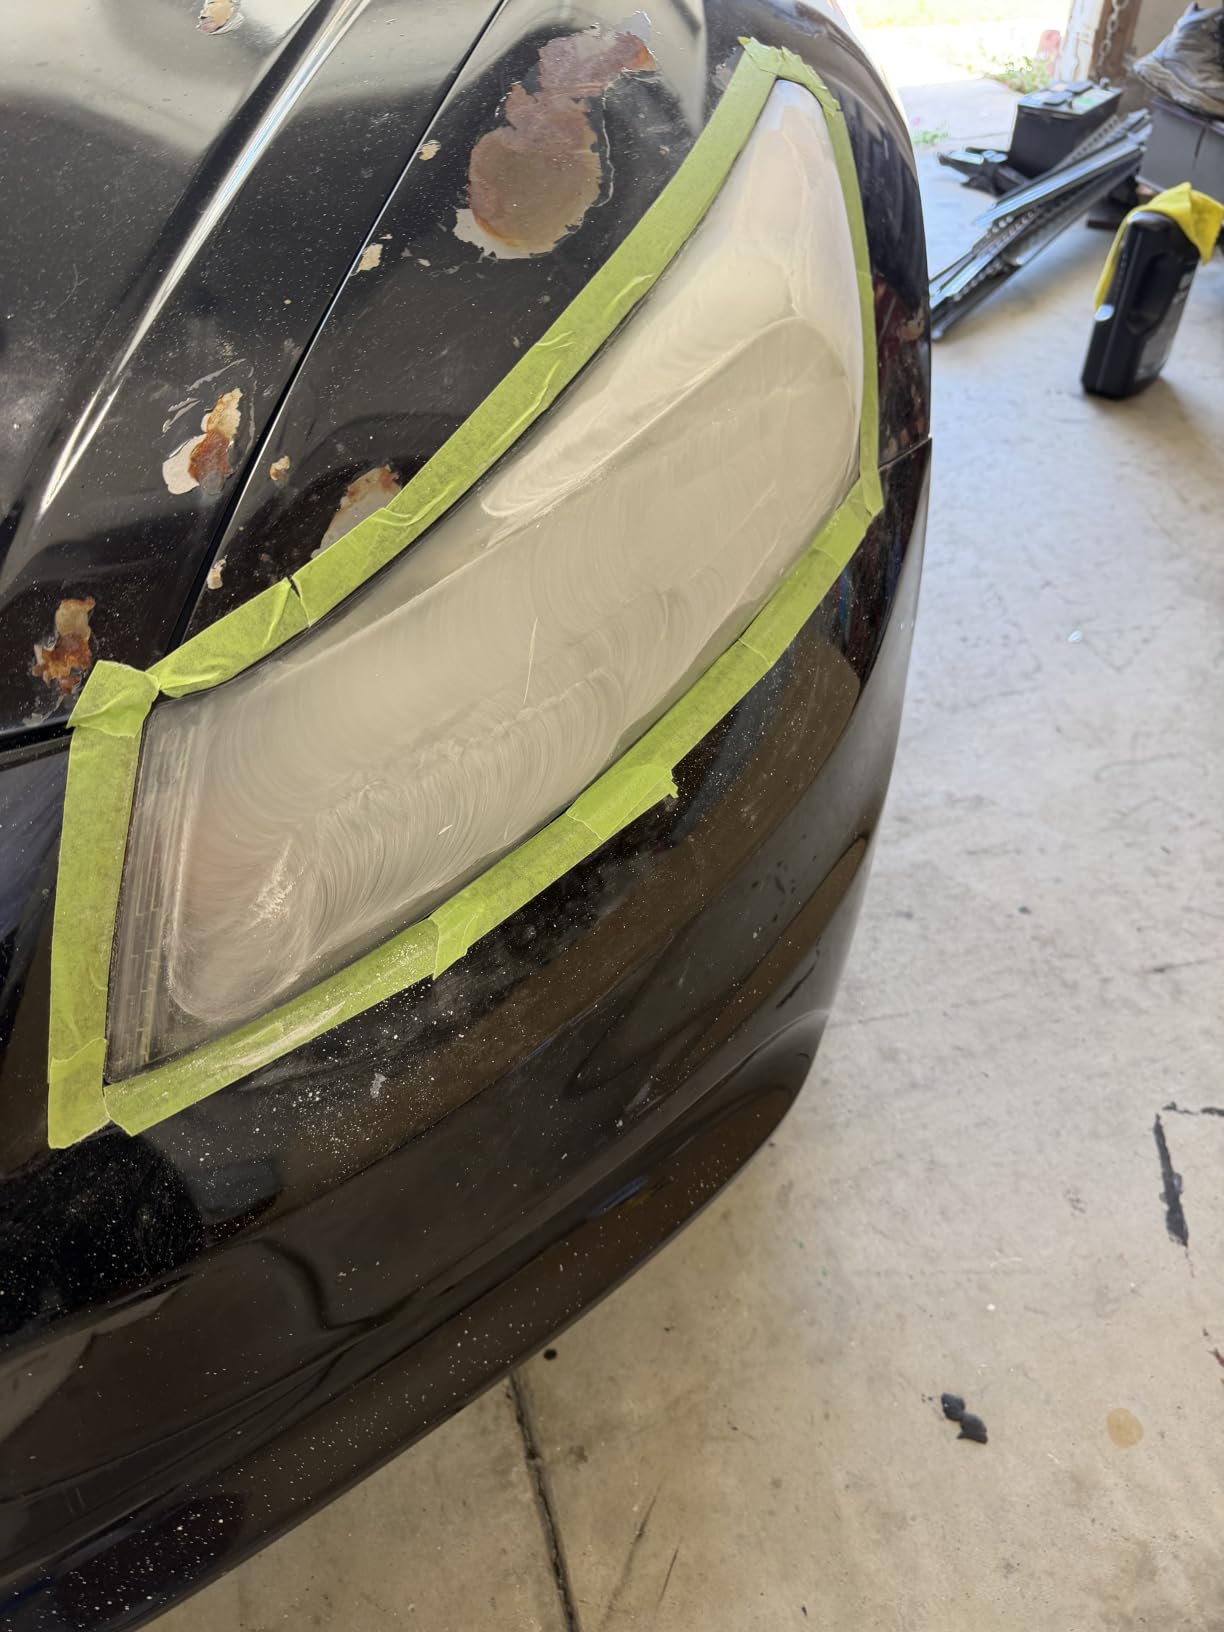
Because the discs mount on the same 3.25 inch pad holder, you can run the whole thing by hand if you have no drill. Forum owners generally treat this as the better value of the two 3M kits for that reason, and the bundled tape removes the most common DIY mistake.
The listed uses extend past headlights to taillights, fog lights, and directional lights, which makes it a useful box if your rear lenses have gone cloudy as well.
Why it suits most drivers best
The clear coat is the deciding factor. A wax protectant is gone in months, but the bundled quick clear coat at least buys you a season of protection before you think about it again, and reviewers report far fewer repeat jobs than with clean-only systems.
It is also the kit to pick if you want the drill speed of the 39008 without hunting down a separate protectant or a roll of tape first.
Where it falls short
The time commitment is real, at roughly 30 to 40 minutes per headlight, and users describe the process as taking genuine effort rather than being a quick wipe job. Hand sanding on a large lens is slower still.
The clear coat is a light-duty protection layer, so if you park outside year round you will still be redoing this in a couple of seasons. It simply delays the repeat compared with kits that arrive with no protectant at all.
5. Meguiar’s Two Step Headlight Restoration Kit – Best No-Sandings Fix
Meguiar’s Two Step Car Headlight Restoration Kit
Cream and spray two-step system
Abrasive pads and coating
No drill or sanding
Up to 12 months of protection
Pros
- No drill and no sanding at all
- Simple two-step beginner process
- Coating slows re-yellowing
- Enough supplies for two or three vehicles
Cons
- Strips factory UV protection from clear lenses
- Residual haze on heavily oxidized lamps
- Hand buffing is slow on large headlights
- Spray can overspray onto paint
The Meguiar’s G2970 is the odd one out here, because it does not sand. You apply the cleaner solution to the supplied abrasive pads and work it in by hand, then apply the headlight coating over the top. For a lens that is only mildly dull it is by far the least effort in this roundup.
The coating is the weak point, and the manufacturer is honest about it. The listing claims protection against yellowing and re-oxidation for up to 12 months, which is a real improvement over nothing but is well short of what a ceramic coating delivers.
At 4.4 from 11k+ reviews, it sits in the middle of the group. A few users are thrilled on older family vehicles, but there is a well-known thread on r/AutoDetailing about a first-time restoration that left an unwanted result, which is a fair warning to test a small section first.
That caution is sensible because the abrasive pads will happily remove the factory UV coating from a lens that is already clear. Once it is gone, you are relying entirely on the aftermarket coating to stop the yellowing clock.
Why it suits most drivers best
If you want to keep a car looking clean rather than rescue a neglected one, this is enough. It suits maintenance work on a lens that gets dusty and hazy each winter, and the box contains enough supplies for two or three vehicles.
There is no drill, no sandpaper sequence, and no masking to think about, so you can do it in a driveway in about twenty minutes per car with a microfibre towel.
Where it falls short
Heavily oxidized lamps stay partly hazy no matter how many times you apply it, and the hand buffing on a large headlight takes considerably longer than the two-step description suggests.
The spray coating can overspray onto surrounding paint and leave light scratches visible under bright light, and some users describe the finish as filmy when viewed from an angle. If your lenses are seriously yellow, use a sanding kit instead.
6. Mothers NuLens Headlight Renewal Kit – Best for Pitted Lenses
Mothers NuLens Headlight Renewal Kit (07251)
Polish and protect system
PowerPlastic 4Lights polish, foam tool, discs
9.4 by 4.1 by 3.4 inches
13.6 ounces
Pros
- Polishing polymers leave an oxidation-inhibiting layer
- Handles severely yellowed and pitted lenses
- Discs cover about four headlights
- Like-new results on older vehicles
Cons
- Box instructions are poor and steps get missed
- Rotary tool spatters polish onto paint
- Few 1500 and 3000 grit discs supplied
- No separate lens protector included
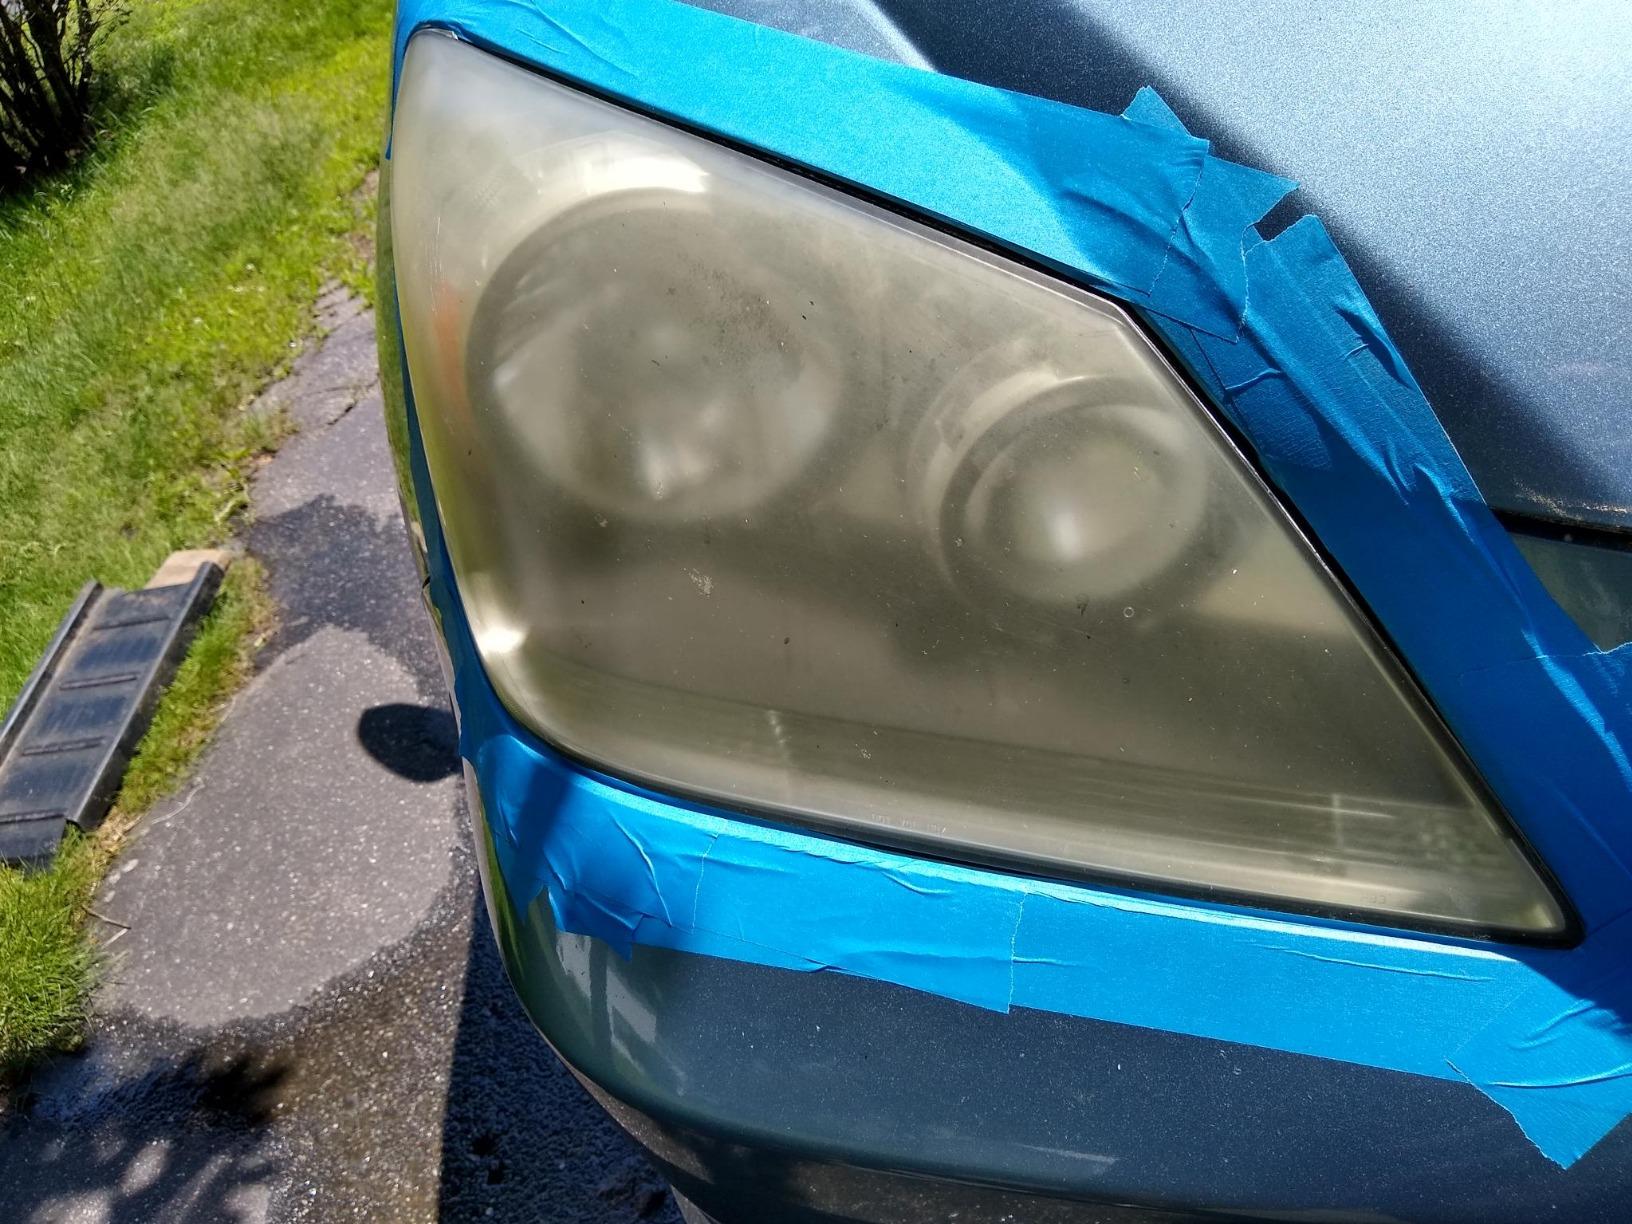
Mothers attacks oxidation chemically rather than purely mechanically. The PowerPlastic 4Lights polish is formulated to cut through the oxidized surface layer and leave behind a durable, oxidation-inhibiting polymer layer, which is why it performs on lenses that have deep pitting as well as surface haze.
It is also the only kit here that includes a foam polishing tool alongside the sanding discs, so you are not relying on a separate backing plate. Users report like-new results on vehicles more than a decade old.
At 4.2 from 10k+ reviews, this is one of the more polarised kits, and the reason is usually the instruction sheet. Reviewers complain it is hard to follow, and people who run the steps out of sequence end up with a worse result than they paid for.
The other recurring gripe is mess. The rotary attachment is difficult to control and throws polish onto body paint, and the kit supplies few 1500 and 3000 grit discs, so a badly pitted pair of headlights can leave you short mid-job.
Why it suits most drivers best
It is the pick when the lens is worse than hazy. Pitting is the one defect that wipes and light polishes cannot address, and the PowerPlastic compound is built to cut rather than just shine.
The protective polymers are the other argument for it, since the polish leaves a barrier behind instead of leaving the lens bare. That matters most on cars kept outside through a full summer.
Where it falls short
It takes longer than competing kits, and that is the honest summary of nearly every review. Poor printed instructions mean you should find a walkthrough before you start, because skipping the resin step or the final polish is what causes the swirl marks people report.
There is no dedicated lens protector in the box, so expect to re-polish later rather than sealing the job once and forgetting it.
7. Rain-X 610153 Headlight Restoration Kit – Best Machine Polishing System
Rain-X 610153 Headlight Restoration Kit – Car Light Lens Cleaner/Restorer with Sanding & Polishing Drill Attachments & Sealant Wipe, Removes Scratches & Oxidation- All in 1 Long Lasting Formula
Drill system
Sanding and polishing attachments plus a sealant wipe
4.2 ounces
9.34 inch long kit
Pros
- Clears heavily yellowed lenses that were hard to see through
- Attachments work at normal drill speeds
- Sealant wipe is easy to apply
- 20 minutes to two hours per pair depending on condition
Cons
- Compound spatters onto paint and glass
- Sanding discs leave coloured residue on the plastic
- Sealant needs about 8 hours to cure
- Fine haze can still need hand sanding
The Rain-X kit is built around a single idea, which is that hand sanding gives inconsistent results and a machine gives repeatable ones. The box includes both sanding and polishing drill attachments plus a protective sealant wipe, and it is aimed at owners who already own a drill.
It earned 4.3 from 1035 reviews, and the enthusiasm in those reviews is real. People use it on lenses that were so yellowed they could not see through, and they describe the frosted intermediate stage as normal rather than as a mistake.
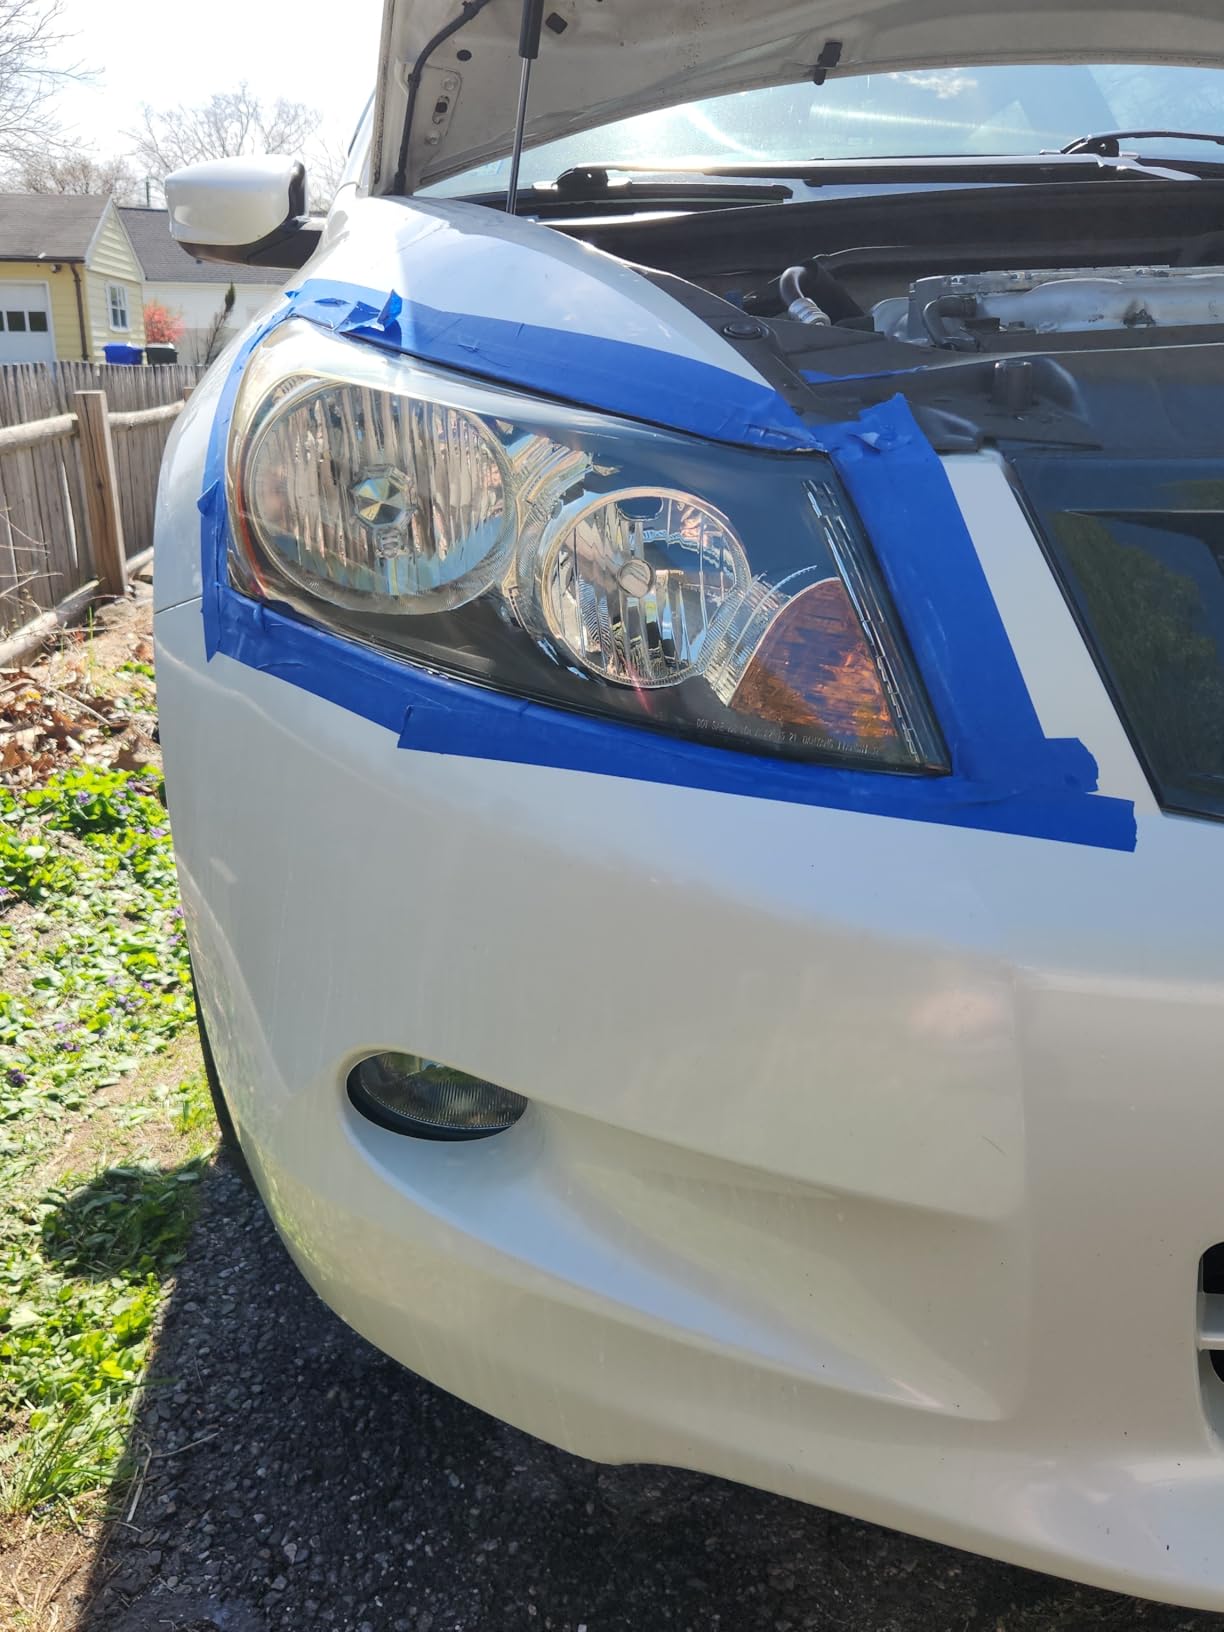
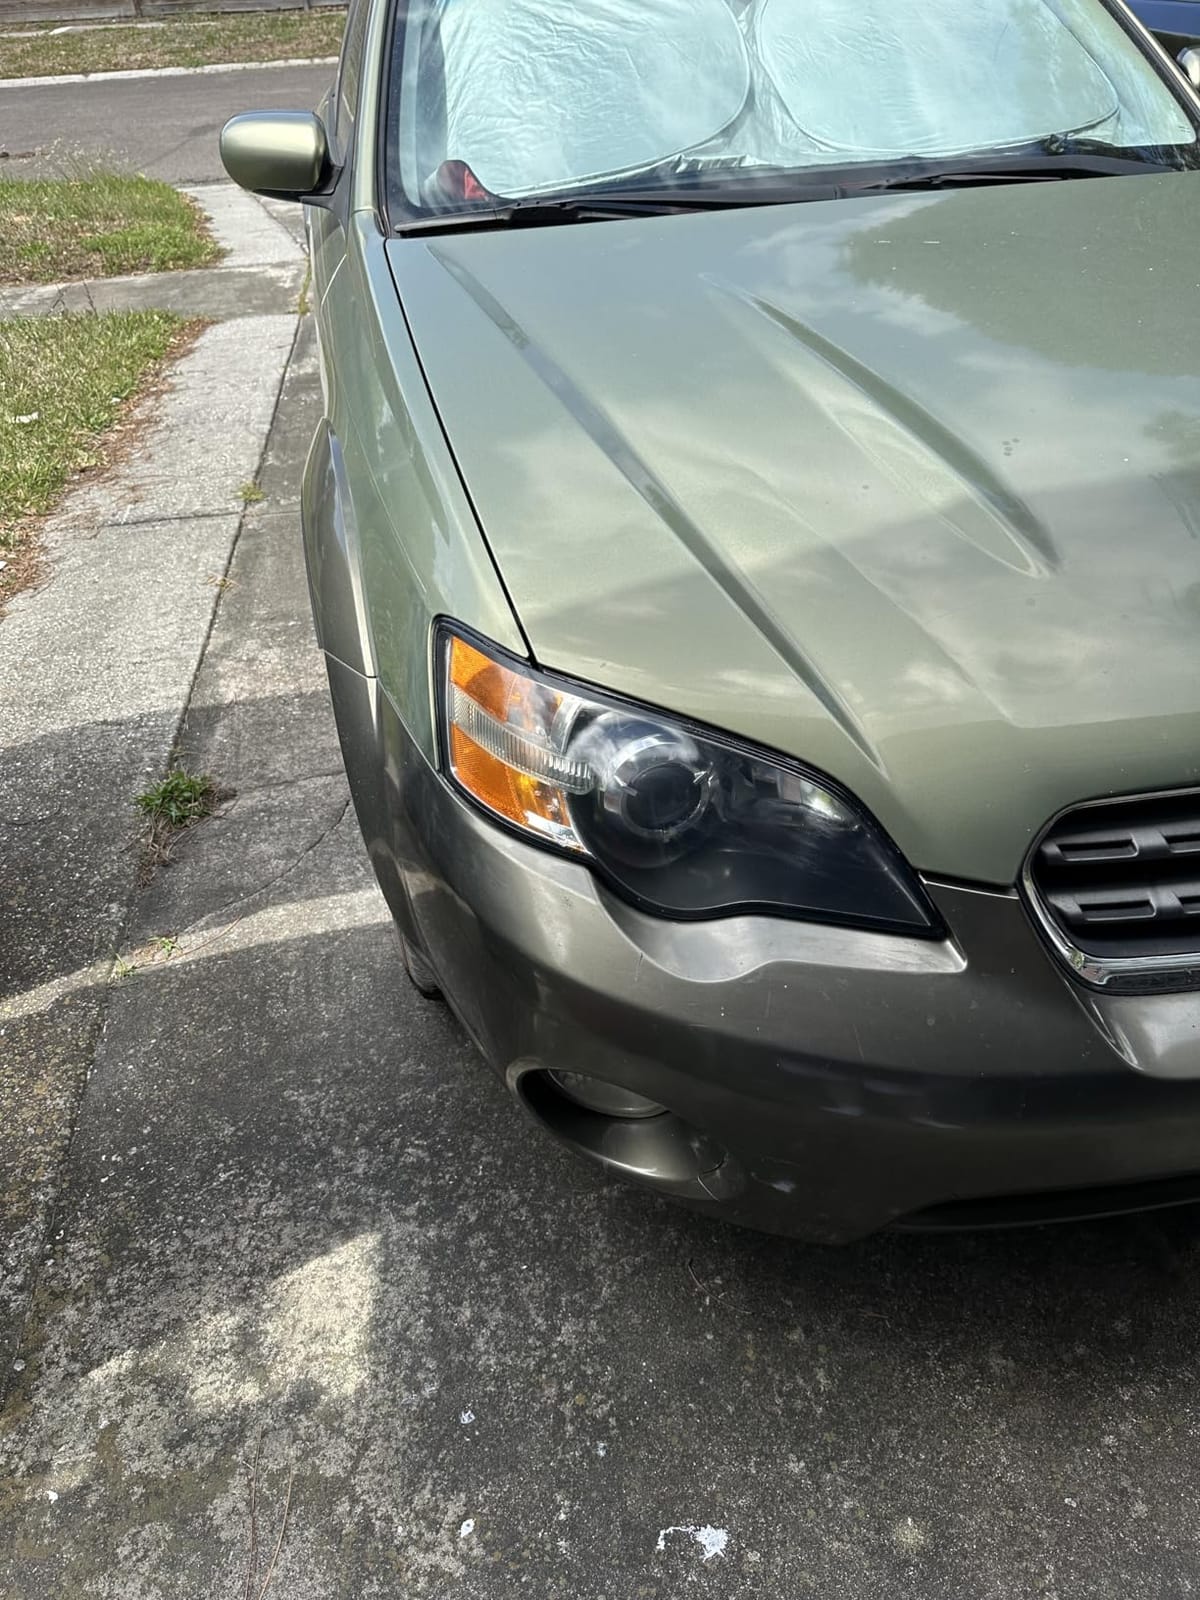
Mess is the recurring theme in the reviews. Compound flies off the spinning pad onto body paint and glass and is difficult to remove, and the sanding discs leave brown and blue coloured residue on the lens plastic that you have to wash off before the final polish.
Cure time catches people out too. The sealant needs roughly eight hours before it is handled, and it should sit untouched for the first hour. Paint the car the morning after, not straight away.
Why it suits most drivers best
It suits a car that has been neglected for years. Of the drill kits here, reviewers most often credit this one with rescuing lenses that had genuinely lost their see-through quality, and the attachments are rated to run at normal drill speeds rather than demanding high RPM.
It is also efficient on time for someone who has done it before, with full jobs reported between twenty minutes and two hours per pair depending on how bad the lens is.
Where it falls short
You will still mask everything around the lens, and even then compound migrates. Some lenses need a pass of hand wet sanding to clear the fine spiderweb haze the machine leaves behind.
The included polish can run out on a large lens, so a stronger finishing compound is a sensible addition. And the small review base means long-term durability claims here are less proven than on the older kits.
8. Clear Lights Tech 3-Wipe Restoration Kit – Best Quick Wipe-On Refresh
Clear Lights Tech, Headlight Restoration Kit – Headlight Cleaner 3-Wipe System, Helps Remove Yellowing & Oxidation, Helps Improve Headlight Visibility, Long-Lasting UV Protection.
Three-wipe system
Two cleaning wipes and one UV protective wipe
1.45 ounces
No tools required
Pros
- Wipe-on process needs no tools at all
- Two cleaning wipes plus one protective wipe
- Convenient alternative to a shop visit
- Lightweight and easy to store
Cons
- Less effective on deep pitting than sanding kits
- Protective coating needs regular reapplication
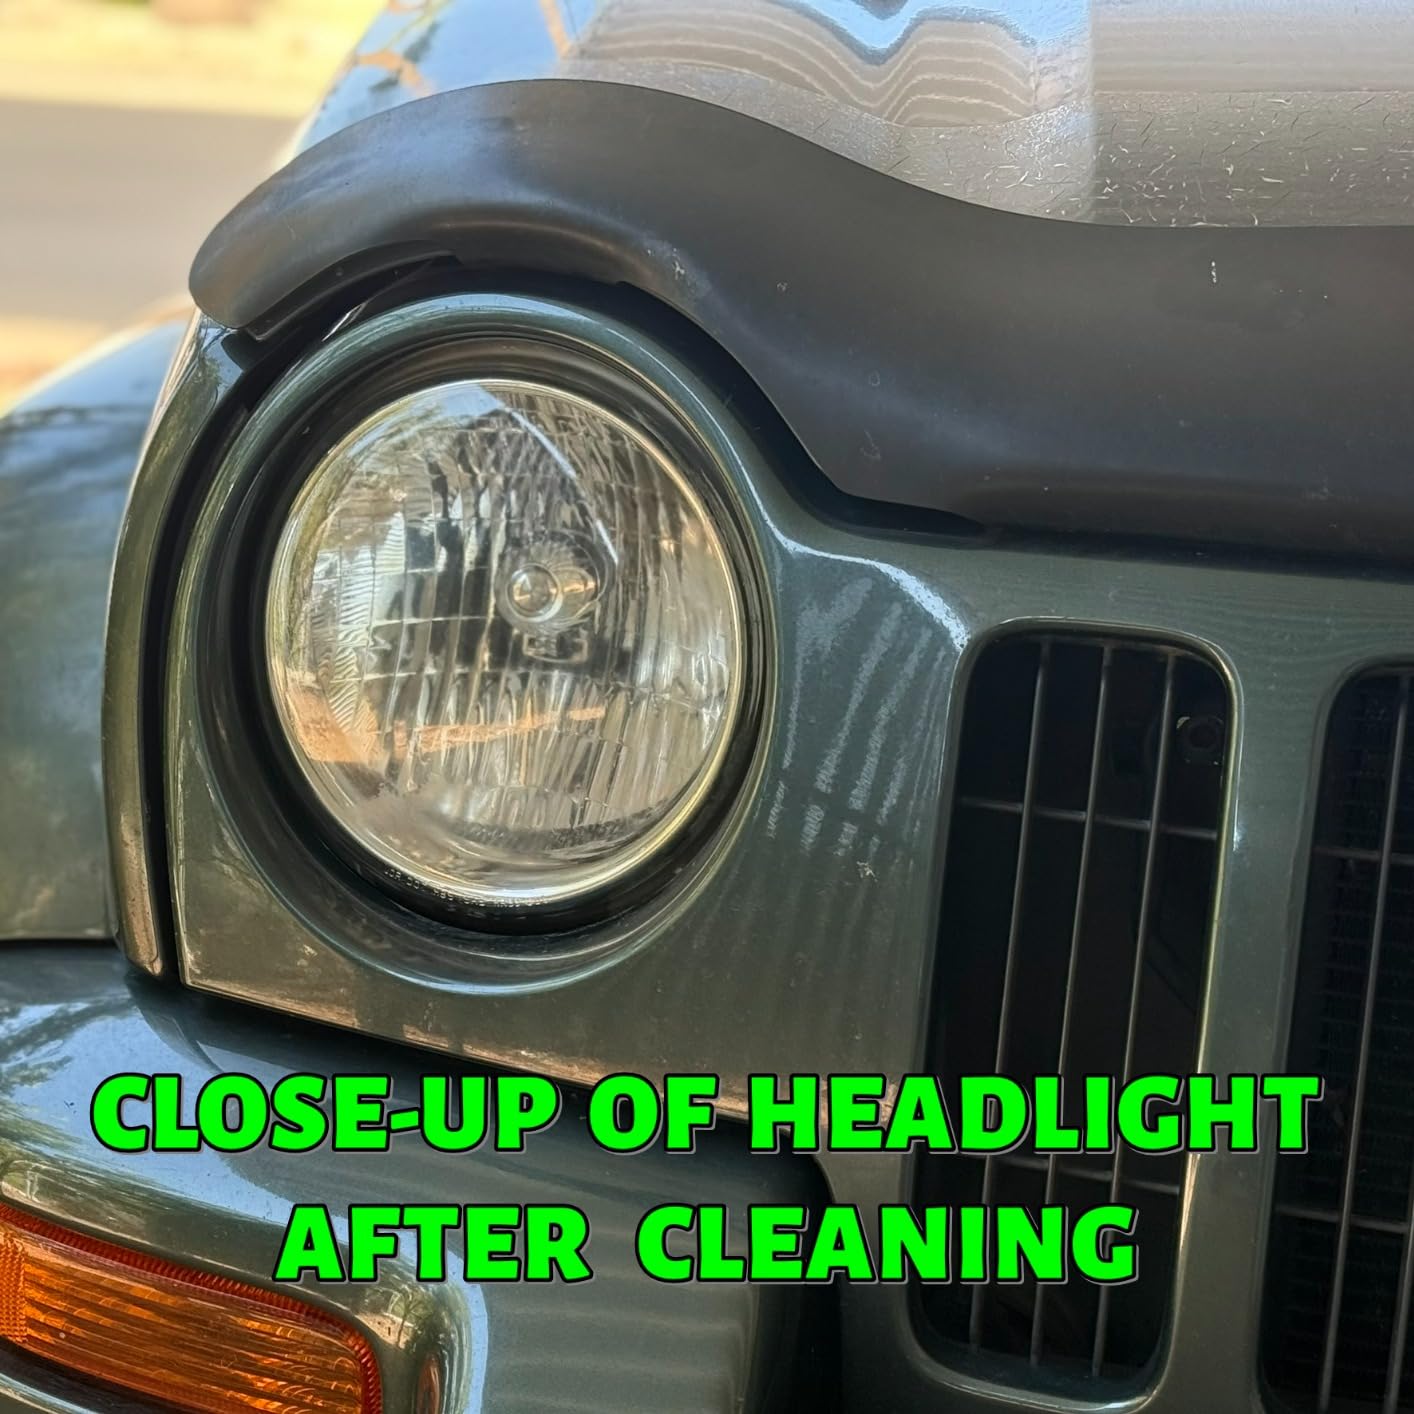
This is the smallest, fastest option in the roundup. It weighs 1.45 ounces and it comes down to two cleaning wipes for the buildup and one wipe that lays down a UV-resistant coating, which you apply in a few minutes in the driveway.
Rated 4 from 8075 reviews, it is the honest budget refresher rather than a restoration kit. If your headlights have gone dull and slightly hazy, this brings them back convincingly for a season.
Reviewers are clear-eyed about the limits. The wipe system cannot remove deep pitting the way a sanding kit does, and only 57 percent of ratings are five stars, which is the second-lowest score in this group for a reason.
The listing itself describes it as removing haze, oxidation, and discoloration in a few simple steps, and improving headlight visibility. That is accurate for mild to moderate yellowing and optimistic for anything worse.
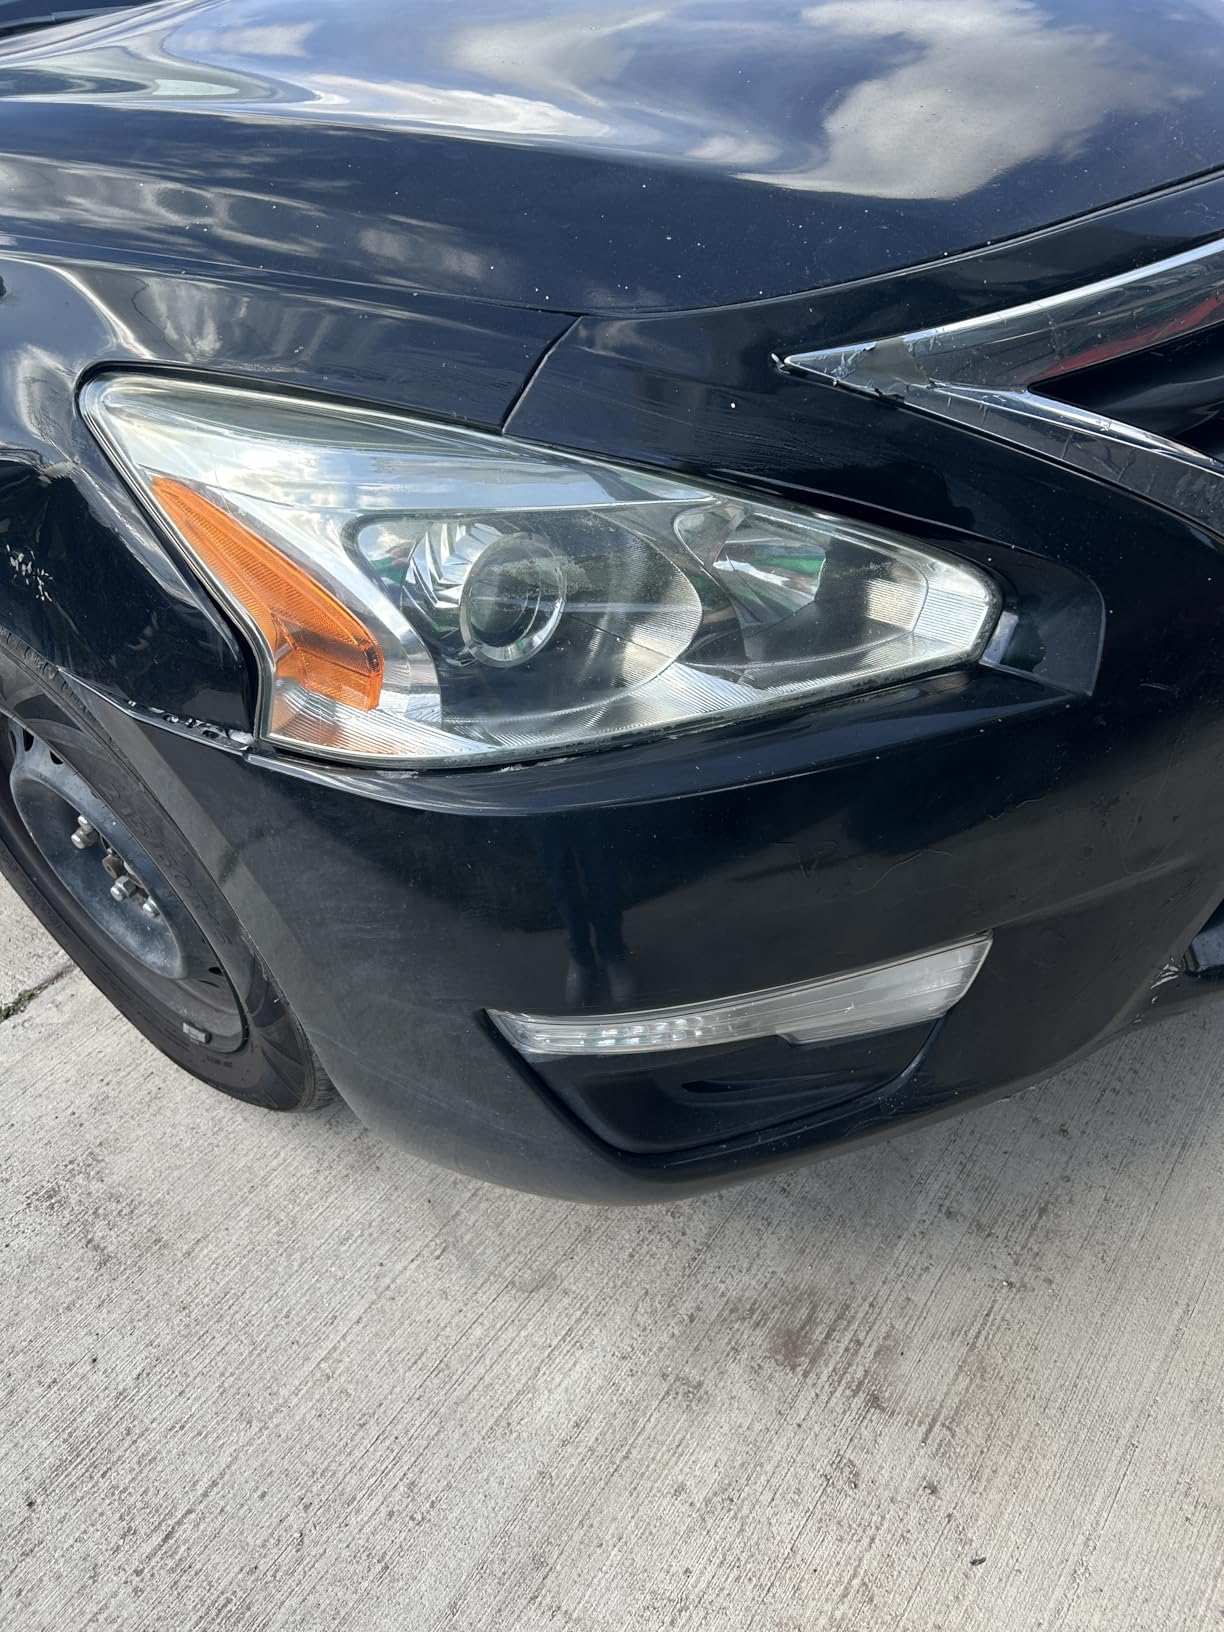
Why it suits most drivers best
It is the right pick for a quick seasonal refresh between full restorations, and it works well as a maintenance step after you have already sanded a lens properly. Wiping a ceramic-coated lens twice a year keeps the haze from creeping back.
There is nothing to buy, nothing to learn, and no risk to surrounding paint. On a car stored outside, a wipe every few months does more good than saving the compound for a weekend you never schedule.
Where it falls short
Do not expect it to fix pitting or stone-chip scars, because there is no abrasion in the system. On a badly oxidized lens the result is an improvement that disappoints people who expected like-new clarity.
The coating is temporary, so you are buying this again next season. Treat it as maintenance rather than a one-time repair.
9. Turtle Wax Headlight Restoration Kit – Best Starter Kit for Beginners
Turtle Wax Headlight Restoration Kit for Cars, Trucks & SUVs
Sanding pad and lubricant kit
Clarifying compound and sealant wipes
2.13 by 3.06 by 6.63 inches
No power tools
Pros
- Everything needed is in one small box
- Full lens improved in under 30 minutes
- Smallest and lightest kit in the roundup
- Sealing wipe slows future yellowing
Cons
- Less effective on severe yellowing than drill kits
- Hand sanding takes time on larger lenses
The Turtle Wax kit is the classic entry point. It has been sold as a T-240KT since 2009, which tells you how many people have used one over the years, and it contains a precision sanding pad with lubricant, a clarifying compound, and sealant wipes in a box smaller than a paperback.
It rates 4.1 from 7447 reviews, with 58 percent five stars. That is the lowest-rated kit among the sanding systems here, and reviewers are usually upfront that expectations need managing.
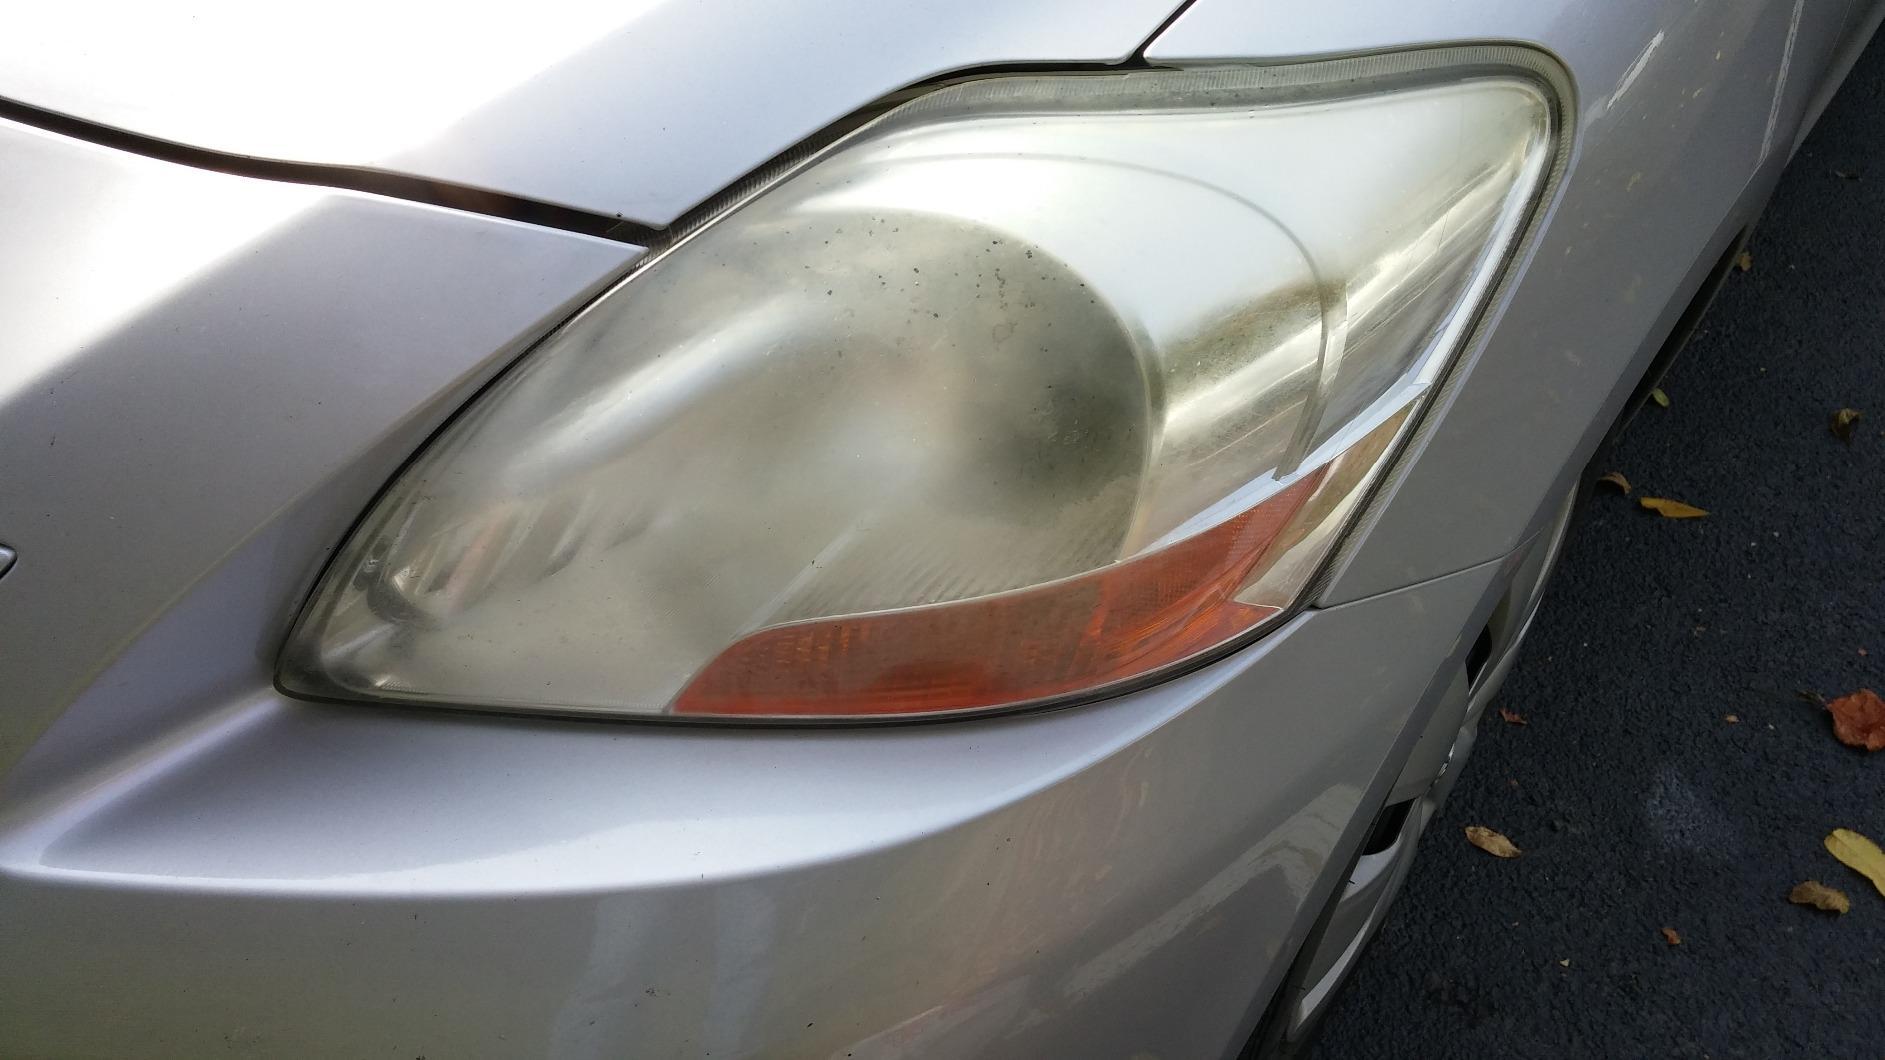
Most people get good results on mild to moderate haze in well under half an hour per lens. A long-running thread on r/TheSubaruForums describes consistent success over many years with the mild abrasive pads, which is the kind of repeat-use track record most cheap kits cannot show.
What it will not do is match a drill system on a lens that has been outside since new. The precision pad is small, so hand sanding a large curved lens takes real time, and the sealant wipe is not a long-term UV barrier.
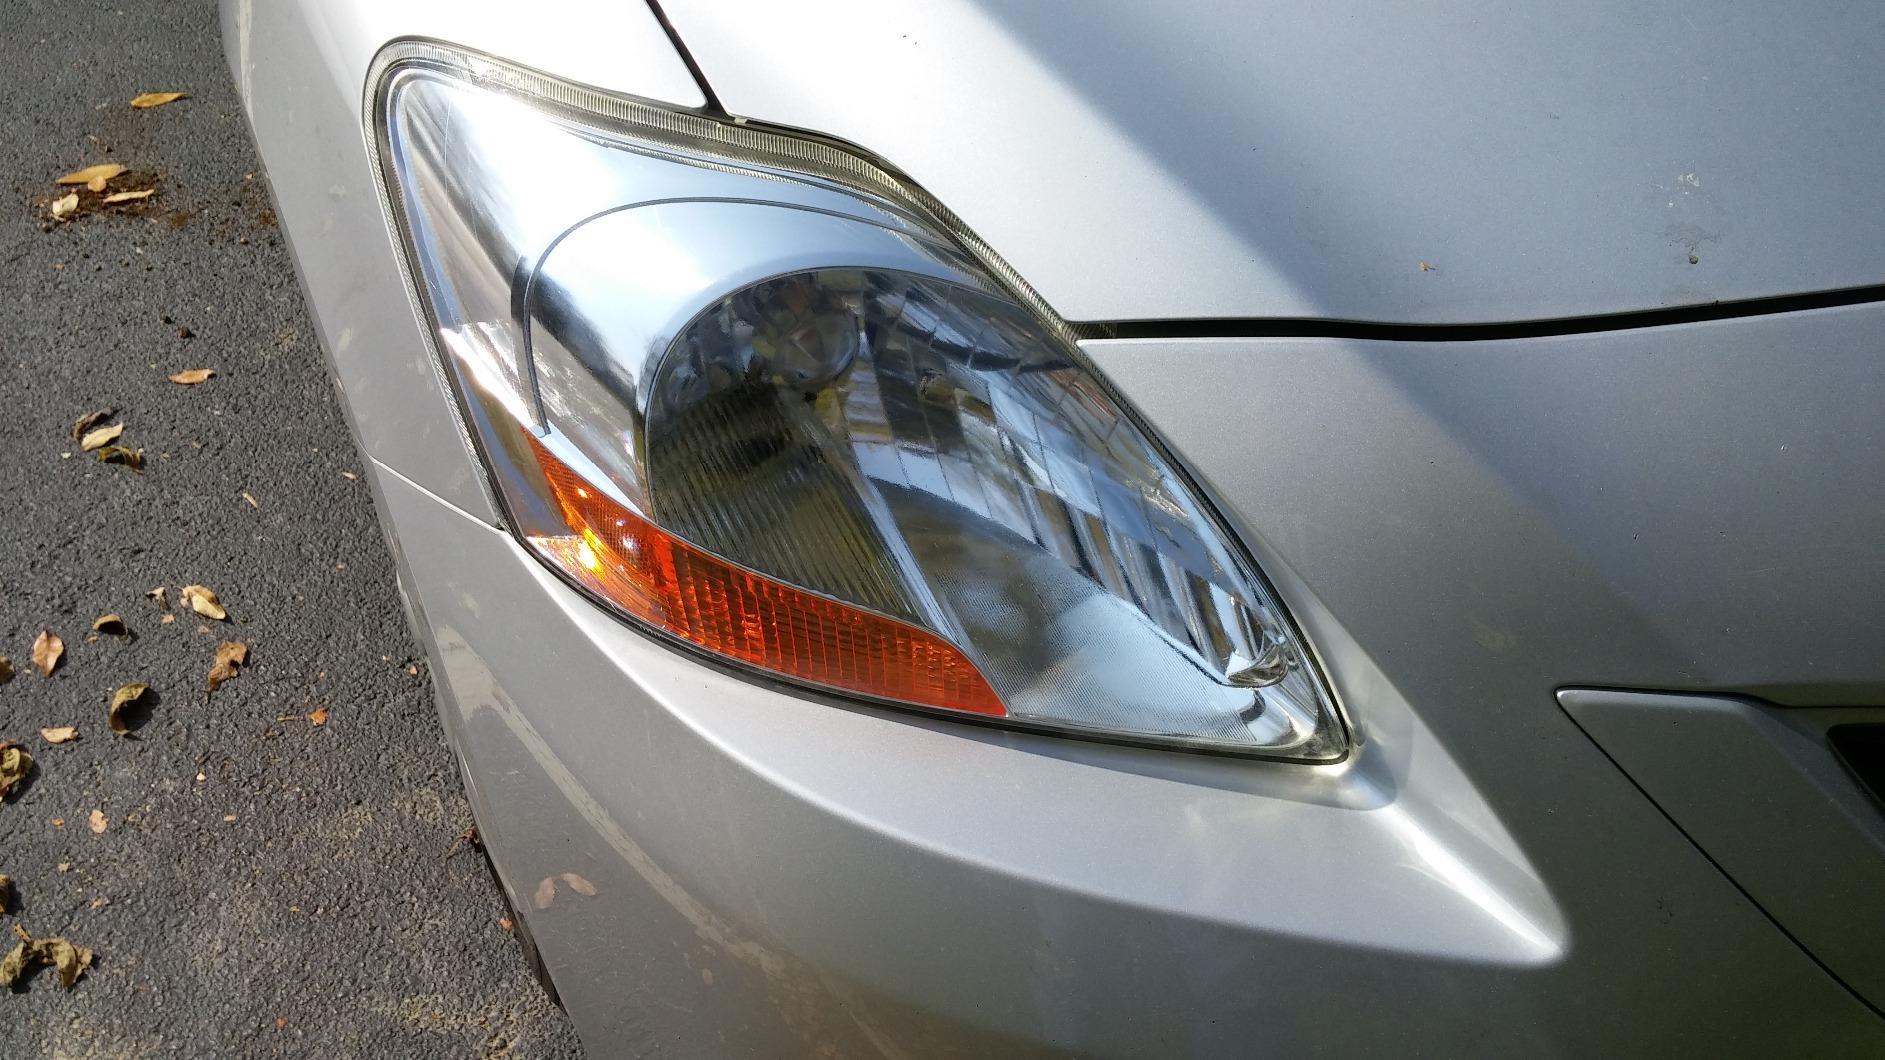
Why it suits most drivers best
It is the least intimidating kit to start with. No drill, no multi-grit progression to learn, and one obvious step order, which makes it a good choice for a first restoration on an older family car.
It is also the least costly way to try the whole process before committing to a bigger system. Plenty of people use it as an annual top-up rather than a one-time fix, and at that frequency it works fine.
Where it falls short
Severe yellowing is where it runs out of ability. If the lens has been neglected for a decade you will spend a long time on the pad with limited improvement, and a drill kit would be faster and more thorough.
The hand sanding also takes time on larger lenses, so factor in patience rather than expecting a 30 minute job on a big housing.
10. Chemical Guys Headlight Restoration and Ceramic Kit – Best for Trim and Taillights
Chemical Guys, Headlight Restoration & Ceramic Kit, with Applicator
GAP401 system
Restoration compound and HydroCharge ceramic
Applicator pad and microfiber towel
1.04 pounds
Pros
- Cutting compound paired with ceramic protection
- Works by hand or with a machine
- Usable on taillights and clear plastic trim
- Applicator and towel included
Cons
- Polishes rather than sands so pitting remains
- Hand application takes sustained effort
- Lowest review count so durability is unproven
This Chemical Guys kit is the newest item we looked at, and it takes a different route from the rest. It pairs a purpose-built restoration compound with a HydroCharge ceramic spray rather than a conventional clear coat, and the compound is designed to cut through the oxidized surface layer chemically.
The versatility is the real selling point. The manufacturer lists headlights, taillights, and clear plastic trim as intended surfaces, so one kit handles the whole exterior of the car rather than just the front end.
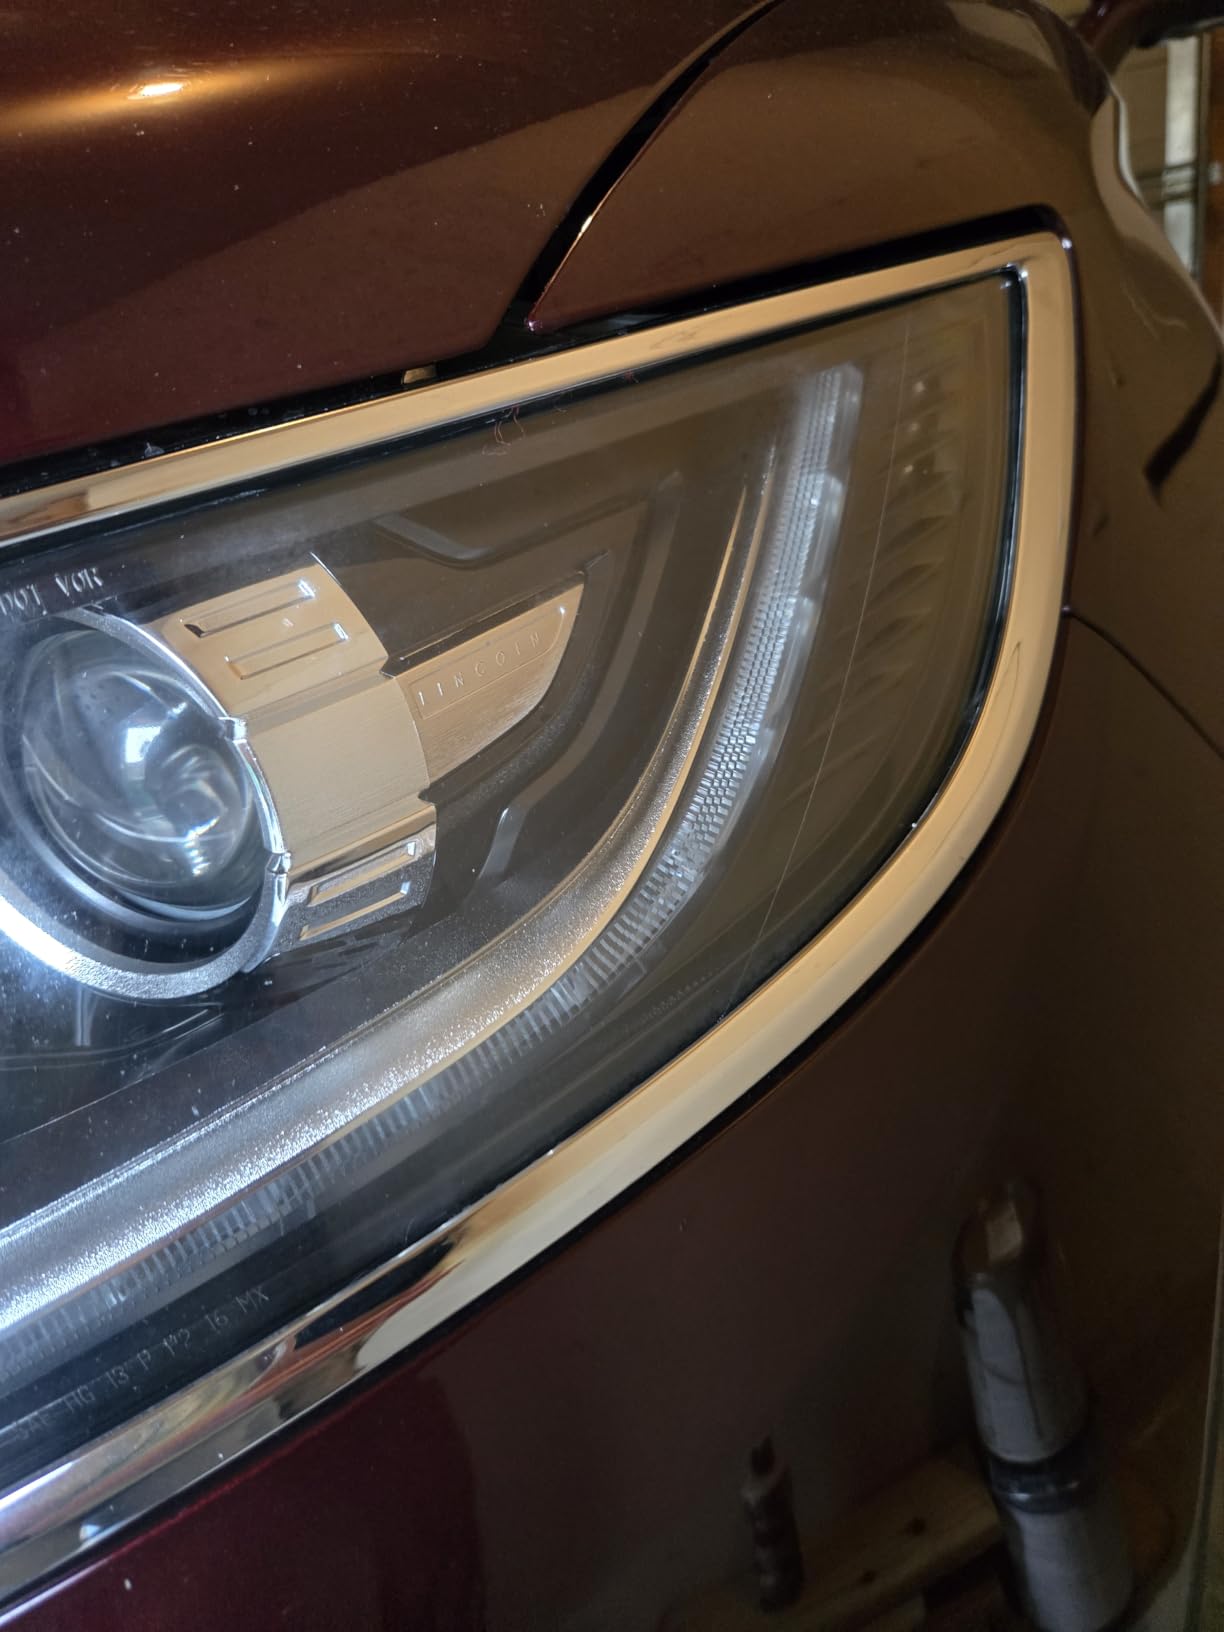
It works by hand or with a machine, which lets you escalate on a bad lens without buying a different system. It comes in at 4 from 264 reviews, the smallest review base in the roundup, so treat long-term durability as unproven rather than settled.
The design decision that limits it is that it polishes instead of sanding. The compound removes oxidation but leaves deep pitting and deep scratches in place, so badly damaged lenses do not fully clear.
Why it suits most drivers best
It is the pick if your taillights or clear exterior trim have gone cloudy as well, since nothing else in this roundup explicitly covers as many plastic surfaces in one box. Fog lights and turn signals fall into the same category.
The HydroCharge ceramic spray gives the finished lens a hydrophobic layer, and the applicator pad plus microfiber towel in the box save you sourcing them separately. It is a 1.04 pound kit, the heaviest here, because the compound is a genuine liquid abrasive.
Where it falls short
Hand application takes sustained effort on badly oxidized plastic, so on a neglected car you will end up reaching for a machine. And because it does not sand, anyone with pitted lenses should treat this as a step rather than a solution.
The thin review base also means you are buying on the manufacturer’s promise rather than on years of owner feedback, which is the main reason it sits at the bottom of our ranking despite a capable formula.
How to Choose a Headlight Restoration Kit That Outlasts the Rest
Protection type decides how long results last. This is the single most important thing to check, and it is the one most shoppers miss. A wax or solvent sealant strips in a few months of car washes, a UV block polymer clear coat like the one in the Sylvania kit holds far longer, and a chemical-bond ceramic coating such as the Cerakote or Chemical Guys option lasts longest because it cures onto the polycarbonate itself.
Hand sanding or drill-powered. Hand kits keep everything inside the box and stop compound from flying onto your paint, but they are slow on large or heavily pitted lenses. Drill systems cut far faster and give more consistent results across both headlights, at the cost of needing a drill and a backing plate, plus more masking.
Check whether a UV protectant is included. Several kits in this roundup give you nothing but an abrasive and a cloth. The 3M 39008 is the clearest example, and users consistently add their own protectant afterwards. Kits with a bundled clear coat like the 3M 39195 and the Sylvania system save you that extra step.
What actually removes what. Wipe systems handle surface haze and dust film. Abrasive pads and light polishes handle surface oxidation. Only wet sanding or a drill-mounted disc reaches deep pitting and stone-chip scars. If your lens looks frosted rather than yellow, you need the abrasive end of the market.
What no kit can fix. Internal condensation, or water pooling inside the housing because a seal has failed or a breather vent is blocked, is a mechanical fault. No amount of external polishing will clear it, and the fix is resealing the housing or replacing it. Many owners spend a full restoration on a lens that was never the problem.
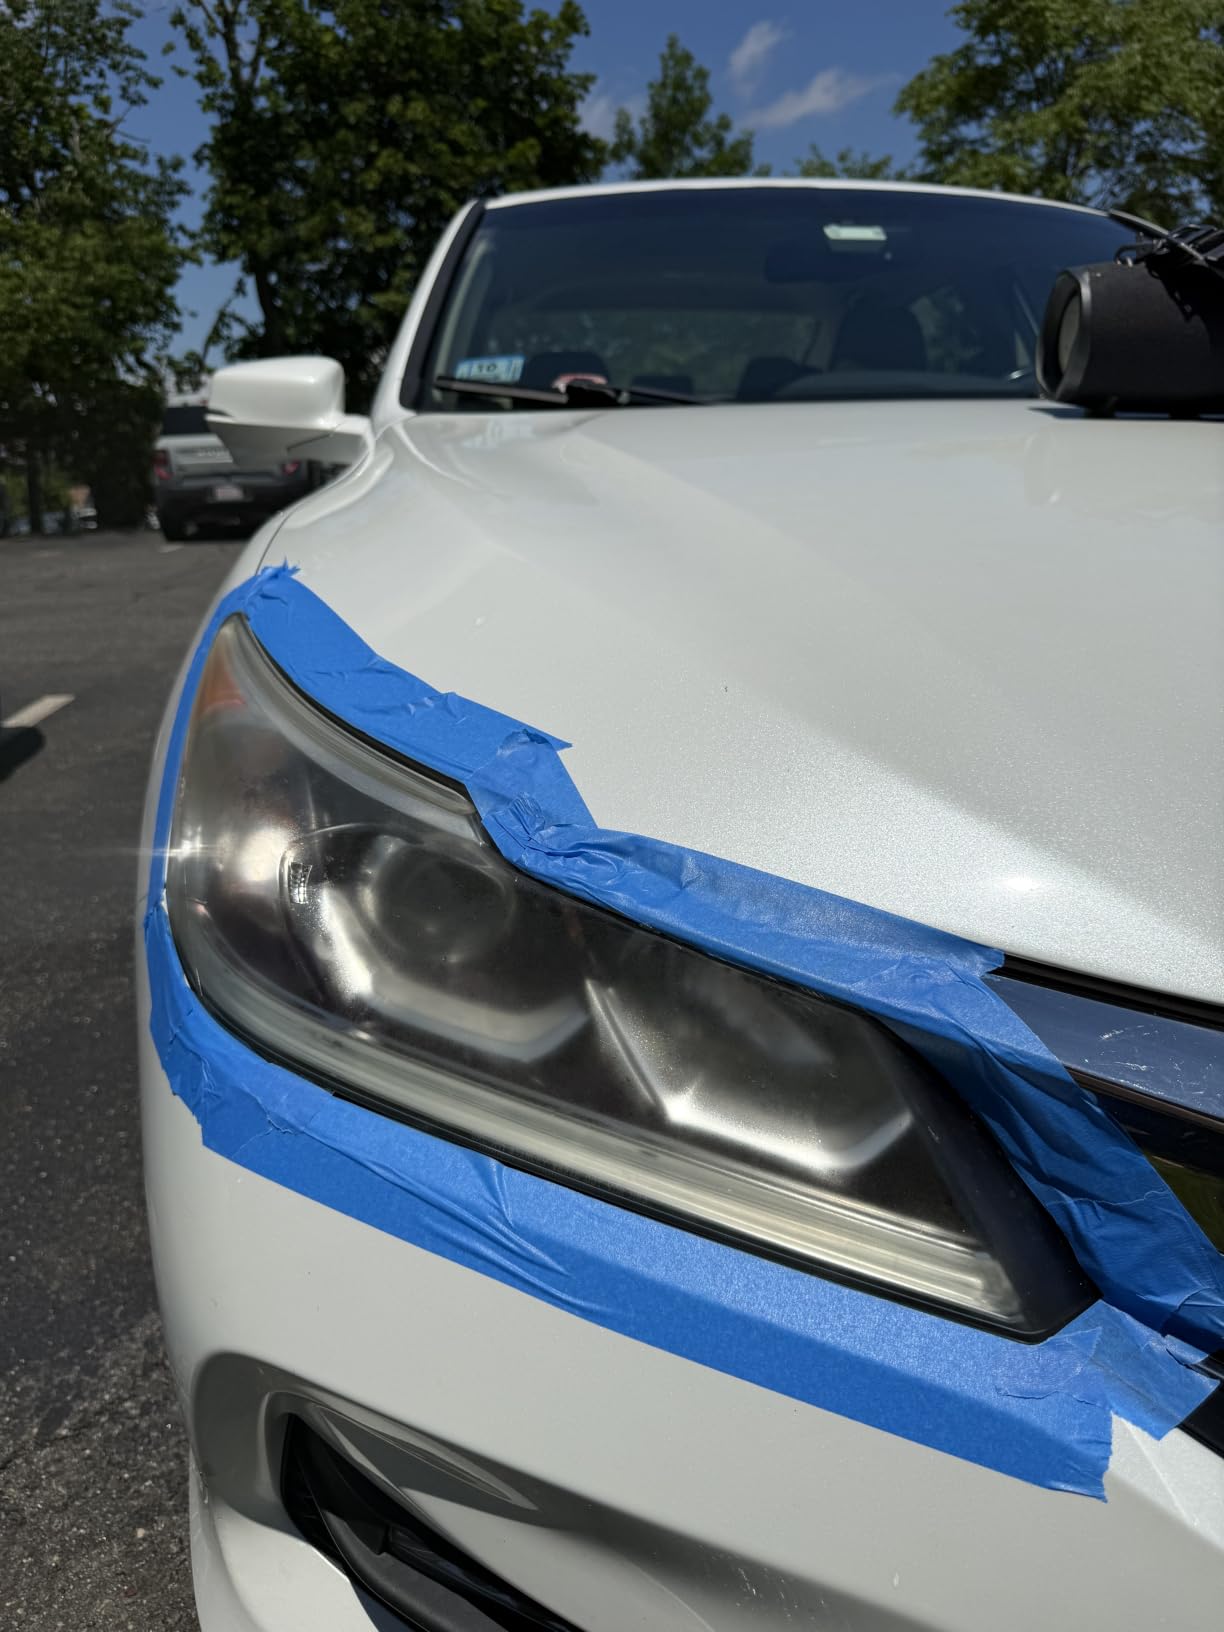
Mistakes that permanently damage the lens. Dry sanding heats the polycarbonate and leaves a web of scratches that no compound will remove. Skipping grits, for example jumping from a coarse disc straight to the finishing pad, leaves micro-scratching across the whole surface. And letting compound dry on the lens before buffing it off is the cause of the residual haze and swirl marks people complain about most.
If your weekend projects follow the same buy-it-once pattern, our best pergola kits roundup and our beekeeping starter kits for beginners guide use the same ranking logic, and for kitchen projects start with the best sourdough kits.
For anything beyond a quick wipe, our testing order would be: Cerakote if you want no drill and a ceramic coat, the 3M 39195 if you own a drill and want the whole job in one box, and Sylvania if the lenses are severely yellowed and you refuse to buy power tools.
Frequently Asked Questions
What headlight restoration kit really works?
The Cerakote Ceramic Headlight Restoration Kit is the one we trust most, because it sands the dead UV coating off, chemically bonds a ceramic coat back on, needs no drill, and finished a 30 minute job. The 3M 39195 is the strongest alternative when you own a drill, since it bundles masking tape and a clear coat in the same box.
What is the best compound for headlight restoration?
The best protection for a restored lens is a chemical-bond ceramic coating, because it cures onto the polycarbonate rather than sitting on top of it. A UV block polymer clear coat is the second best option. A wax or solvent sealant is the weakest, because car washes strip it within a few months and the yellowing returns.
Does WD-40 restore headlights?
No. WD-40 dissolves road grime and leaves a light oily film that makes a lens look clearer for a few days, but it does nothing to the oxidised UV coating that causes yellowing. It can also leave a greasy residue that makes the lens attract dust. For a real fix you need abrasion plus a UV protectant.
Do car headlight cleaners work?
They work, but only within limits. Cleaners and wipes remove surface dust and light haze from a lens that is already mostly clear. On a lens with real oxidation or pitting they improve the look without restoring light output. That difference matters at night, where a heavily hazed lens can lose more than 80 percent of its usable beam.
Is the Meguiars headlight restoration kit good?
It is good for what it is, which is a no-drill, no-sanding refresh. The two-step system works by hand with abrasive pads and a coating that protects for up to 12 months, and the box covers two or three vehicles. Be aware that it removes factory UV protection from already-clear lenses and leaves residual haze on badly oxidized lamps.
Can you drive after using a headlight restoration kit?
Yes, you can drive once the lens is clean and dry. Most coatings need time to cure before you wash or touch the surface, and the Rain-X sealant in particular asks for around eight hours. Avoid applying the kit right before a night drive, since fresh compound can haze the lens in wet weather until it has fully set.
What takes cloudiness out of headlights?
Cloudiness on the outside of the lens comes off with wet sanding or a drill-mounted abrasive disc, followed by a polishing compound and a UV protectant. Cloudiness inside the housing, from a failed seal or a blocked breather vent, is a different problem that no restoration kit can fix. Check whether the haze wipes off with a cloth before you buy anything.
Our Final Verdict on Headlight Restoration Kits in 2026
The Cerakote Ceramic Headlight Restoration Kit takes our top spot because it solves the two things that matter: it clears a genuinely yellowed lens without a drill, and it seals the result with a bonded ceramic coat rather than a wax that washes off in a few months. Owners on r/AskMechanics and r/cars name it more often than anything else we tested.
If you own a drill and want the job done in half the time, the 3M Ultra 39195 is the better box because it includes masking tape and a clear coat. For severely yellowed lenses and no power tools, Sylvania’s UV block clear coat is the pick. Whichever you choose, keep an eye on the internal condensation problem, because no kit on the market will fix a failed housing seal.