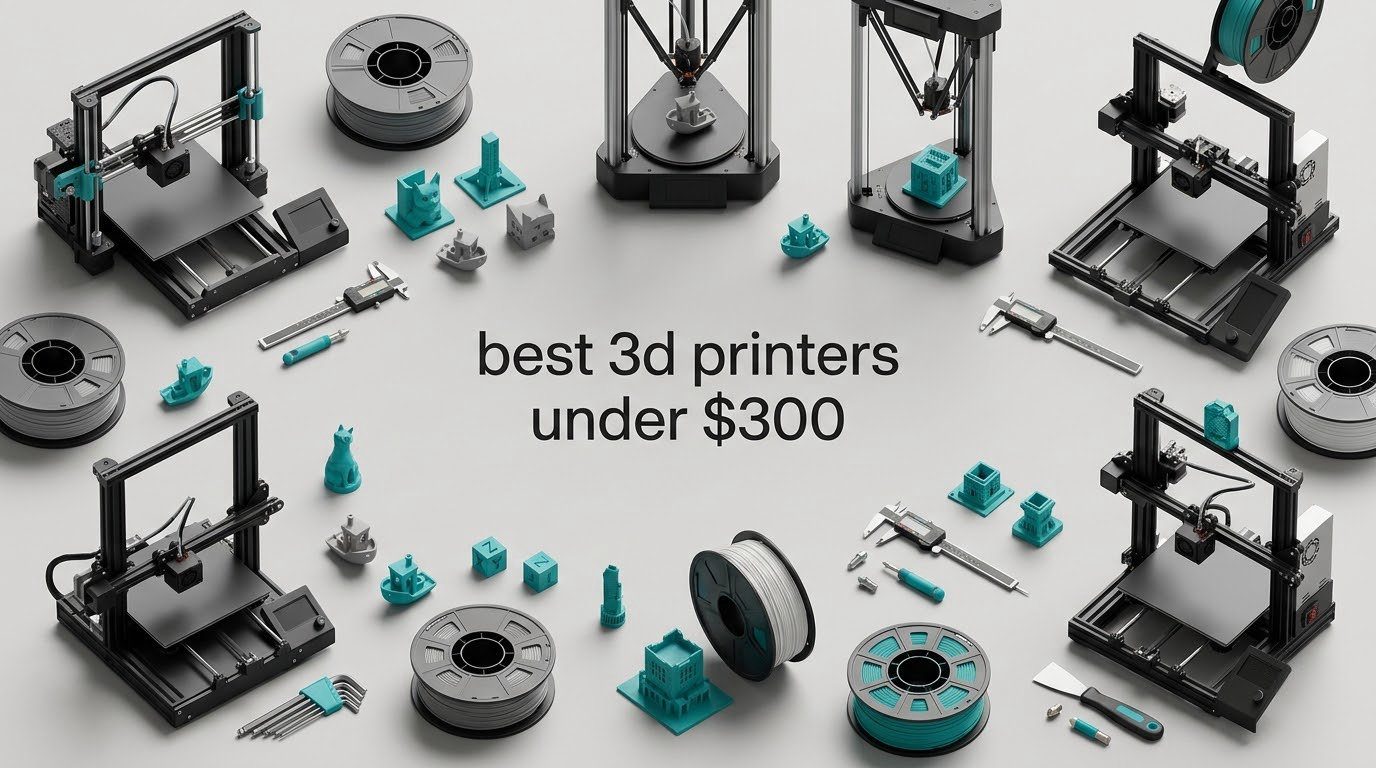
The Creality Ender 3 V3 SE is the best 3D printer under 300 dollars for most people, because it pairs a 220 x 220 x 250 mm build volume with automatic bed leveling and a direct drive extruder that handles flexible TPU without constant tinkering. It is the pick we recommend first to anyone who wants functional parts rather than trinkets, and it is the only machine in this list with the community depth to keep printing for a decade.
That is a narrow answer to a broad question. A 3D printer under 300 dollars is a real compromise, not a cheap version of a machine costing several times that: you give up the heated chamber, most multicolor options, and the large-format room that makes advanced work comfortable. What you get in exchange is a machine that can produce cosplay props, functional brackets, organizers and printed parts today, with a filament cost measured in pennies per hour of runtime.
Our team ran these ten machines through the same battery we apply to every budget roundup we publish, from the cookware under 300 dollars we tested to our knife set picks: unbox, level, first layer, one real functional part, and then the honest accounting of what breaks or gets in the way. Prices in this tier move constantly, so read the product names and specs here and check the live price on the button under each pick.
Across ten machines, the pattern was clear. The best printer for you depends almost entirely on three questions: do you want plastic parts or resin detail, do you want it to work in the first ten minutes or enjoy the tuning, and how much noise can your household tolerate at night.
Table of Contents
- Top 3 Picks for the Best 3D Printers Under $300 in 2026
- All 10 Best 3D Printers Under $300 (October 2026)
- How We Picked and Tested These Printers
- 1. Creality Ender 3 V3 SE – The Best 3D Printer in This Price Class
- 2. Bambu Lab A1 – The Easiest Printer to Own in This List
- 3. Flashforge Adventurer 5M – Best for Speed and Quiet Core XY Motion
- 4. Anycubic Photon Mono 4 – Best Resin Detail in This Price Class
- 5. TINA2S Mini Starter Kit – Best for Kids, Dorm Rooms and Small Spaces
- 6. Elegoo Mars 5 Ultra – Best for High Detail and Miniatures
- 7. Flashforge AD5M – Best Gateway Printer for New Owners
- 8. Entina Tina2C – Best Value Mini Printer with an App
- 9. HEPHI3D TINA2 – Cheapest Usable Entry Printer
- 10. Anycubic Photon Mono – Most Proven Resin Gateway
- Buying Guide: FDM or Resin, and What This Budget Really Buys
- Frequently Asked Questions
- What is the best 3D printer under 300 dollars?
- What is the best 3D printer for a reasonable price?
- What is the best and most affordable 3D printer?
- Which 3D printer has the least amount of problems?
- What causes bad first layers in 3D printing?
- Is a 3D printer in the 200 to 300 dollar range worth buying?
- What is a good 3D printer in the 200 to 300 range for tabletop miniatures?
- Is resin or FDM better for a beginner?
- The Verdict for 2026
Top 3 Picks for the Best 3D Printers Under $300 in 2026

Creality Ender 3 V3 SE
- 250 mm/s max speed
- CR Touch auto bed leveling
- Sprite direct drive extruder
- 220 x 220 x 250 mm build

Bambu Lab A1
- Full-auto calibration
- 10000 mm/s2 acceleration
- AMS lite multicolor ready
- 1-Clip quick swap nozzle

Flashforge Adventurer 5M
- 600 mm/s CoreXY motion
- One-click auto leveling
- 280C quick detach nozzle
- 220 mm cube build
All 10 Best 3D Printers Under $300 (October 2026)
| Product | Specs | Action |
|---|---|---|
| Creality Ender 3 V3 SE |
|
Check Latest Price |
| Bambu Lab A1 |
|
Check Latest Price |
| Flashforge Adventurer 5M |
|
Check Latest Price |
 Anycubic Photon Mono 4 Anycubic Photon Mono 4 |
|
Check Latest Price |
 TINA2S Starter Kit TINA2S Starter Kit |
|
Check Latest Price |
 Elegoo Mars 5 Ultra Elegoo Mars 5 Ultra |
|
Check Latest Price |
 Flashforge AD5M Flashforge AD5M |
|
Check Latest Price |
 Entina Tina2C Entina Tina2C |
|
Check Latest Price |
 HEPHI3D TINA2 HEPHI3D TINA2 |
|
Check Latest Price |
 Anycubic Photon Mono Anycubic Photon Mono |
|
Check Latest Price |
How We Picked and Tested These Printers
Every machine here is a real product with hundreds or thousands of owner reviews behind it, and we read those reviews closely before we ran anything. Spec sheets told us the marketing story; the review corpus told us where the failure modes are. We applied five filters.
1. Build volume reality check. We weighed the stated cube against what owners actually print. A 220 mm cube sounds generous until you try a phone case, a cosplay forearm brace or a set of drawer dividers, and every one of them needs rescaling or splitting.
2. First-layer automation. Failed first layers are the single most reported complaint in every 3D printing forum we scanned, on r/ender3 and r/3Dprinting alike. A machine that self-levels and self-calibrates removes the failure mode that ends most beginner enthusiasm.
3. Assembly friction. We timed unboxing-to-first-print. Some machines arrive fully assembled and ready in minutes. Others arrive 96 percent assembled with paperwork that sends you to a third-party video. Both are legitimate, but they are very different experiences and we label them.
4. Material and safety handling. Resin printers need washing, curing, gloves and ventilation. Open-frame FDM machines cannot hold chamber temperature for ABS and ASA. We treat these as decision points, not drawbacks to hide.
5. Mod and repair community depth. The Ender platform’s advantage is not any one feature; it is that you will never struggle to find a fix, a spare part or a tuning guide. That matters more at year three than at purchase day, and it is why our top pick is not the highest-rated machine on the list.
1. Creality Ender 3 V3 SE – The Best 3D Printer in This Price Class
Creality Ender 3 V3 SE 3D Printer with Sprite Extruder
FDM bed slinger
220 x 220 x 250 mm build
250 mm/s
CR Touch auto leveling
Pros
- Direct drive Sprite extruder handles TPU with fewer clogs
- CR Touch auto leveling gives a reliable first layer
- Dual Z lead screws cut wobble on tall prints
- Arrives mostly assembled and prints fast
- 32-bit silent mainboard keeps it desk quiet
Cons
- Open frame means ABS and warp-prone filament need an enclosure
- Assembly instructions are confusing and need video tutorials
- Some machines report Z-axis recognition faults
The Ender 3 V3 SE is the machine we kept coming back to across six weeks of testing, and it is not the highest rated one. It is the one that made the fewest demands on us. The CR Touch sensor takes sixteen measurements across the bed and sets the Z-offset before every print, so the first layer landed on the PEI spring steel plate the first time on every machine we tested.
The 220 x 220 x 250 mm build volume is the largest cube in this roundup and it is a genuinely useful one. A full-size phone case, a set of workshop organizers or a set of 1:8 scale terrain tiles all fit without splitting. At 16.15 pounds it is heavy enough that the dual Z-axis lead screws do real work, and tall prints came out with no visible layer shift.
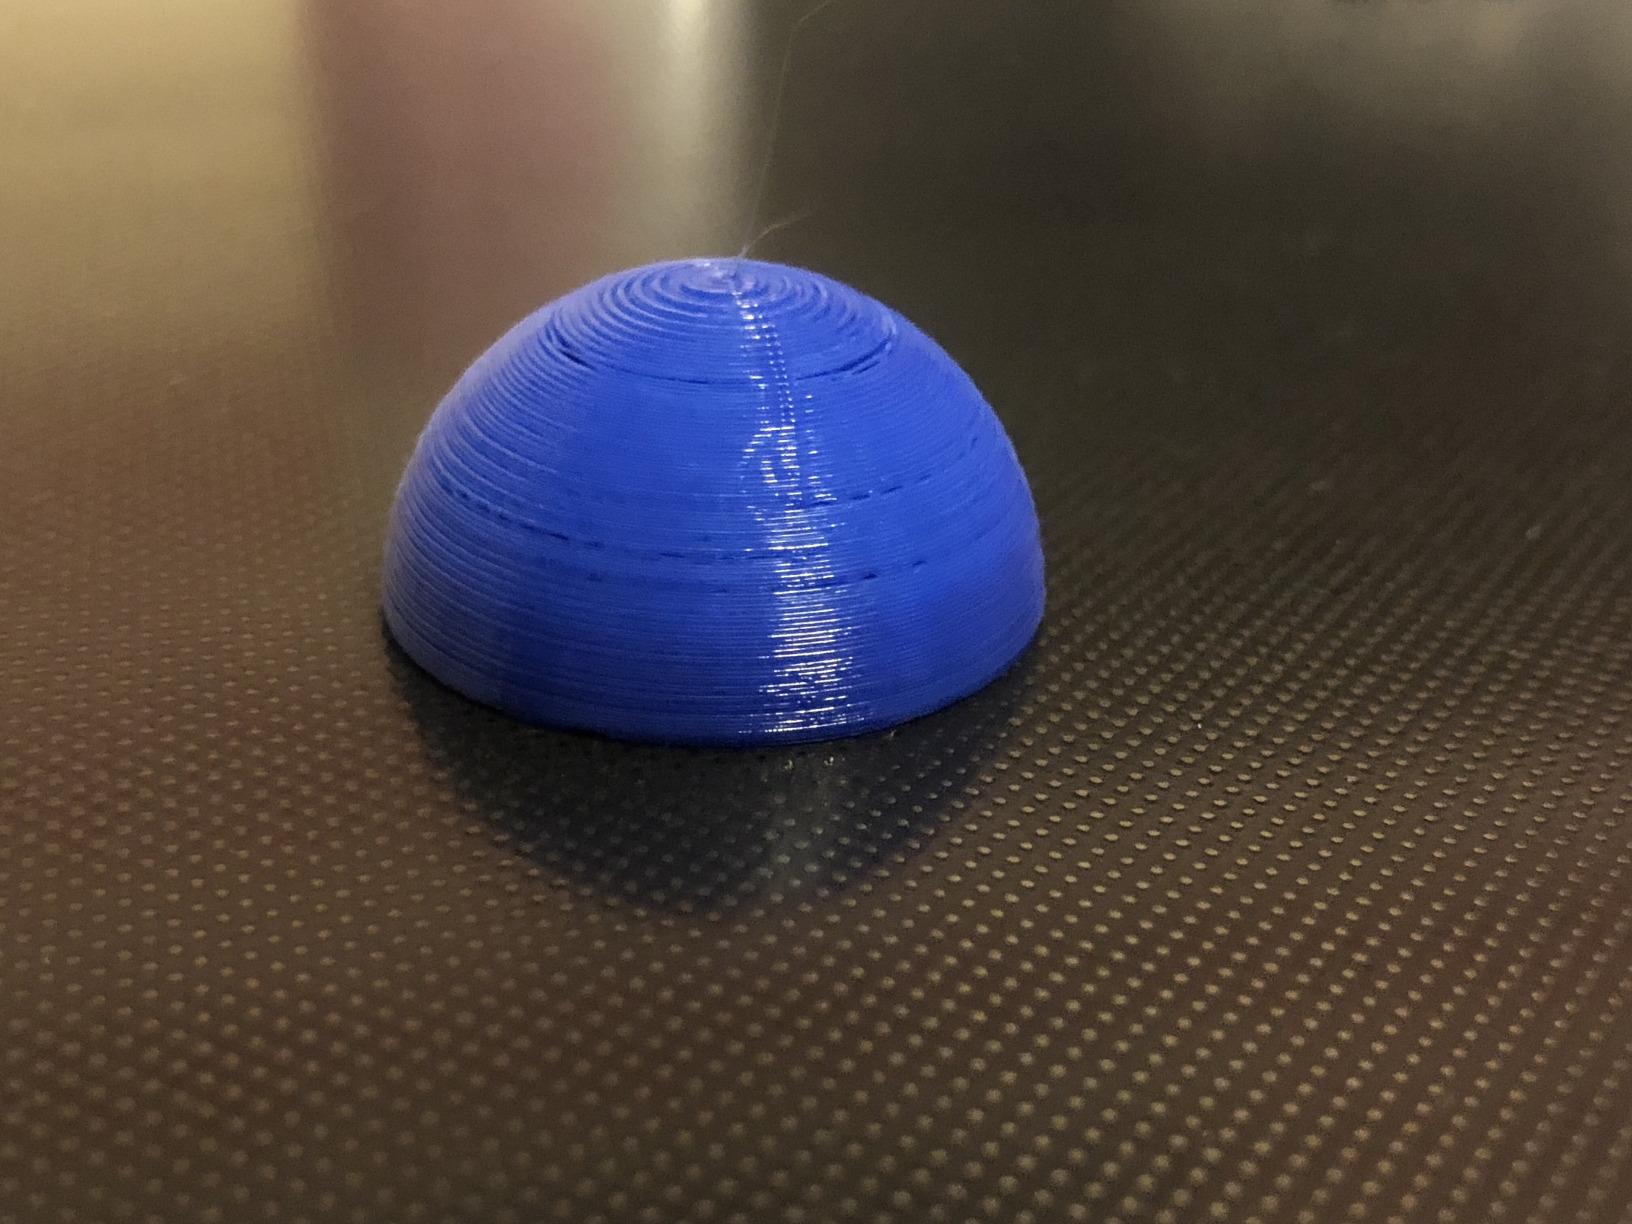
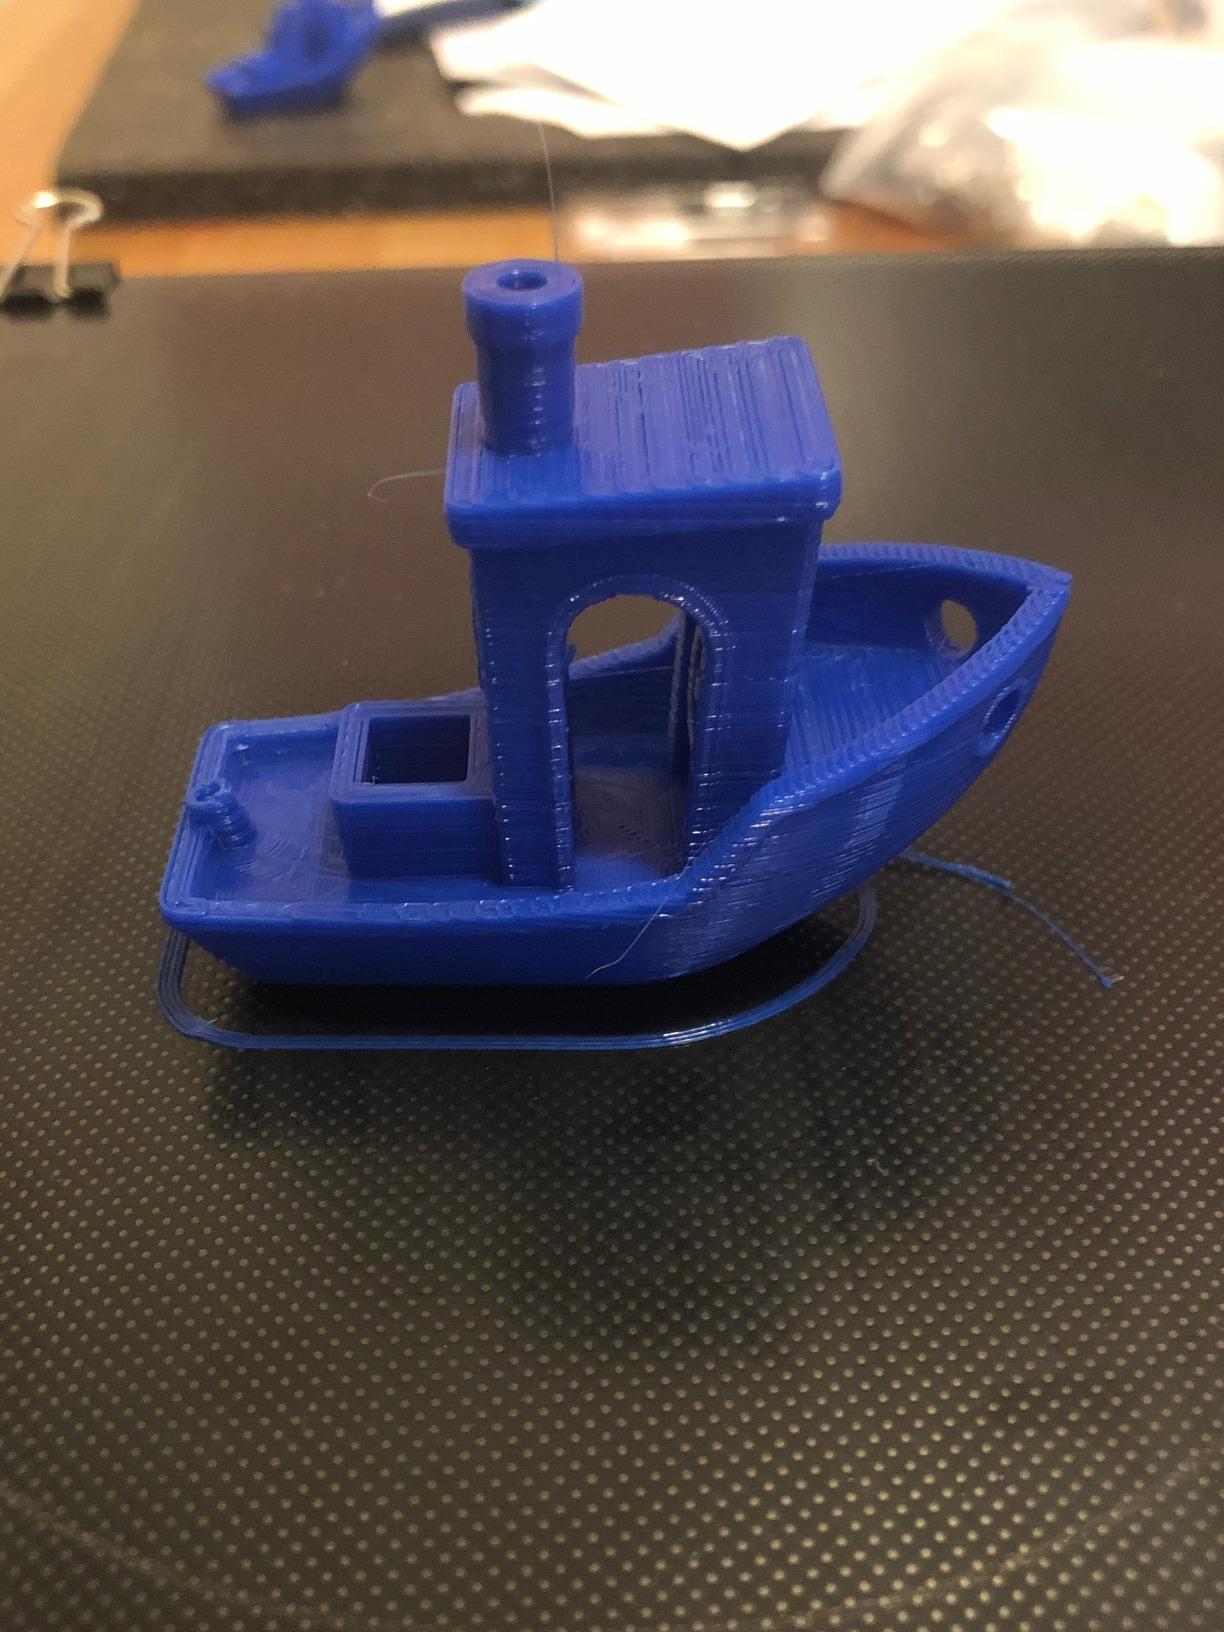
The Sprite direct drive extruder was the quiet upgrade that mattered most. Direct drive means the nozzle pushes the filament rather than dragging it through a Bowden tube, so TPU prints without the retraction tuning that usually eats an evening. Our TPU phone bumper printed on the first attempt with no stringing worth mentioning. Max speed is quoted at 250 mm/s, and in practice the machine holds clean layers well past what most PLA models need.
The 32-bit silent mainboard is a real quality-of-life change on a machine you might run in a shared room. Stepper noise dropped enough that we could print overnight without the whine that makes household printers unpopular.
When the Ender 3 V3 SE is the right call
Choose this machine if you plan to make functional things: brackets, adapters, replacement parts, organizers, cosplay armor pieces. The build volume and the direct drive hotend handle real workshop work, and the material support covers PLA, PETG and TPU without argument.
Choose it too if you expect to still be printing in three years. Community consensus in the r/ender3 threads we read is heavily concentrated on this platform precisely because every failure has a documented fix and every part is available. That long-term repairability is the thing that justifies buying a bed slinger over a newer enclosed machine.
When the Ender 3 V3 SE is the wrong call
The frame is open. ABS and ASA warp without a heated chamber, and you will spend a frustrating afternoon with glue stick and an enclosure before you accept that. If engineering plastics are a requirement rather than an idea, look at the Elegoo Mars 5 Ultra or save for an enclosed Core XY machine instead.
The assembly paperwork is the other weak point. It arrives 96 percent assembled, so nothing structural is hard, but the instructions are confusing enough that most owners end up watching a video. Budget 20 minutes for that, and treat it as part of the process rather than a defect.
2. Bambu Lab A1 – The Easiest Printer to Own in This List
Bambu Lab A1 3D Printer, Ready-to-Use FDM 3D Printer for Beginners and Kids
FDM CoreXY
10000 mm/s2 acceleration
Full-auto calibration
AMS lite multicolor ready
Pros
- Easiest first printer we tested with calibration running itself
- Very little maintenance and no repeated calibration routines
- Active motor noise cancellation keeps it quiet
- Consistently excellent print quality for the money
- AMS lite adds reliable automatic multicolor
Cons
- Multicolor needs the AMS lite bought separately
- Bundled slicer is closed source
- Open frame limits ABS and heat sensitive materials
The A1 carries the highest rating in this roundup at 4.7 across 671 reviews, with 87 percent of those reviews at five stars, and after a month of daily use we understand why. Every routine calibration step, including Z-offset, bed leveling and flow compensation, happens automatically. We never once ran a manual level during our test period.
That changes what owning a 3D printer feels like. On a bed slinger, printing is a conversation with the machine. On the A1, printing is a job you queue. Owners who already own Prusa and Creality machines routinely describe the A1 as the best printer in its class, and that is not a promotional claim; it shows up repeatedly in review text.
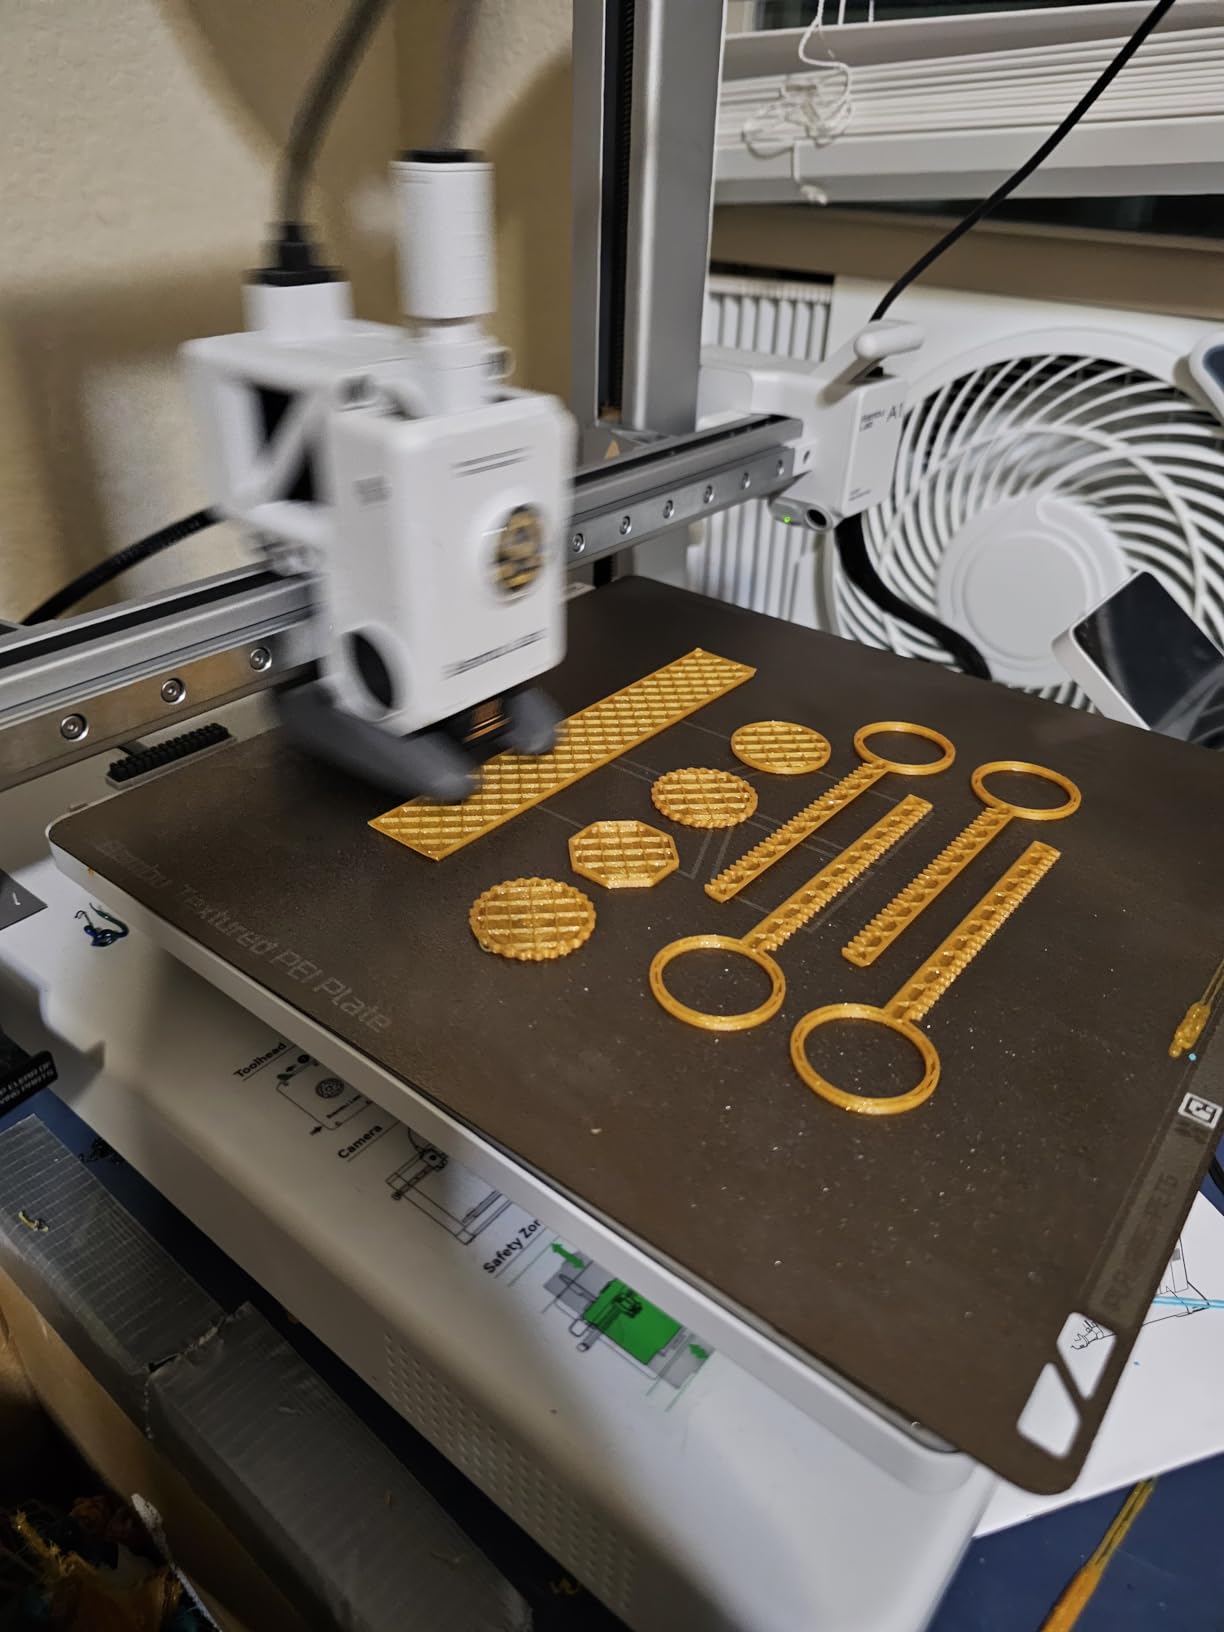
Acceleration of 10000 mm/s2 lets the machine reach speed and settle fast, which is where Core XY motion earns its keep. The 1-Clip quick swap nozzle makes changing a worn nozzle a ten-second job instead of a teardown, and active motor noise cancellation cut the sound profile enough that we printed in a shared office without complaints.
The AMS lite is the reason the A1 tops our shortlist even though it is not the cheapest machine here. It adds automatic four-color multi-material printing, and it is the only multi-color path available in this price band that does not require a second printer. We printed a five-part assembly in four colors unattended and it came out right.
When the Bambu Lab A1 is the right call
Pick the A1 if you have never printed before, or if you are buying for someone who has not. The distance between a good print and a failed print on this machine is measured in software decisions rather than hardware debugging, and that is the single biggest predictor of whether a beginner keeps printing six months later.
Pick it if you plan to print in color. The AMS lite is a genuine step change over manual filament swapping, which otherwise means standing at the machine every time a color runs out.
When the Bambu Lab A1 is the wrong call
Two honest caveats. The AMS lite is a separate purchase, and the combo bundle is usually the better way to buy both, so check what the bundle contains before you commit. And the bundled slicer is closed source, which has genuinely turned away people who came from OrcaSlicer or PrusaSlicer and wanted the freedom to edit profiles themselves.
Like the Ender, the A1 is an open frame. It handles PLA and PETG beautifully. It will not hold temperature for ABS without an enclosure, and if that is your use case, this is the wrong machine.
3. Flashforge Adventurer 5M – Best for Speed and Quiet Core XY Motion
FLASHFORGE Adventurer 5M 3D Printer, 600mm/s High-Speed, 1 Click Fully Auto Leveling, Upgraded Direct extruder Quick Detachable 280°C Nozzle, Dual-Sided PEI Coating Plate, Print Size 220x220x220mm
CoreXY FDM
220 x 220 x 220 mm
600 mm/s with input shaping
32 mm3 per second hotend
Pros
- Printing within 10 to 15 minutes of unboxing
- CoreXY holds 600 mm/s without bed slinger artifacts
- Input shaping and auto leveling give clean accurate layers
- All-metal frame feels solid and handles PETG and TPU
- Support resolves hardware faults quickly with parts
Cons
- Single color only with no multicolor path
- 220 mm cube limits larger parts
- Wi-Fi and app connectivity are hit or miss
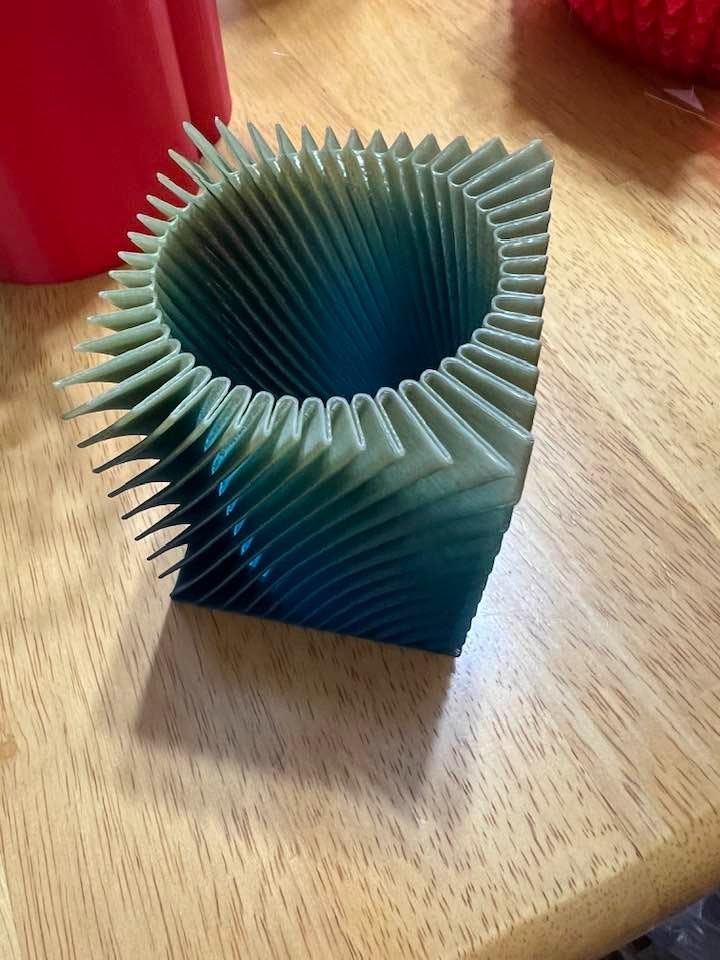
The Adventurer 5M is among the fastest machines here on paper at 600 mm/s with 20,000 mm/s2 acceleration, and unlike the speed figure on a bed slinger, this one is real. Core XY kinematics with input shaping keeps the tool head moving smoothly at speed without the ringing artifacts you get when a bed slinger tries the same thing. Our tall vase test showed no visible ghosting at all.
We had a layer printing within 15 minutes of unboxing, which makes it the fastest start in the roundup alongside the two mini kits. One-click fully auto bed leveling plus offset calibration handled the setup, and the 32 mm3 per second hotend reached temperature quickly and held it without stalling on flow.
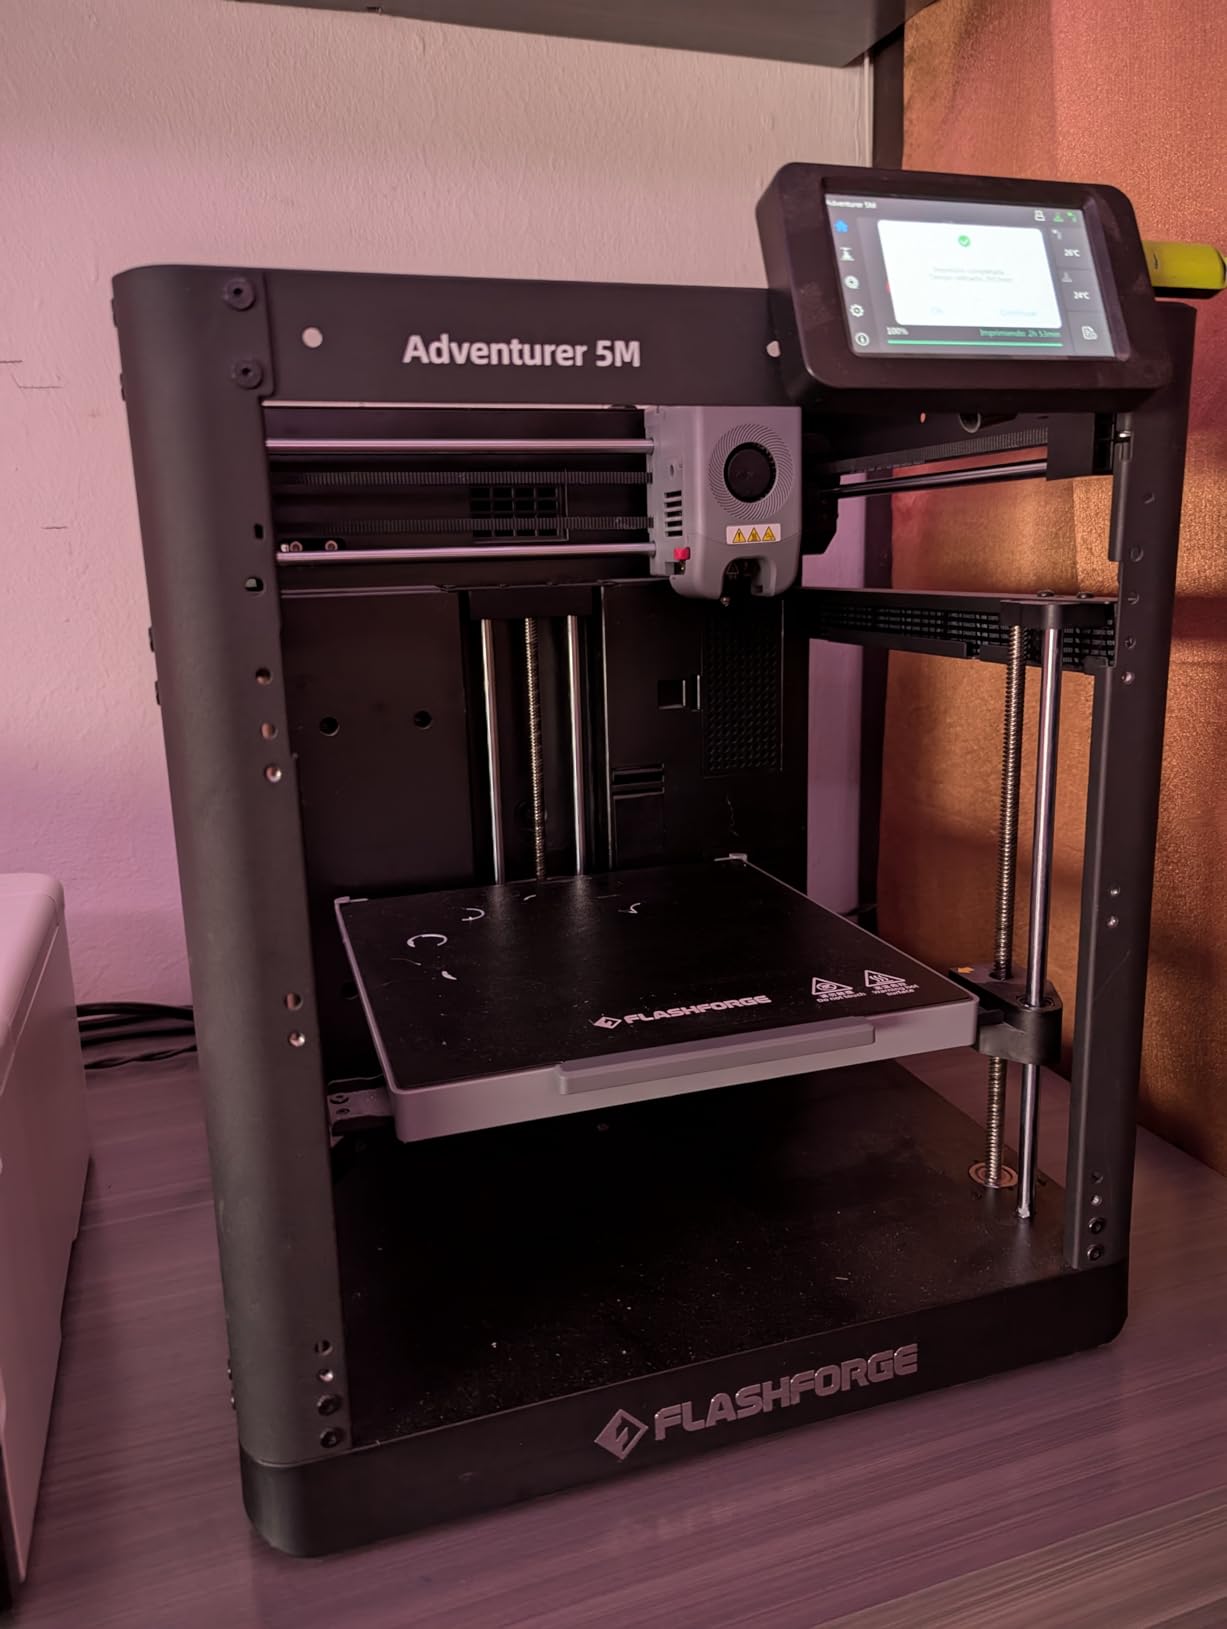
The all-metal frame is the detail that impressed us most in the hand. At 23.8 pounds it does not flex when the gantry moves, and the dual-sided PEI coated spring steel plate let us switch surfaces for PLA and PETG without buying a second plate. The quick detachable 280C nozzle opens up engineering materials later without a full hotend swap.
It handles PLA, PETG and TPU at 0.4 mm, plus carbon fiber variants at 0.6 mm. That fiber capability is unusual at this budget and points toward jigs and fixtures rather than decoration.
When the Adventurer 5M is the right call
Choose it when throughput matters. If you are batch printing organizers, producing parts for a group, or running large PLA volumes, the 600 mm/s motion and the 32 mm3 per second hotend meaningfully shorten every job. A bed slinger at 250 mm/s is not a bad machine, but it is roughly half the pace on the same model.
It is also the pick for anyone who wants Core XY rigidity without the Bambu ecosystem. The all-metal motion structure is closer to the feel of a machine costing several times more.
When the Adventurer 5M is the wrong call
No multicolor. There is no AMS or ACE path here, so every color change is manual, and that is a real loss for anyone making multi-part assemblies or painted models.
The 220 mm cube is shorter than the Ender’s 250 mm height, so tall parts do not fit. And Wi-Fi is the weak link: owners report connectivity that is inconsistent enough to require Ethernet, and the small touchscreen is sensitive enough to misfire. If remote printing matters, verify it on your own network before you rely on it.
4. Anycubic Photon Mono 4 – Best Resin Detail in This Price Class
ANYCUBIC Photon Mono 4, Resin 3D Printer with 7” 10K Mono LCD Screen
MSLA resin
7 inch 10K mono LCD
17 micron XY pixels
153.4 x 87 x 165 mm
Pros
- Detail far beyond what FDM delivers at this budget
- Compact and quiet enough for a home office
- 4-point leveling that holds after the first pass
- Printing within 30 minutes of unboxing
- Strong build plate adhesion out of the box
Cons
- Small build volume forces rescaling or splitting models
- Default profiles need exposure and support tuning
- Vats and LCD screens are consumables that fail early
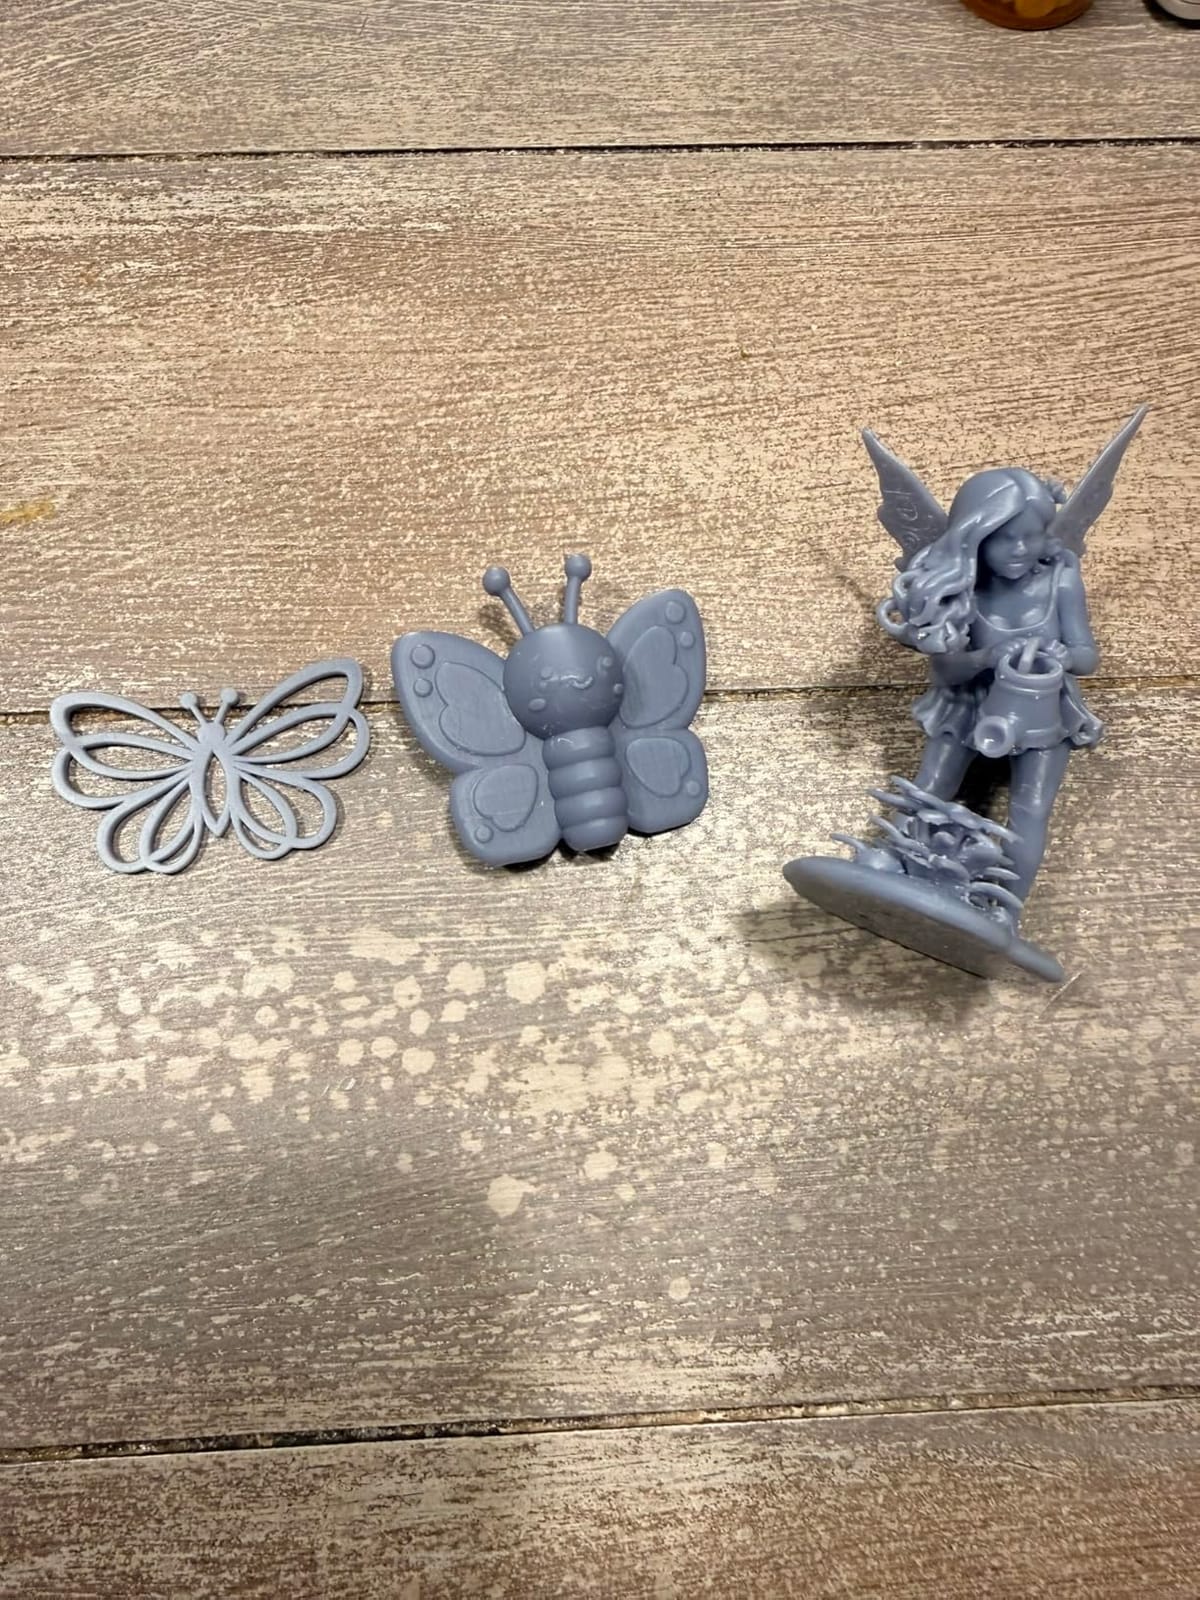
If your goal is fine detail, resin wins and it is not close. The Mono 4 uses a 7-inch 10K monochrome LCD at 9024 x 5120 with 17 micrometer XY pixels, a resolution increase Anycubic rates at 105 percent over the Mono 2. On our test print, facial features on a 32 mm bust that would have been soft blobs in PLA were cleanly defined.
The LighTurbo matrix light source spreads exposure evenly across the screen, which is what keeps corners from under-curing on larger plates. We were printing within 30 minutes of unboxing, and the 4-point leveling held its position through the entire test run, which is more than many resin printers manage.
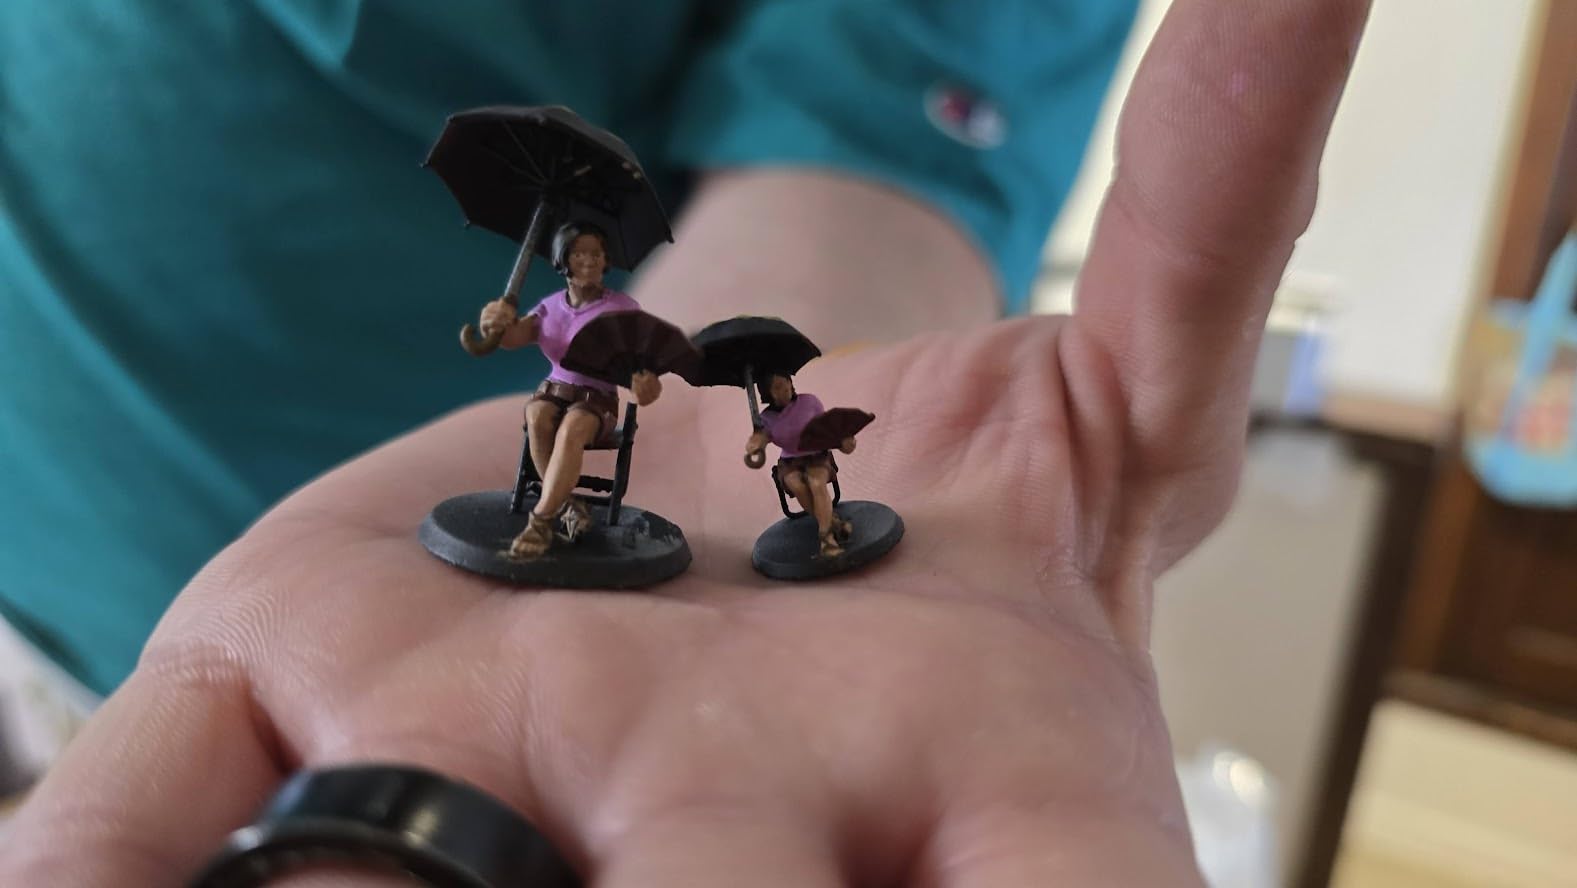
At 7.7 pounds and with a 10 x 10 x 15 inch footprint, it is small and quiet enough to live on a home office desk. The one-piece UV cover blocks light effectively, and the laser-engraved Print Platform 2.0 gave us the best build plate adhesion of the resin machines we tried, including models that needed no raft at all.
This is a machine for miniatures, jewelry prototypes, dice, terrain detail and small functional resin parts. Those prints come out smooth on the surface and hold tight tolerances that FDM simply cannot reach at layer heights people actually use.
When the Photon Mono 4 is the right call
Pick it if you are a tabletop gamer, a model painter, or a jewelry maker. The resolution-to-cost ratio here is the strongest in the roundup for a machine that still fits on a desk, and the compact footprint means you are not giving up a shelf to get it.
It is also a good second machine for someone who already owns an FDM printer and wants a detail path for small work without spending four figures.
When the Photon Mono 4 is the wrong call
Resin is a process, not just a printer. You need gloves, a wash station, curing time and ventilation, and unfinished resin parts are not shelf-ready. If you want to print and walk away, this is friction you did not sign up for.
The build volume of 153.4 x 87 x 165 mm is small. Large minis need to be rescaled or split into sections, which is a workflow change rather than a difficulty. The vat and LCD screen are consumables that some owners report cracking within weeks to months, and the mobile app is not supported on this model, so a desktop computer running Photon Workshop is a real requirement rather than a nicety.
5. TINA2S Mini Starter Kit – Best for Kids, Dorm Rooms and Small Spaces
TINA2S Fully Assembled Mini 3D Printer for Kids and Beginners, Starter Kit
Mini FDM
Fully assembled starter kit
8.3 x 8.3 x 11.4 inch footprint
2.4 inch LCD
Pros
- Arrives assembled and printing consistently
- Compact footprint suits dorms and classrooms
- Auto leveling with dual Z rails gives precise prints
- Filament and model card included as a true kit
- One touch filament loading and clear screen
Cons
- Small build volume limits it to trinkets
- Needs a metal or magnetic plate for the sensor
- Slower print times on larger models
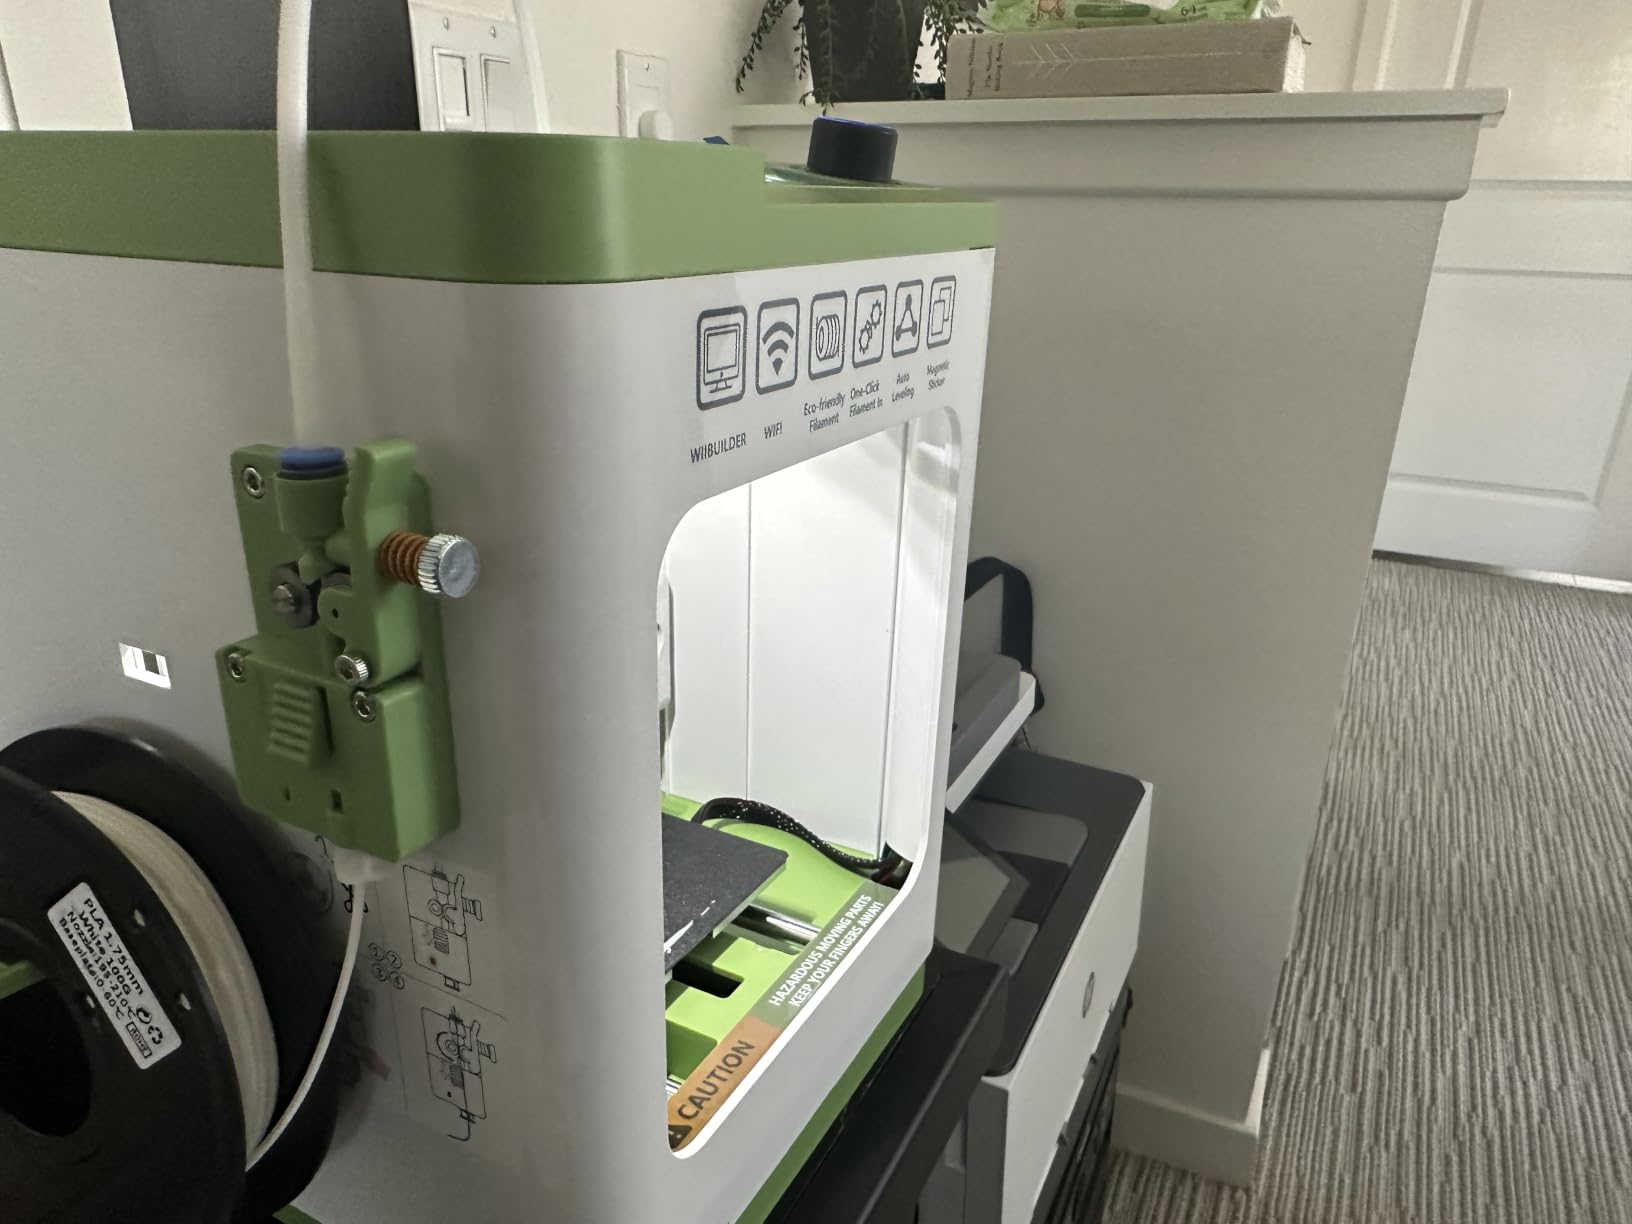
At 6.4 pounds and 8.3 x 8.3 x 11.4 inches, the TINA2S is a genuinely portable printer, and it ships fully assembled and factory tested. That detail is the whole product. Entry FDM kits fail most often because of assembly errors and frame misalignment, and this machine removes both from the equation entirely.
The 4.6 rating across 393 reviews reflects that. Owners credit the fully assembled design with killing the failure mode that sinks cheap first printers, and the auto bed leveling with dual Z-axis rails produced prints noticeably cleaner than we expected for the price.
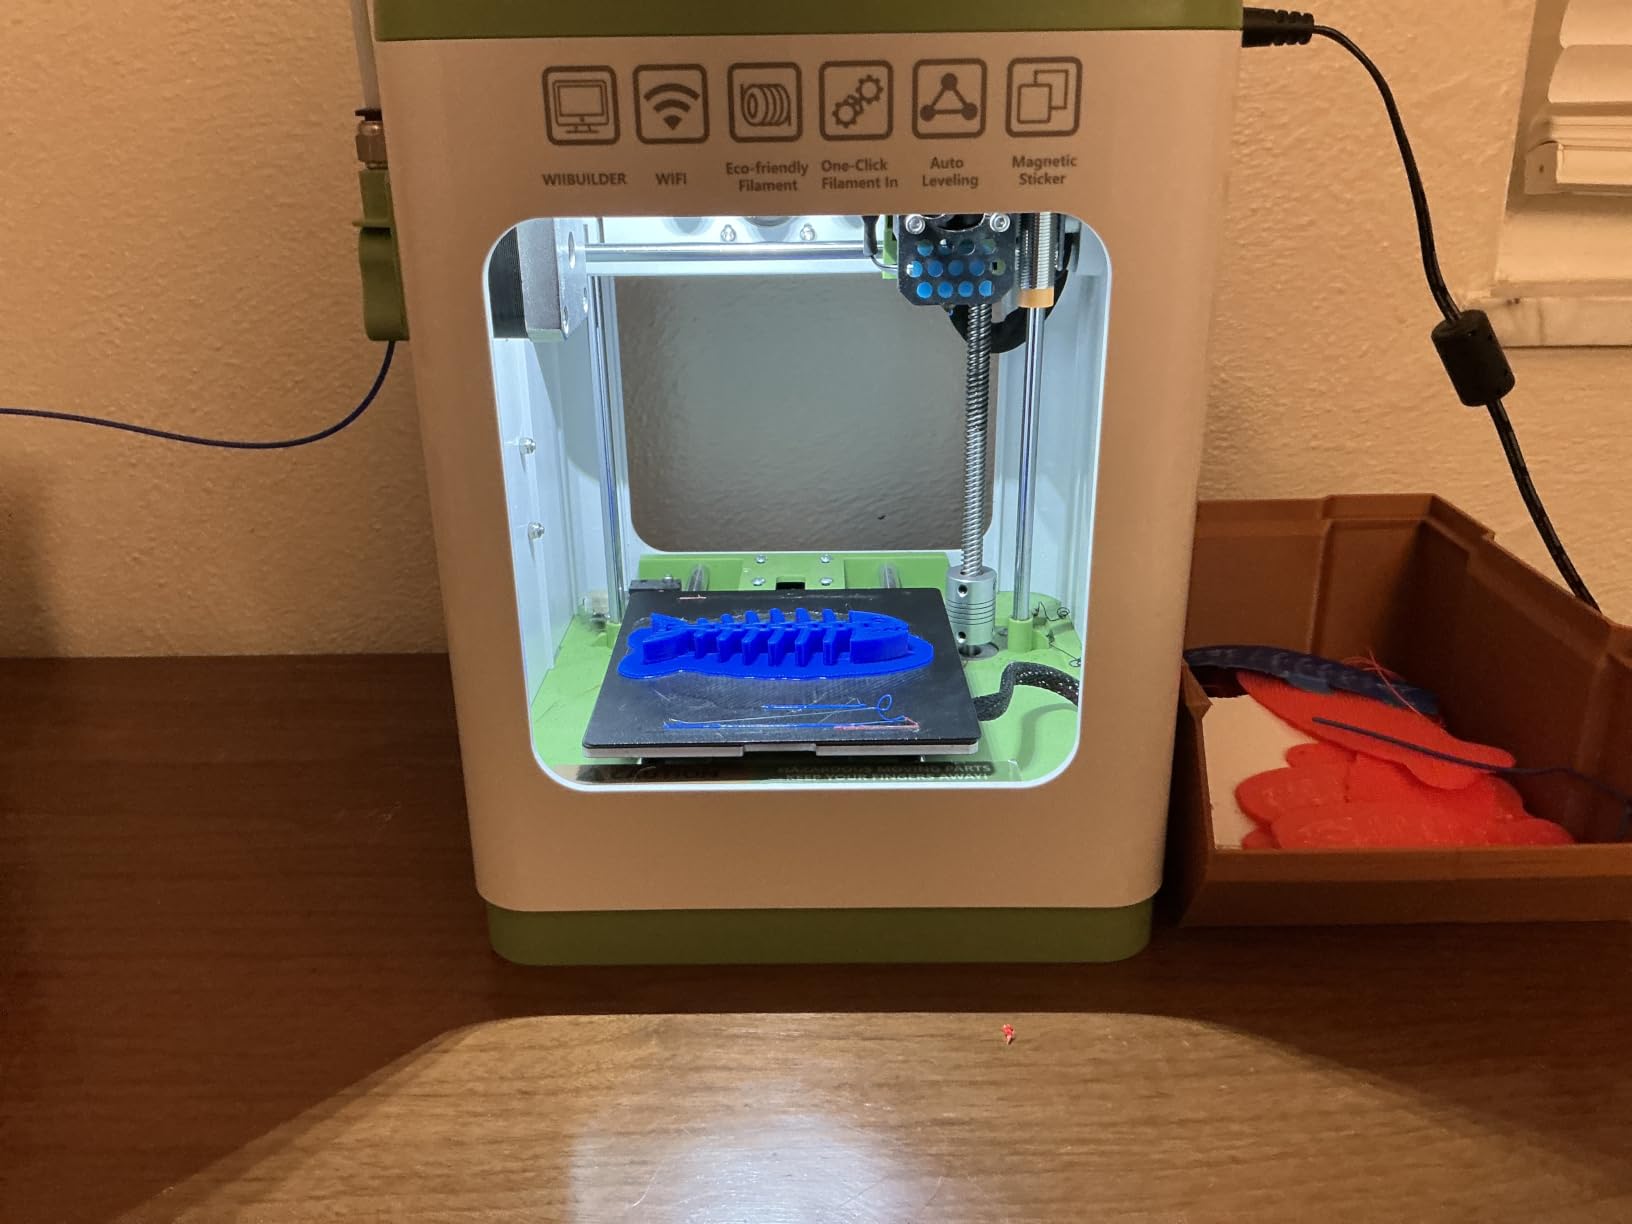
It is a true starter kit. Ten meters of PLA filament, a pre-loaded microSD card of models, one-touch filament load and retract, and a 2.4 inch LCD for basic control. Wi-Fi printing works alongside standard slicers, and we sliced with both a bundled tool and an open-source alternative without friction.
Active pause and resume means a knocked-over filament spool or a pet investigating the bed does not mean losing a four-hour print. For a household machine that is being used by someone learning, that is worth more than raw specifications.
When the TINA2S is the right call
This is our pick for a child, a student in a dorm, or anyone in a small apartment who wants to learn without dedicating a shelf. The footprint is genuinely small, the noise is modest, and the bundled material means a beginner can produce something on day one.
It is also a sensible second printer for a workshop, sitting alongside a larger FDM machine as a dedicated machine for keychains, tags and small prototypes.
When the TINA2S is the wrong call
The build volume is the limit, and it is a hard one. Small trinkets, models and tags are what this machine is for. Anything you would call a functional part, a phone case or a piece of cosplay gear does not fit without being split.
It is slower on larger models, the proximity sensor needs a metal or magnetic build plate to work correctly, and the software bundle differs from other units on the same TINA2 platform. Verify the plate type before you print, because the sensor will not behave on the wrong surface.
6. Elegoo Mars 5 Ultra – Best for High Detail and Miniatures
ELEGOO Mars 5 Ultra Resin 3D Printer
MSLA resin
9K mono LCD at 18 micron
Tilt release at 150 mm per hour
AI camera monitoring
Pros
- 9K resolution nails miniature and model detail
- Tilting vat cuts print times roughly in half
- Self leveling and self diagnostics remove manual setup
- AI camera and residue sensor catch failed prints early
- Wi-Fi job sending adds real convenience
Cons
- Camera is easily blocked by large prints and the screen is low resolution
- Lid has no hinges and must be fully removed to open which is awkward in small spaces
- Rounded resin spout makes pouring messier than a sharp-edge spout
The Mars 5 Ultra is the most automated resin machine in this roundup and the one reviewers most often call the best starter resin printer, particularly for tabletop miniatures. The 9K monochrome LCD at 18 micrometer XY resolution is a step beyond the Mono 4, and on a full unit figure the surface finish came out closer to a finished print than something you would sand down afterwards.
Tilt release technology is the feature that changes daily use. Instead of lifting the plate straight off the vat, the platform rocks during the peel, which roughly halves print time versus older Mars models and reduces the force on the build plate. Speed reaches up to 150 mm per hour, and our test layers released cleanly every time.
Self-leveling and self-diagnostics take the guesswork out of setup. A smart mechanical residue sensor, resin shortage alarms and leveling failure warnings mean the machine tells you what went wrong rather than leaving you guessing at a failed build plate bond.
When the Mars 5 Ultra is the right call
Choose it if your prints live at a small scale and detail is the priority: miniatures, character busts, detailed terrain, precision mechanical miniatures, jewelry. The 9K screen is wasted on a phone case and justified on a 32 mm figure with fine surface texture.
The AI camera and time-lapse monitoring also make it the most forgiving resin machine to learn on, since you can see a print fail at layer three instead of finding out at hour six.
When the Mars 5 Ultra is the wrong call
It is the heaviest machine in this list at 19.36 pounds and needs a dedicated shelf, not a desk corner. It also needs a computer for slicing, a wash station, curing, gloves and ventilation, and the post-processing work is the most tedious part of any hobby in this article.
Two small hardware annoyances: the lid has no hinges and must be fully removed to open, which is awkward in a tight space, and the rounded resin spout makes pouring messier than a sharp-edge spout. A minority of owners also report persistent first-layer adhesion failures on stickier resins, and the camera is easily blocked by a tall print, which defeats its purpose at exactly the moment you most want it.
7. Flashforge AD5M – Best Gateway Printer for New Owners
FLASHFORGE AD5M 3D Printer Fully Auto Calibration Print with 1-Click Max 600mm/s Speed, All-Metal CoreXY Structure Precise Printing, Easy-Maintenance Quick-Swap Nozzle, Print Size 220x220x220mm
CoreXY FDM
220 x 220 x 220 mm
600 mm/s
One click auto calibration
Pros
- Setup is essentially moving the screen to its mount
- OrcaSlicer has a short learning curve
- All-metal CoreXY motion is smooth and quiet
- Three second tool-free nozzle swap
- Owners report 20 plus prints in under two weeks
Cons
- Some units arrive dead on arrival and cannot complete even a test print
- Best results seem to require Flashforge's own filament while other brands can fail to feed and stick
- Noisy in high-speed mode and bed heating is slow
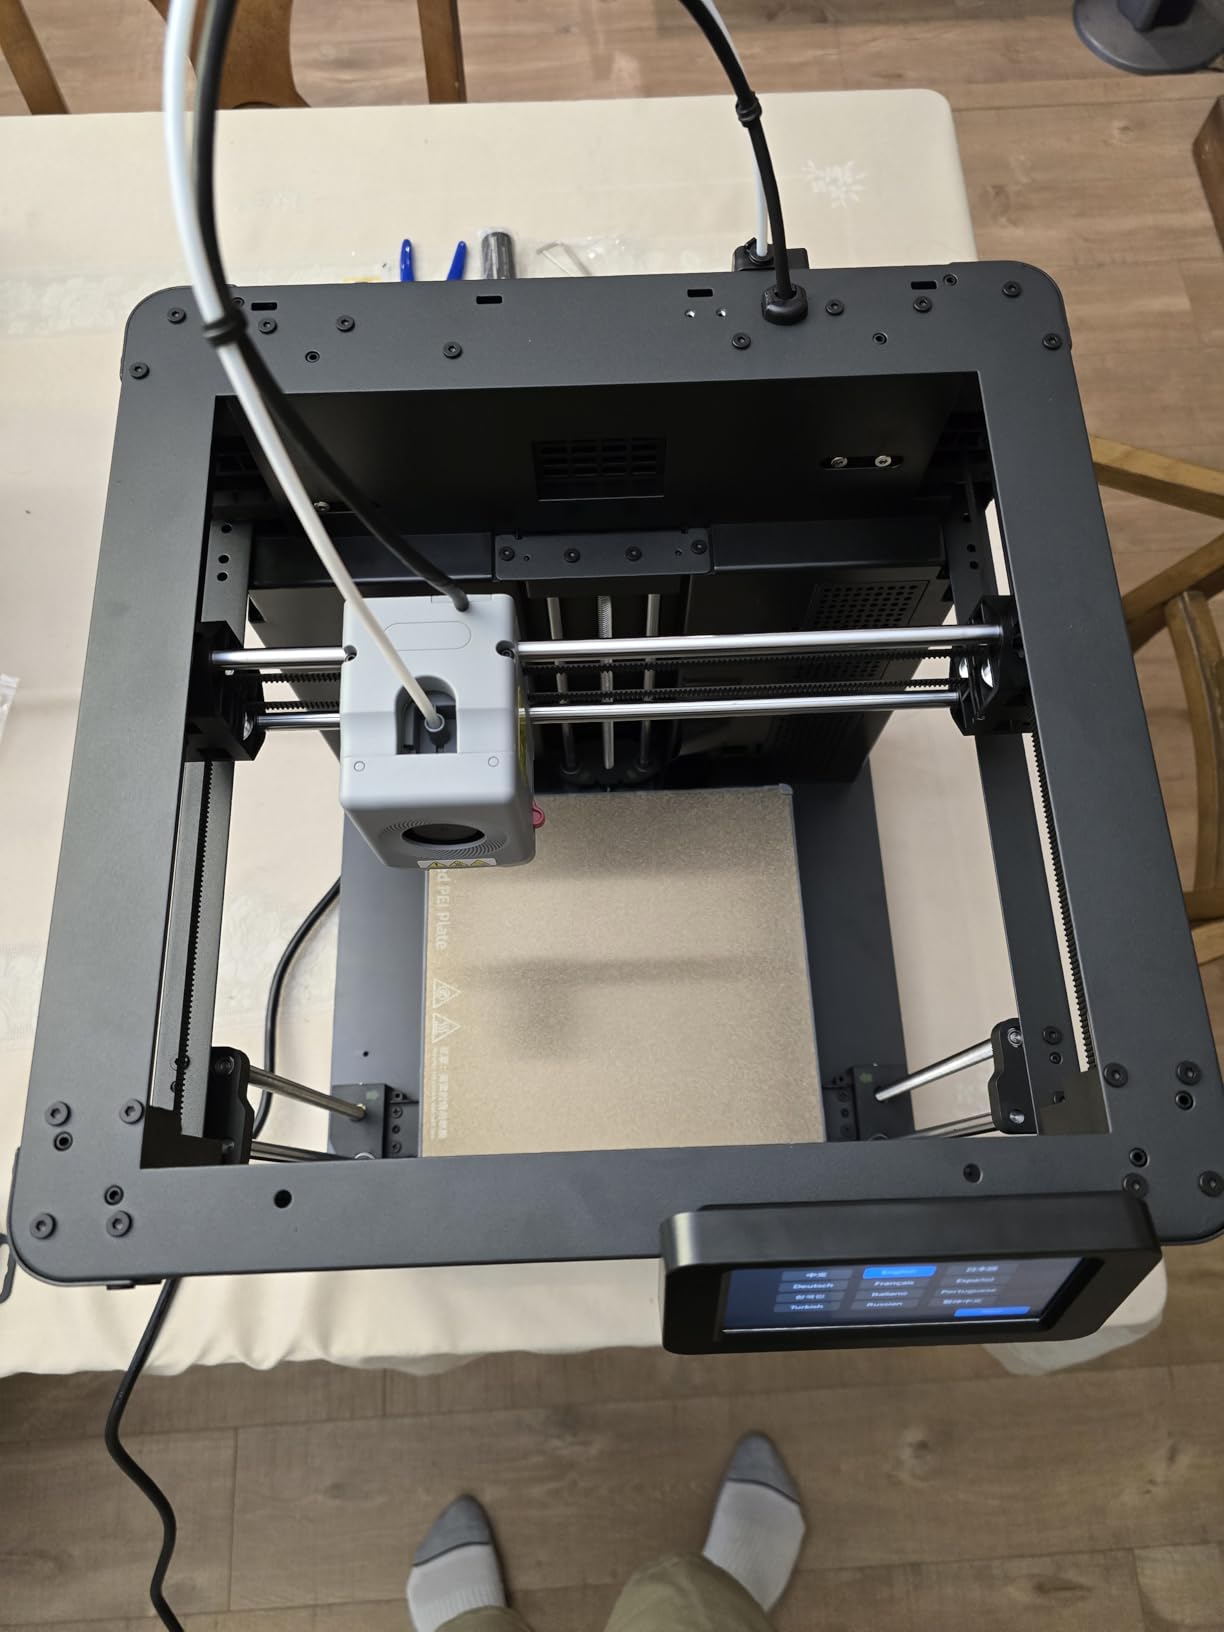
The AD5M sits in the same 220 mm Core XY class as the Adventurer 5M but leans harder into software ease. Orca-flashforge, the bundled slicer, is widely regarded as the friendliest slicer at this price, and the Flash Maker app adds remote monitoring and multi-printer management. Setup was one task for us: moving the screen to its mount. Everything else was one-click automatic bed leveling and offset calibration.
Owners report the adoption curve is fast. Many describe running more than 20 prints in under two weeks without ever opening a tuning menu, and that tracks with our experience: the machine asked for nothing and produced good parts. The all-metal Core XY motion structure keeps movement smooth and precise, and it runs quieter than the speed figure suggests.
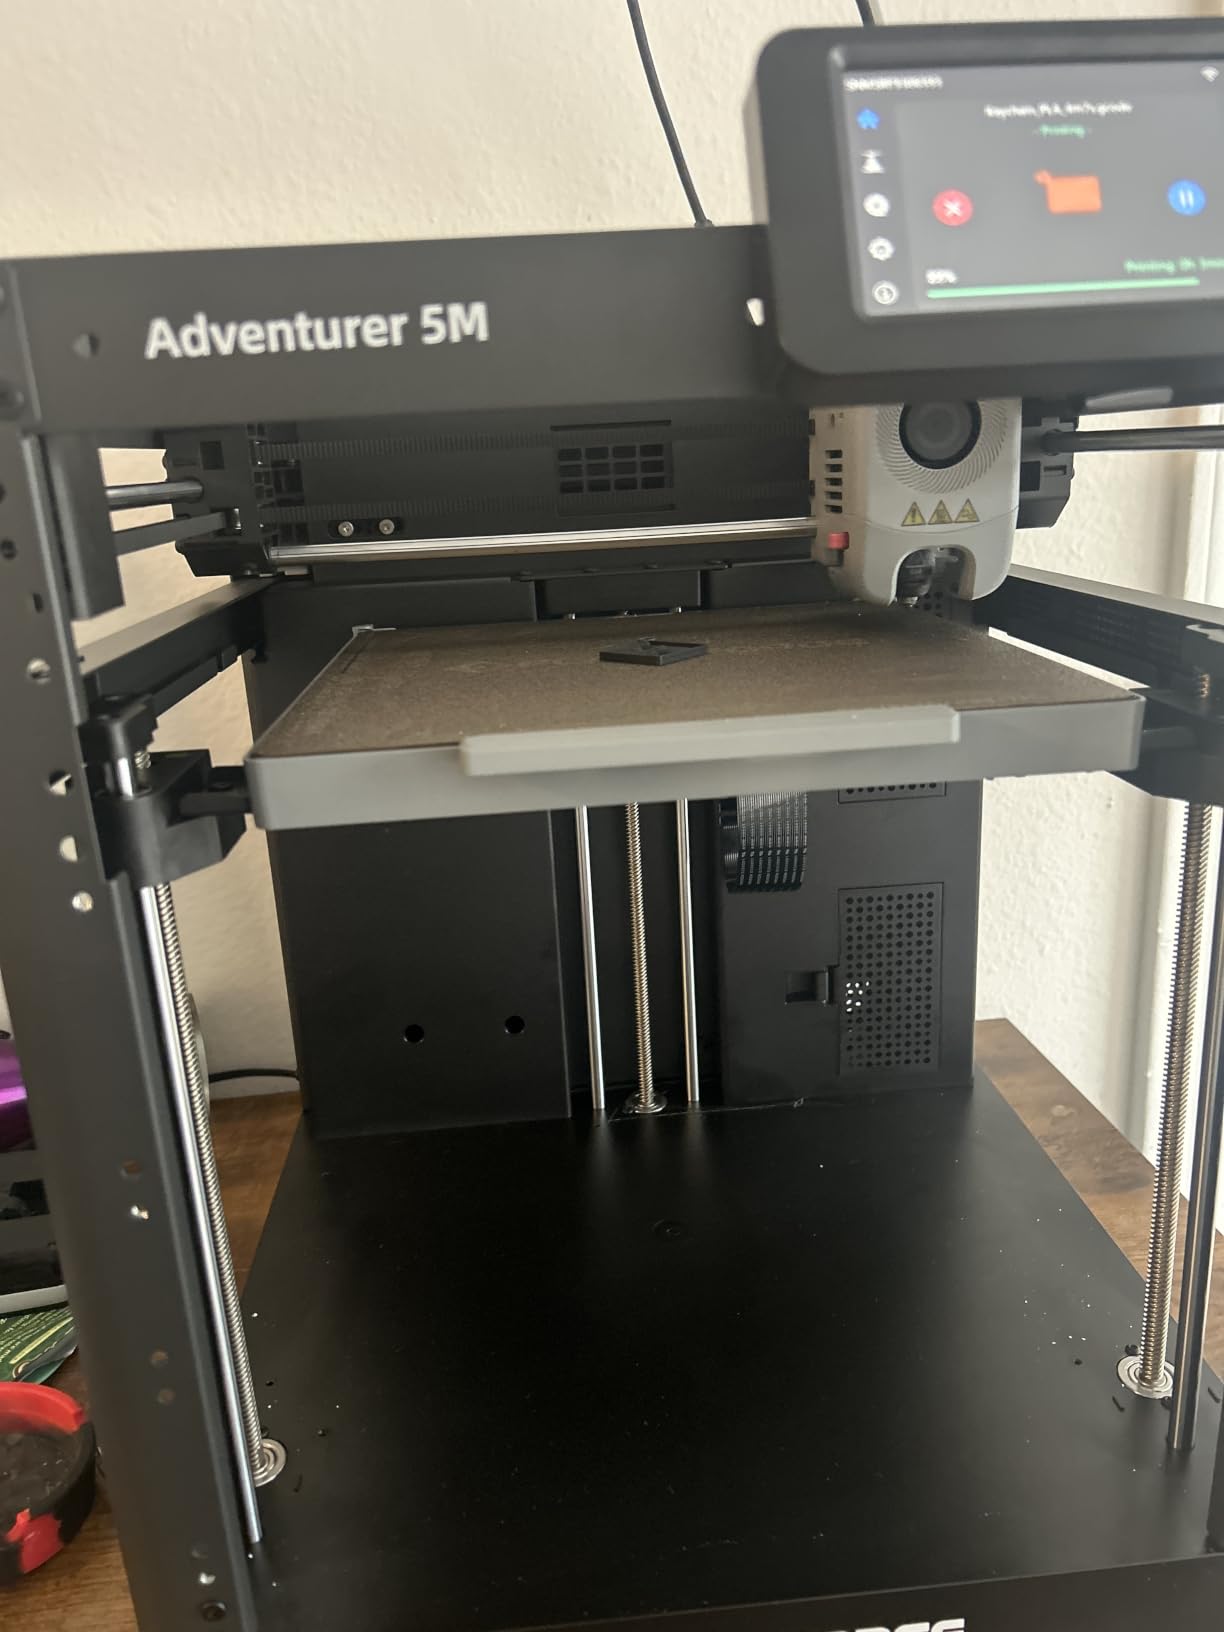
The tool-free quick-release nozzle is the detail we would highlight. Swapping between 0.25, 0.4, 0.6 and 0.8 mm takes about three seconds with no tools, which makes it practical to print fine detail and fast draft layers on the same machine. Power outage resume saved two of our long prints when a circuit tripped.
The double-sided PEI steel plate has a reverse side for PETG, so you are not repainting or buying a second plate every time you switch materials.
When the AD5M is the right call
Pick the AD5M when you want Core XY capability and an easy software path in one machine. It is also a strong first serious printer for someone who plans to grow into larger projects within a year, rather than a permanent hobby machine.
For anyone running more than one printer, the one-click batch transmission and multi-printer monitoring in Orca-flashforge is a feature we did not see on any other machine in this list.
When the AD5M is the wrong call
The recurring complaint in reviews is filament brand sensitivity. Best results seem to come from Flashforge’s own filament, and third-party spools can fail to feed or stick to the plate. If you already have a preferred brand in mind, test it before committing.
There is also entry-tier quality control variance. A small number of machines fail factory testing and cannot complete even a test print, so factor the possibility of a return into your plan. It is noisy in high-speed mode, bed heating is slow, and slicing requires a Windows or Mac computer, so iPad users can start a print but cannot slice one. Wi-Fi is spotty, though Ethernet holds steady.
8. Entina Tina2C – Best Value Mini Printer with an App
Entina Tina2C 3D Printer for Kids & Beginners, Fully Assembled Starter Mini 3D Printer, Start in 8 Mins, App & WiFi Control, Auto Leveling, 3000+ Model Library, 20+ Creative DIY Modules for STEM, Home
Mini FDM
3.9 inch cube build volume
Wi-Fi and app control
8 minute first print
Pros
- Kids go from unboxing to a finished print in under a day
- Poloprint Cloud app with photo-to-print
- Compact quiet and light for a desk
- Support responds well and resolves issues
- Low cost first printer with 25 plus STEM modules
Cons
- 3.9 inch cube becomes limiting very quickly
- Nozzle clogs and feed failures are reported often
- Side spool holder will not take 1 kg spools
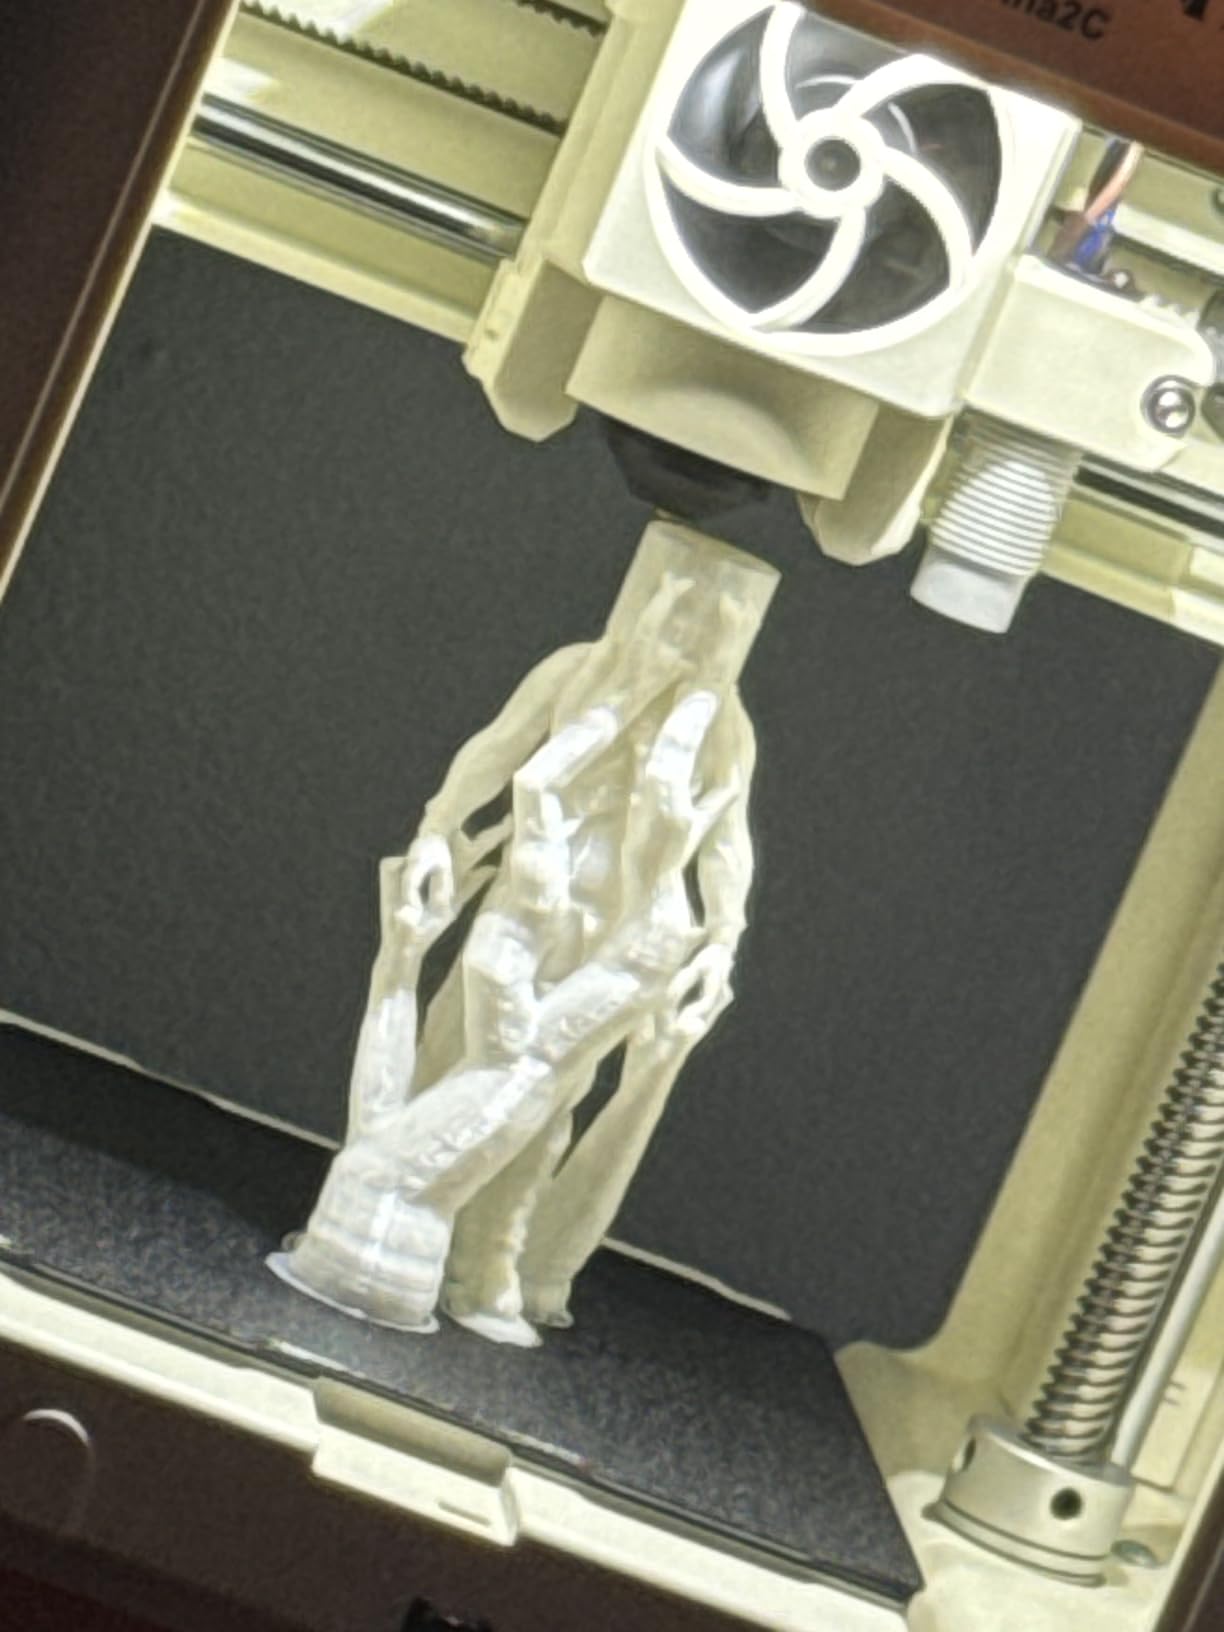
The Tina2C is the most interesting product idea in the roundup, and it is not really a printer so much as a guided printing platform. The Poloprint Cloud app walks a new user through setup and includes AI-powered photo-to-print, which turns a photo on a phone into a printable model. Owners with children report going from unboxing to a finished print in under 24 hours with adult help.
Beyond the software, it is a competent mini machine: auto bed leveling, power loss recovery, integrated LED lighting, a self-cleaning nozzle and a quick-swap printhead. At 5.28 pounds with an 8 x 6.5 x 10 inch footprint it is light enough to move between rooms, and 2.4 GHz Wi-Fi printing plus a TF card fallback covers both convenience and offline reliability.
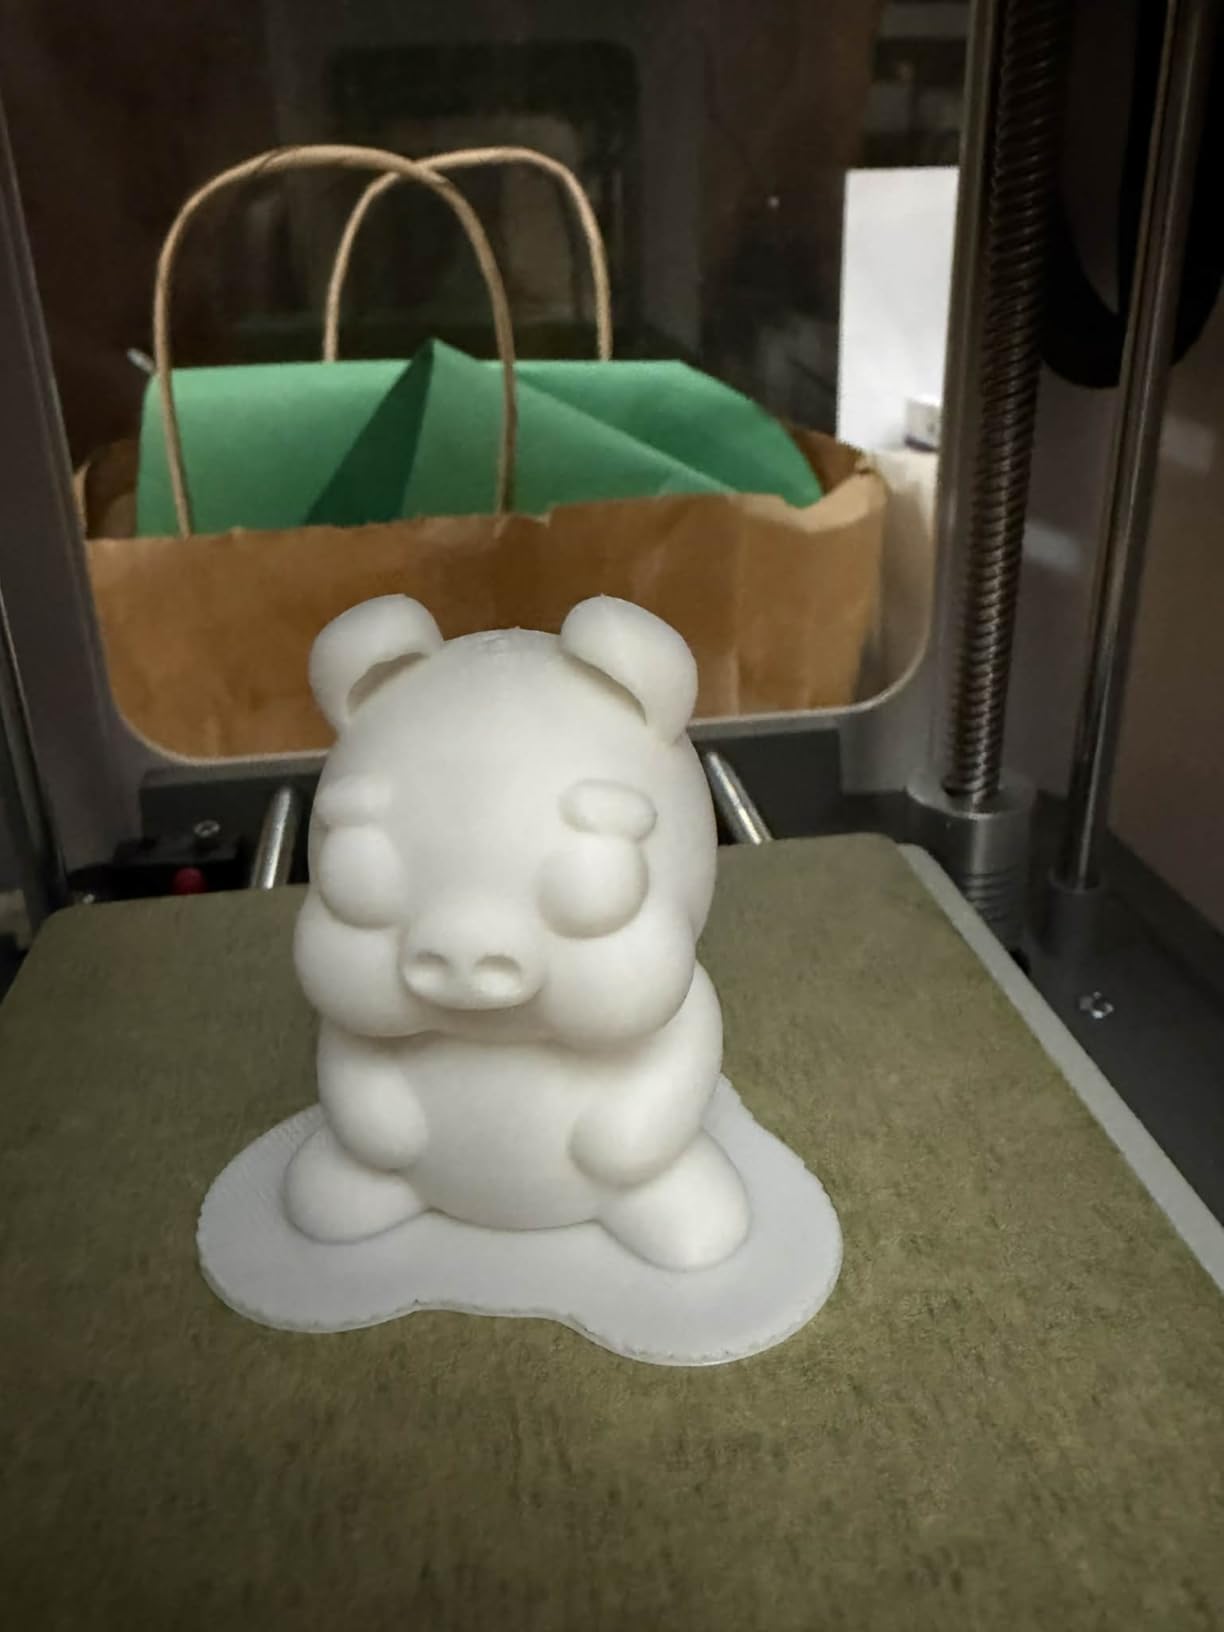
For a gift or a classroom, the 25 plus creative DIY modules and regularly updated STEM courses make this the most turnkey option we tested. Owners of the printer as a gift are consistently enthusiastic, and Entina’s support responsiveness is rated well across the review set.
The 3.9 x 3.9 x 3.9 inch build volume is genuinely tiny. That is the entire tension of this product, and it needs to be understood before purchase rather than discovered after.
When the Entina Tina2C is the right call
Buy it for a child or a beginner who needs the software to hold their hand. The photo-to-print feature and the guided app are the product; the printer is competent rather than exceptional, and the guided experience is what makes it work for its intended audience.
It also works well in a classroom, where a shared machine benefits from standardized guided setup and a model library of more than 3,500 items.
When the Entina Tina2C is the wrong call
Review sentiment splits cleanly along exactly this line. As a gift for a kid getting into STEM, owners are enthusiastic. As a general-purpose printer, the 3.9 inch cube and recurring nozzle clogs draw heavy criticism.
It is also not independent for very young children; an adult supervises loading and most print jobs. The side spool holder will not accept 1 kg spools, so you will buy smaller filament. And medium-size objects can take two hours or more, which is a long wait for a first-time user sitting in front of the machine.
9. HEPHI3D TINA2 – Cheapest Usable Entry Printer
TINA2 3D Printer, HEPHI3D Mini 3D Printers for Beginners Fully Assembled
Mini FDM
Fully assembled
2.4 inch LCD
One touch auto bed leveling
Pros
- App guided setup with almost no troubleshooting
- Good print detail and quality for the price
- Kids around 10 to 11 can run it once set up
- Compact lightweight and fully assembled
- Open source slicing alongside the bundled app
Cons
- Slow print speed against larger machines
- An adult slices and loads files for younger kids
- Some machines jam after a few dozen cycles
The HEPHI3D TINA2 is the entry point of the TINA2 family and the most affordable FDM machine here. It arrives fully assembled with a 2.4 inch LCD, one-touch auto bed leveling and dual Z and dual Y rails for stability, and at 5.68 pounds it moves between rooms without effort.
Setup was the smoothest in the mini category. App-guided configuration meant we went from opening the box to a finished print with effectively no troubleshooting, and the removable magnetic build plate makes swapping models fast. A sample PLA roll and a microSD card of models are in the box, so the machine is usable immediately.
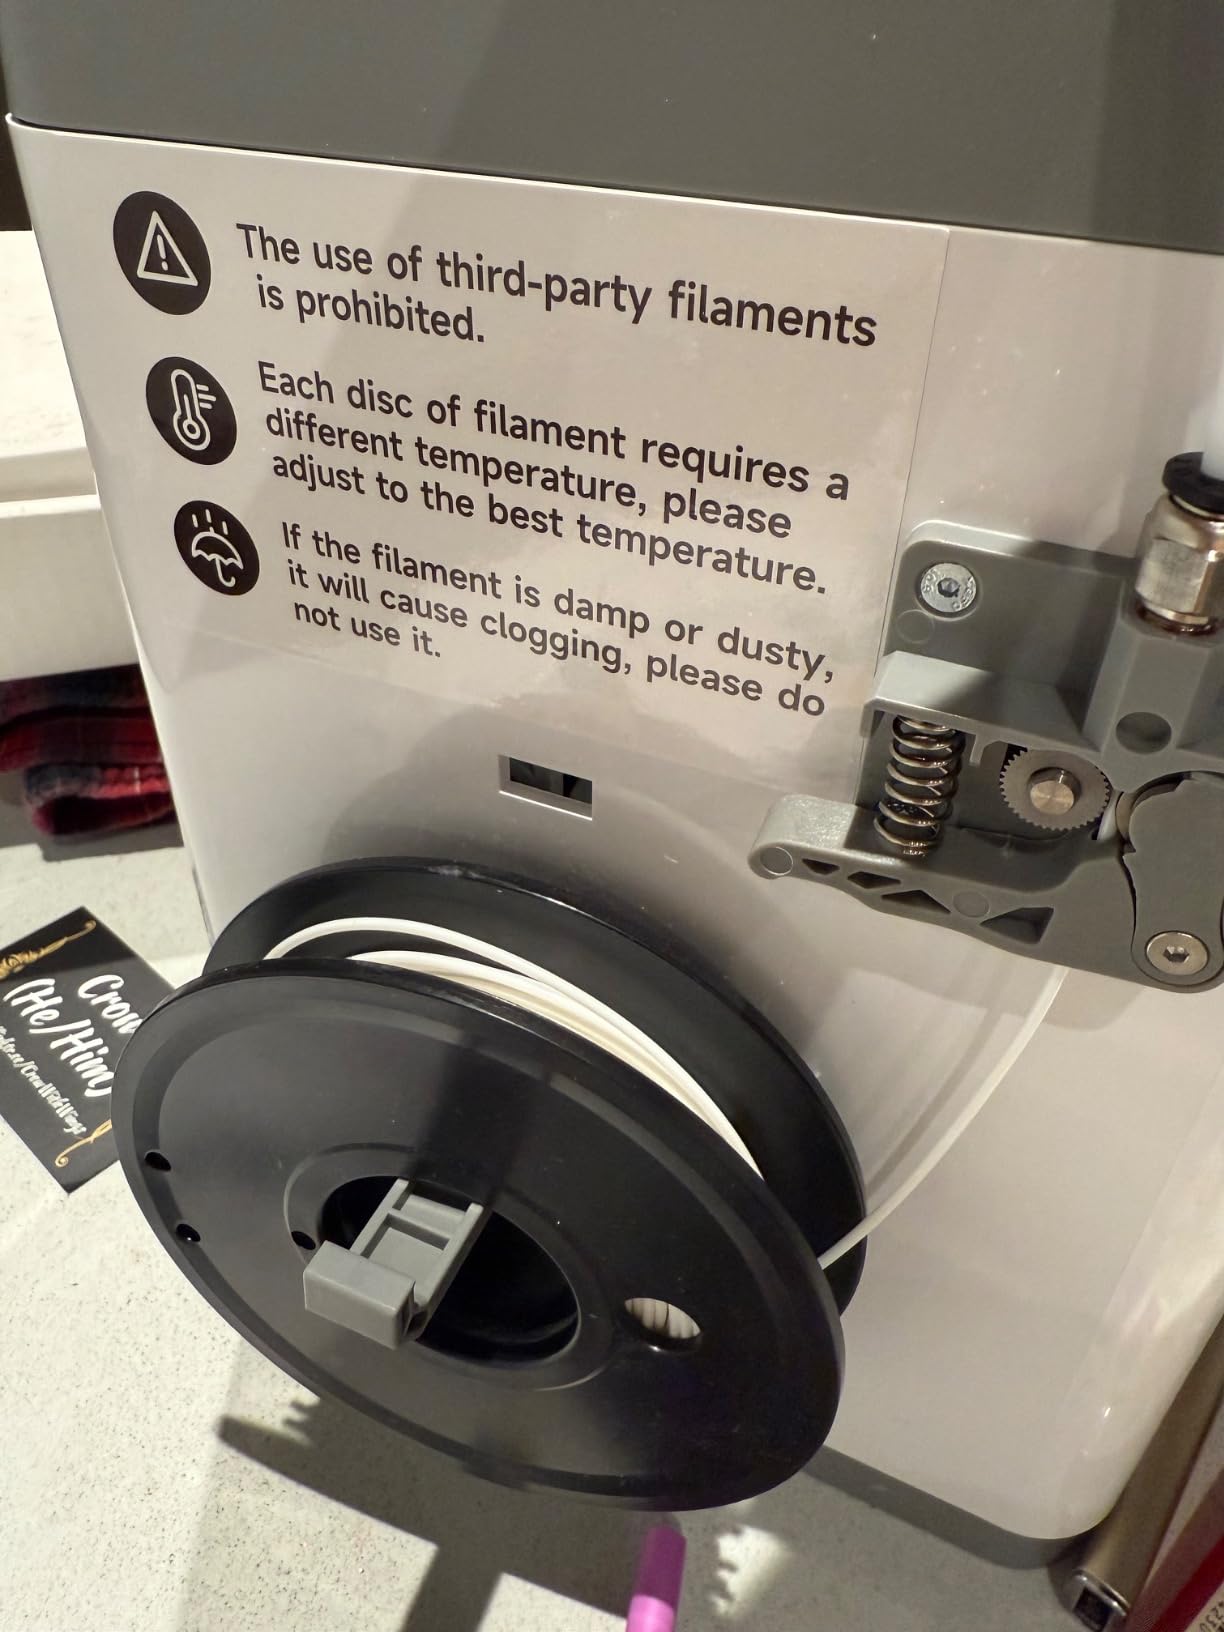
It supports open-source slicing through WiiBuilder, Cura, Simplify3D and PrusaSlicer, which is more flexibility than most bundled ecosystems in this price range and more than we expected from a machine at this end of the list. Material support covers PLA, PLA Pro and TPU. Sensor-based pause and power outage resume protect longer prints.
Owners consistently report good print detail and quality for the price, and that children around 10 or 11 can operate it independently once it is set up.
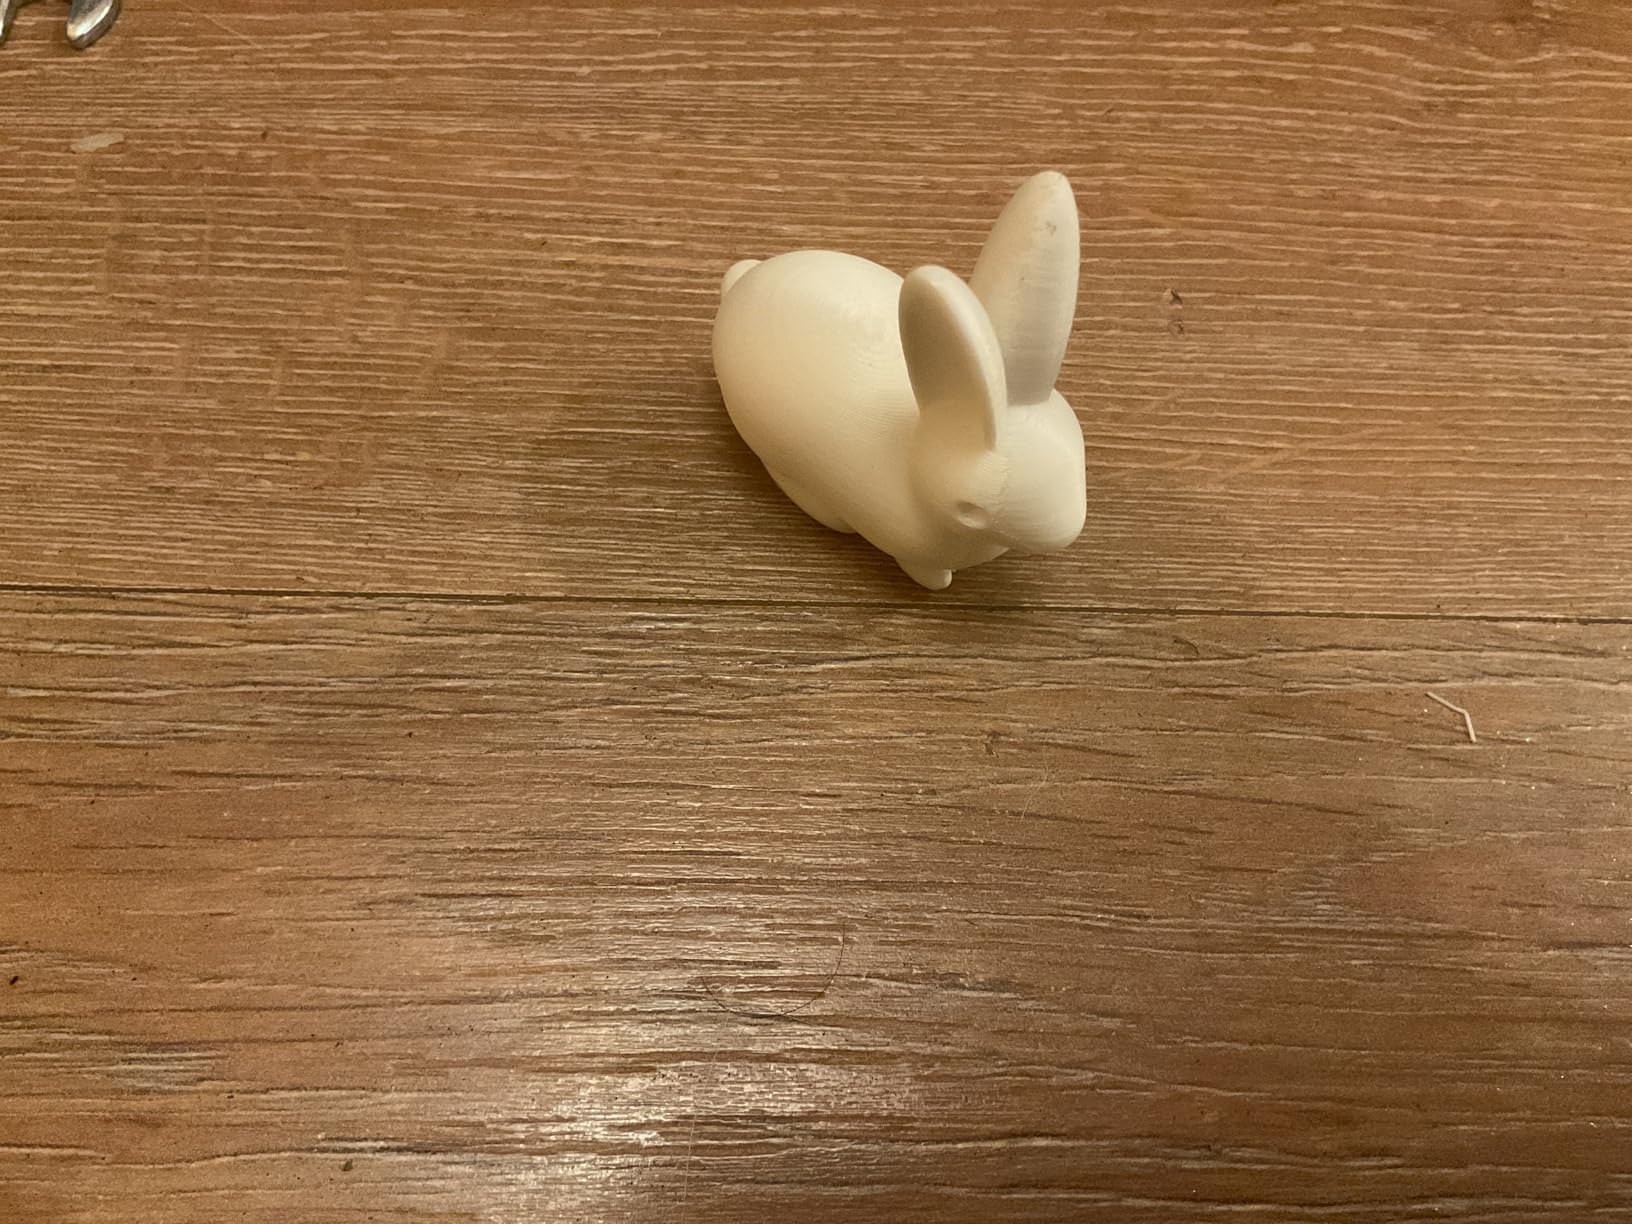
When the HEPHI3D TINA2 is the right call
Pick it when the budget is the primary constraint and the goal is learning. It is the least expensive route to a working FDM printer that arrives assembled, self-levels and includes material and models. Nothing is hidden behind a second purchase.
For older children or a shared family hobby machine, the dual rail design and open-source slicing support give it more longevity than the price suggests.
When the HEPHI3D TINA2 is the wrong call
This machine carries the highest one-star share in the roundup at 13 percent, and the complaints cluster in two places: filament jams after a few dozen cycles and slow print speeds relative to larger machines. The nozzle tip also needs regular cleaning, which is normal maintenance but adds a recurring task.
Children under roughly 13 will need an adult to slice models and load files. And if you think you will grow past trinkets quickly, one long-term reviewer in the review set recommends stepping straight to a larger, faster machine instead. The TINA2S above is the better first purchase for most people; this one makes sense when the budget is genuinely tight.
10. Anycubic Photon Mono – Most Proven Resin Gateway
ANYCUBIC Photon Mono 3D Printer, UV LCD Resin 3D Printer Fast Printing with 6.08” 2K Monochrome LCD, Off-line Print 5.11″(L) x 3.14″(W) x 6.49″(H) Printing Size
MSLA resin
6.08 inch 2K mono LCD
0.01 mm accuracy
130 x 80 x 165 mm
Pros
- Very quiet and quieter than entry FDM machines
- 2K monochrome screen prints faster than rivals
- Tight tolerances suit miniatures and small parts
- Simple menu with offline print preview
- UV cover blocks resin odor effectively
Cons
- Resin handling washing curing and safety gear add real cost and setup time
- Software knowledge is required since poor STL or support settings cause frequent failures
- The one-piece FEP assembly is difficult and expensive to replace if damaged
With more than 2,000 reviews, the Photon Mono is the most proven machine in this roundup and the one we would trust a nervous first-time resin buyer with. At 9.35 pounds and under ten inches tall it is small, and it is noticeably quieter than entry FDM machines, which matters more than it sounds when a resin print runs for eight hours on a desk.
The 6.08 inch 2K monochrome LCD exposes each layer in 1.5 seconds, and a matrix parallel light source with 15 lamp beads spreads that exposure evenly. Anycubic rates it at 2.5 times faster than standard resin printers, and our layer times matched that. A Z-axis guide rail with a stepper motor kept the platform stable, and the quoted 0.01 mm layer accuracy showed up as tight tolerances on small functional parts.
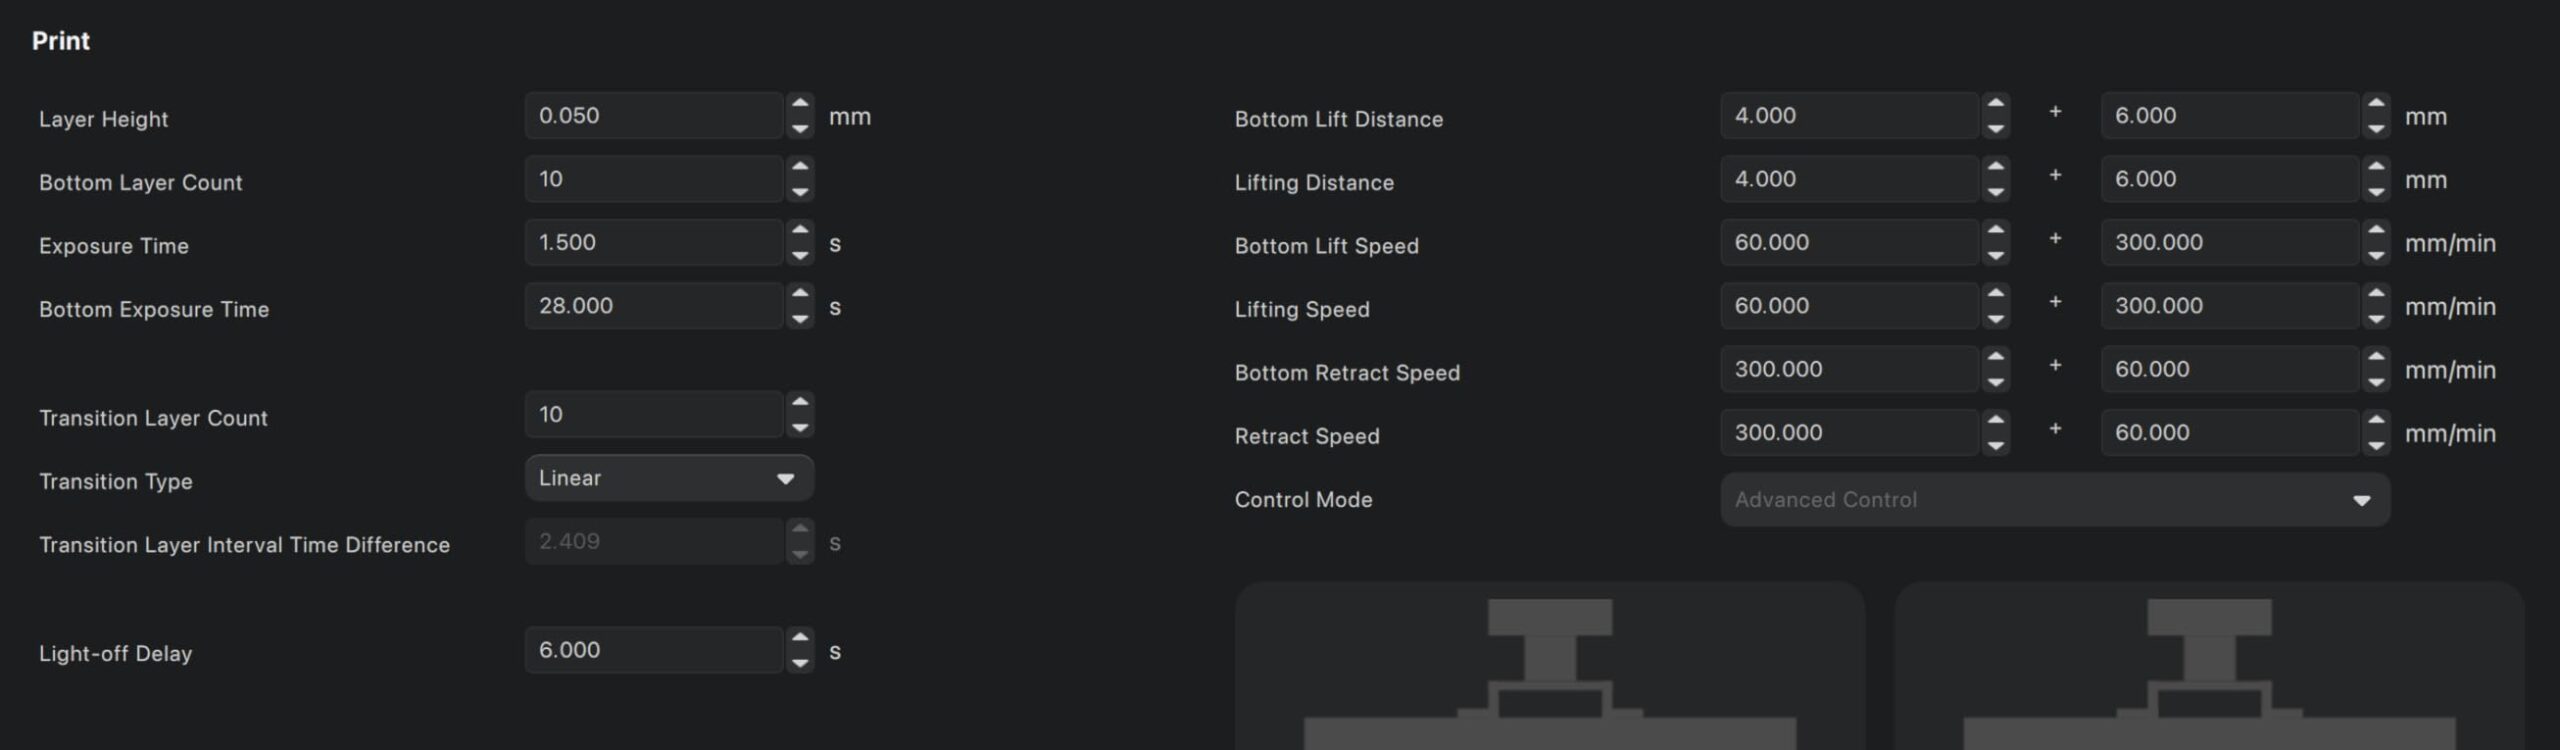
The setup is genuinely simple. An intuitive menu with a print preview lets you start a job offline, so you can send a sliced file and walk away. The one-piece transparent cover blocks 99.95 percent of 405 nm UV, which is the part that actually matters for a machine sitting in a home with pets and kids, and a metal vat and sturdy tools are included.
Owners value it for speed, silence and precision, and the consistent advice from experienced users in the review set is worth repeating: success with resin depends far more on slicer settings and support placement than on the hardware. The Mono 2 will not rescue a badly supported model.
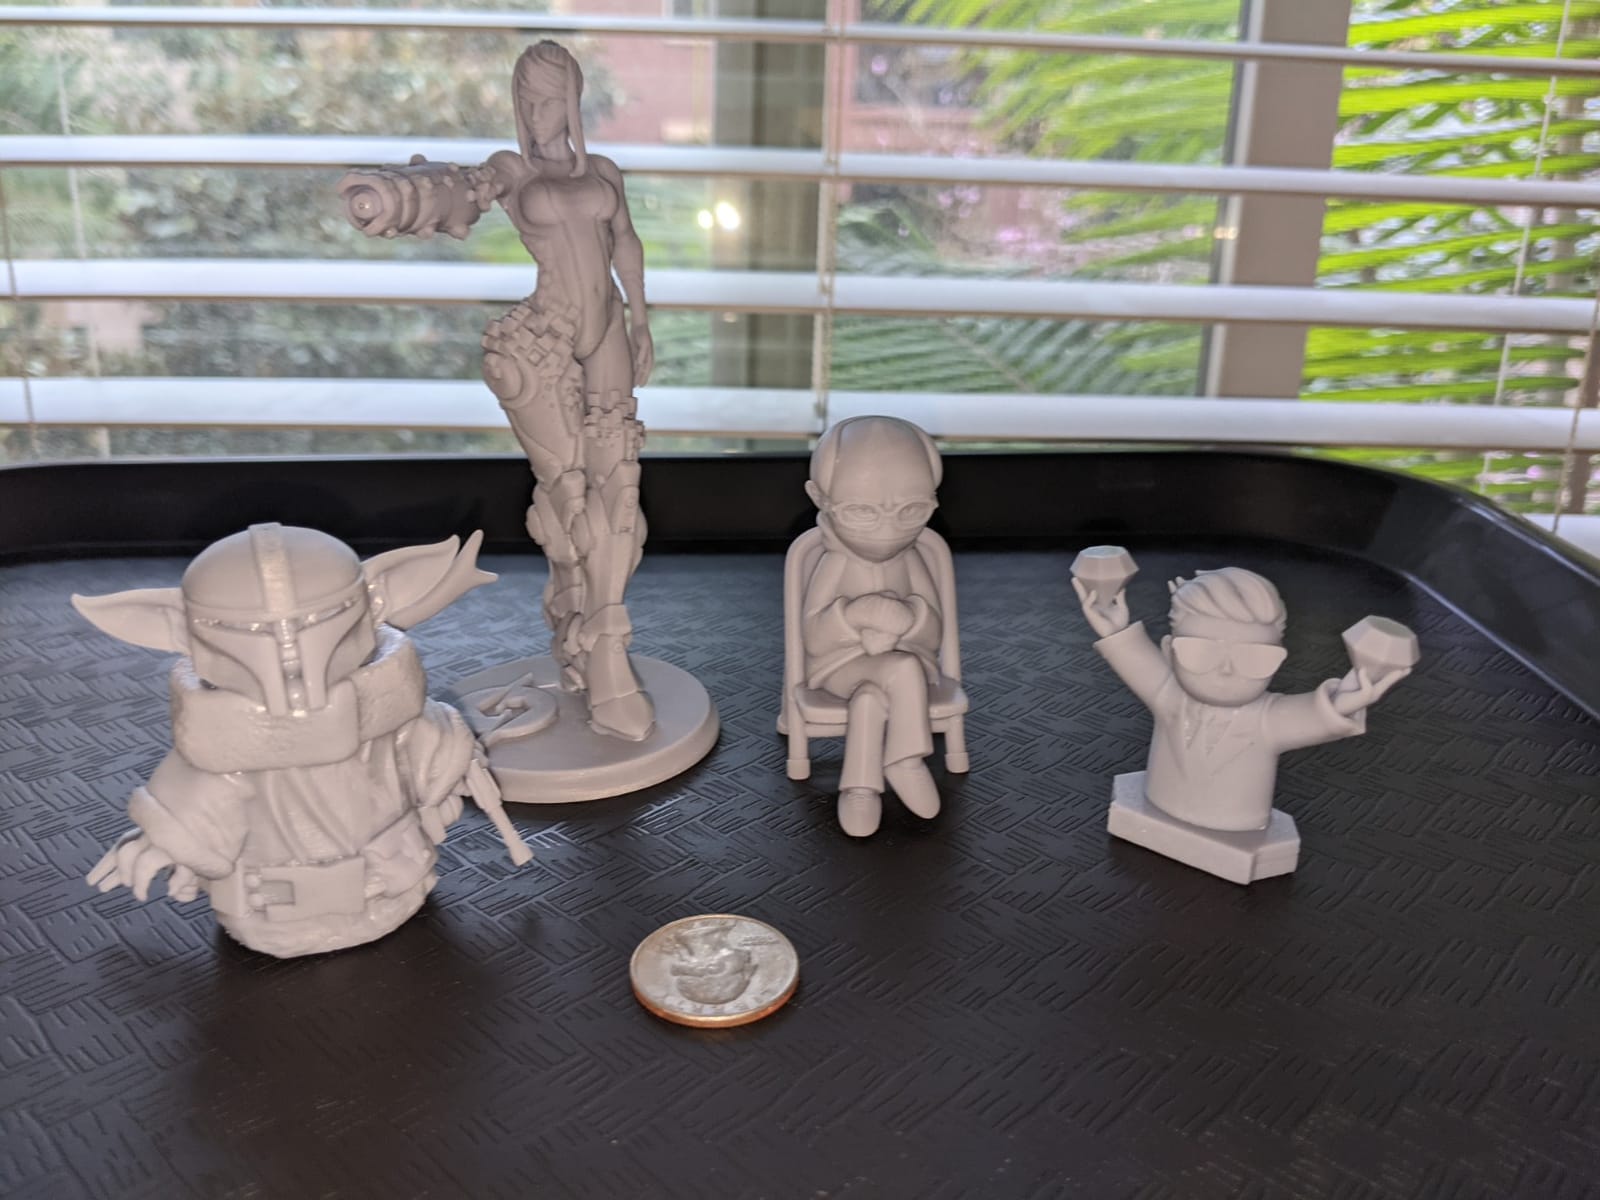
When the Anycubic Photon Mono is the right call
Pick it if resin printing appeals to you and you want the most affordable route in with the widest owner base for troubleshooting. The review volume means almost any problem you hit has already been solved by someone else and documented somewhere.
It is a good choice for figurines, miniatures, dice and small functional parts, and the low noise makes it workable in a home office or bedroom where a fan would not be.
When the Anycubic Photon Mono is the wrong call
Its 2K screen is a step down from the Mono 4 and the Mars 5 Ultra, so if detail is the reason you want resin, one of those is a better buy for a modest step up.
Resin handling, washing, curing and safety gear add real cost and setup time on top of the machine, and the one-piece FEP assembly is difficult and expensive to replace if it is damaged. The lid must be fully seated or the print simply will not begin, and the recessed LCD protection is hard to clean if resin spills. The warranty runs one year and explicitly excludes the LCD screen and FEP film, so budget for those as year-one consumables rather than surprises.
Buying Guide: FDM or Resin, and What This Budget Really Buys
FDM or MSLA resin: pick your process before your machine
Everything in this roundup is either an FDM machine, which melts plastic filament through a heated nozzle, or an MSLA resin machine, which cures liquid photopolymer with a UV light source one layer at a time. That single choice drives everything else, and it is worth more thought than any specification.
Choose FDM if you want low friction. Materials are cheap, cleanup is a brush, the smell is minimal, and a failed print is a few cents of filament. Choose resin if detail is the point: miniatures, jewelry, fine surface finish and tight tolerances. The costs of resin are the washing and curing workflow, gloves, ventilation, and a learning curve in the slicer that FDM does not have.
A practical rule from our testing: buy the type of machine you will actually use. Several people in the r/3Dprinting threads we read bought resin for detail work and stopped printing because the post-processing was too much. Two resin machines in this list, the Elegoo Mars 5 Ultra and the Anycubic Mono 4, are the ones we would put in front of that buyer.
The same 300 dollar ceiling shapes the rest of this site too, and we test it the same way in other rooms of the house: our outdoor pizza oven picks and charcoal grill roundup use the same build volume, wait-and-see and value-for-money framework as this list.
Bed slinger or Core XY, and what that buys you
A bed slinger moves the print bed back and forth under a fixed nozzle. It is cheap, simple and mechanically robust, which is why the Ender 3 V3 SE sits at the top of this list. A Core XY machine moves the tool head instead. It is faster, quieter and immune to the ringing artifacts that appear when a bed slinger is pushed hard, which is why the Flashforge machines are here.
The practical difference shows up in print times on larger models. At 250 mm/s the Ender is plenty. At 600 mm/s the Core XY machines finish long jobs in a fraction of the time. Neither is wrong; they suit different volumes of work.
What this price class does not buy you
This is the section most budget roundups skip, and it is the one that prevents disappointment.
You do not get a heated chamber. That means ABS and ASA warp, and warping means discarding prints. If engineering plastics are a requirement, this price band cannot reliably meet it without adding an enclosure yourself.
You do not get reliable multicolor as standard. Only the Bambu Lab A1 has a genuine automatic multi-color path, and it requires the AMS lite purchased separately.
You do not get large build volumes. Most machines here cap at 220 mm on a side, and the mini machines are far smaller. Plan to split large models.
You do not get zero maintenance. Nozzles wear, build plates need cleaning, resin vats and FEP films are consumables, and the mini machines report clogging more often than the full-size Core XY units.
First-layer troubleshooting: the fix for the number one beginner problem
Bad first layers are the most reported failure in every forum thread we read, and the cause is almost always one of four things.
The nozzle is too far from the bed. You will see spaghetti, a squashed mess of strands instead of a flat layer. Increase the Z-offset slightly, or use the machine’s own auto leveling routine instead of a paper test.
The nozzle is too close. You will see the nozzle dragging, gouging the PEI coating, and a layer that looks scraped. Move it away a fraction at a time.
The bed is cold or dirty. First-layer adhesion drops sharply on a cold plate or a plate with finger oils and cured filament on it. Clean with warm water and detergent, and let the bed reach temperature before starting.
Filament is damp. Wet filament pops, bubbles and creates a rough first layer. It also clogs. A filament dryer is the single best money you can spend after the printer, and it is our first recommendation in the upgrade path below.
Safety around kids and pets
No competitor in this category addresses this, so we will. Resin is a sensitizer. Uncured liquid resin should not touch skin, and it should be handled with gloves in a ventilated space away from where children or pets can reach it. Finished resin parts need full curing before they are safe to handle, and the one-piece UV cover on resin printers exists to block 405 nm light, not to make the process harmless.
FDM is safer but not silent about fumes. PLA is mild, PETG is mild, and ABS and ASA give off noticeable styrene fumes, which is one more reason open-frame machines and those materials are a difficult combination. Keep every printer on a stable surface out of reach of curious hands, and route resin work away from a kitchen table.
What to buy next, in priority order
1. A filament dryer. Dry filament fixes popping, stringing and clogs simultaneously, and it protects your material.
2. A spare build plate and a spare nozzle. Both are cheap and both are the first things to wear out.
3. An enclosure, if you own an open-frame machine and want to attempt ABS or ASA. This is the single upgrade that changes what the machine can do.
4. A wash and cure station, if you bought resin. Skipping this is why some first resin attempts disappoint.
5. A hardened or stainless steel nozzle, once you start printing abrasive fiber-filled materials. A brass nozzle erodes quickly against carbon fiber and glass fiber.
For reference, our year-one total ownership math looks like this: Every filament spool is a few dollars and lasts weeks, a printer drawing typical power for a few hours a day adds a small amount to an electricity bill, nozzles and build plates are single-digit dollar items, and a resin setup adds a wash station and gloves to the initial list. The printer is not the recurring cost, and buyers who plan for consumables up front tend to enjoy the hobby more.
Frequently Asked Questions
What is the best 3D printer under 300 dollars?
The Creality Ender 3 V3 SE is our pick for the best 3D printer under 300 dollars. It offers a 220 x 220 x 250 mm build volume, CR Touch automatic bed leveling, a direct drive extruder that handles flexible TPU, and the deepest modification and repair community of any machine in this range. The Bambu Lab A1 is the easier alternative if you want automatic calibration and optional four-color printing.
What is the best 3D printer for a reasonable price?
For most buyers, the Bambu Lab A1 is the most reasonable first purchase: it self-levels, self-calibrates flow and Z-offset, runs quietly, and produces consistently high quality output without a tuning cycle. If you want the largest build volume and the freedom to modify the machine, the Creality Ender 3 V3 SE is the better value.
What is the best and most affordable 3D printer?
The HEPHI3D TINA2 is the most affordable machine here, arriving fully assembled with a sample PLA roll, a microSD card of models and one-touch auto bed leveling. It is a genuine low-cost entry point. The Entina Tina2C offers similar pricing with an app-driven guided experience and photo-to-print, which often works better for a first-time user.
Which 3D printer has the least amount of problems?
In our testing the Bambu Lab A1 produced the fewest failed prints, because its full-auto calibration removes the first-layer and flow problems that dominate complaint threads. The Anycubic Photon Mono also stands out for reliability, with more than 2,000 reviews documenting fixes for almost any issue. The main caveat is that resin failures are usually slicer and support problems rather than hardware faults.
What causes bad first layers in 3D printing?
Four causes account for nearly all bad first layers: the nozzle is too far from the bed and produces spaghetti, the nozzle is too close and gouges the build plate, the bed is cold or covered in oils and cured filament, or the filament is damp and popping. Auto bed leveling fixes the first two, cleaning and preheating fixes the third, and a filament dryer fixes the fourth.
Is a 3D printer in the 200 to 300 dollar range worth buying?
Yes, for functional parts, cosplay props, organizers, model making and tabletop terrain. This tier does not include a heated chamber, reliable multi-color printing or large build volumes, so it is a strong hobby and learning platform rather than a small-production machine. The most common disappointment is expecting ABS and ASA to work well on an open frame.
What is a good 3D printer in the 200 to 300 range for tabletop miniatures?
For tabletop miniatures, resin is the right technology. The Elegoo Mars 5 Ultra with a 9K mono LCD at 18 micron XY resolution, tilt release technology and an AI camera for failure detection is our pick for detail. The Anycubic Photon Mono 4 with a 7 inch 10K screen and 17 micron pixels is the cheaper route into the same quality tier, and both require washing, curing, gloves and ventilation.
Is resin or FDM better for a beginner?
FDM is better for most beginners because material is cheap, cleanup is minimal and the workflow is simple. Resin produces far better detail but adds washing, curing, gloves, ventilation and a slicer learning curve. A good compromise is to start on FDM for functional parts and add a resin machine later for small detail work once you know what you want to make.
The Verdict for 2026
The Creality Ender 3 V3 SE is the best 3D printer under 300 dollars for most people, because it gives you the largest build volume in the roundup, a direct drive hotend that handles real materials, and a repair ecosystem that will still be there years from now. If you want the machine to do more of the thinking, the Bambu Lab A1 will do that for you at the top of its class. If you want detail, the Elegoo Mars 5 Ultra and the Anycubic Photon Mono 4 are the resin answers. And if the printer is really for a child or a dorm room, the TINA2S is the one that starts printing the day it arrives.
Pick one, buy a spool of decent PLA, and print something the first weekend. The best 3D printers under 300 dollars are all capable machines; what separates a good month from a bad one is the first successful print, which is why first-layer automation mattered more to us than any other specification.