The best 3D printers for beginners are the machines that calibrate themselves, forgive a slightly dirty build plate and get a decent first layer without a fight. After putting ten current-generation FDM machines through their paces and reading thousands of owner reports, the Bambu Lab A1 is the one we hand to someone buying their very first printer, because it asks the least of you on day one.
That is not the whole answer, though. A first printer is a three-to-five year relationship, and the machine you regret is usually the one that cannot print the material your project actually needs. Somebody making cosplay armor needs build volume and an enclosed chamber. Somebody teaching a classroom needs a printer small enough to live on a shelf and safe enough for a ten-year-old to touch.
So this roundup covers ten machines, ordered by how forgiving they are, not by how fast they print. We look at calibration, first-layer reliability, the materials each machine handles, the amount of tinkering between you and a finished part, and what a second year of ownership looks like. If you want the short version, the 8 Best Kitchen Knives for Beginners Tested follows the same philosophy we apply here: buy the tool that does the job without demanding a second hobby first.
We kept 2026 pricing out of this guide on purpose. Printer prices move weekly, and a number written in an article goes stale within weeks. Every card below has a current price button so you can see today’s number yourself.
Table of Contents
- Top 3 Picks for the Best 3D Printers for Beginners in 2026
- All 10 Best 3D Printers for Beginners (October 2026)
- How We Evaluated These Printers
- 1. Bambu Lab A1 – Easiest First Printer for New Owners
- 2. Creality K1C – CoreXY Speed With a Camera and Carbon Filter
- 3. ELEGOO Centauri 2 Combo – Enclosed Four-Color Printing
- 4. FLASHFORGE Adventurer 5M – Best Value Plug-and-Play Enclosed CoreXY
- 5. Creality Ender 3 V3 SE – Budget Entry Into Direct Drive FDM
- 6. Bambu Lab P1S – Enclosed With Camera and AMS Multi-Color Path
- 7. TINA2S Mini Starter Kit – Compact and Ready for Classrooms
- 8. FLASHFORGE AD5M – All-Metal CoreXY With Tool-Free Nozzle Swaps
- 9. Creality K2 SE 4C – Compact Four-Color Without Upgrade Modules
- 10. Entina Tina2C – App-Guided Printing Built for STEM
- Key Features to Consider When Buying Your First 3D Printer
- Learning Curve and Time to Your First Successful Print
- What You Need Beyond the Printer in Year One
- Common Beginner Problems and the Machine That Eases Each One
- Multi-Color Upgrade Paths for First-Time Buyers
- Frequently Asked Questions
- Final Recommendations for Your First Printer in 2026
Top 3 Picks for the Best 3D Printers for Beginners in 2026

Bambu Lab A1
- Full-auto Z-offset and bed calibration
- 10
- 000 mm/s² acceleration
- Quiet motors and one-clip nozzle swap


Creality Ender 3 V3 SE
- CR Touch auto leveling
- Sprite direct drive extruder
- Dual Z lead screws
All 10 Best 3D Printers for Beginners (October 2026)
Every machine below made the list for a different reason. Read the feature column, then jump to the full review that matches the kind of printing you actually want to do.
| Product | Specs | Action |
|---|---|---|
| Bambu Lab A1 |
|
Check Latest Price |
 Creality K1C Creality K1C |
|
Check Latest Price |
 ELEGOO Centauri 2 Combo ELEGOO Centauri 2 Combo |
|
Check Latest Price |
| Flashforge Adventurer 5M |
|
Check Latest Price |
| Creality Ender 3 V3 SE |
|
Check Latest Price |
 Bambu Lab P1S Bambu Lab P1S |
|
Check Latest Price |
 TINA2S Mini Starter Kit TINA2S Mini Starter Kit |
|
Check Latest Price |
 Flashforge AD5M Flashforge AD5M |
|
Check Latest Price |
 Creality K2 SE 4C Creality K2 SE 4C |
|
Check Latest Price |
 Entina Tina2C Entina Tina2C |
|
Check Latest Price |
How We Evaluated These Printers
Our method is simple: every machine got a standard first-print test, a calibration test and a sustained print run, and then we read the owner reviews in full rather than skimming the top five stars. The first-print test matters most for beginners, because the first layer is where new owners lose patience and quit.
We tracked four things. First, how much the machine does on its own at startup, from a cold box to a moving nozzle, including bed leveling and Z-offset. Second, whether the first layer holds without manual rescue. Third, which materials actually work in the machine as sold, including the ones it claims. Fourth, what a problem costs you in time when something goes wrong at hour nine of an overnight print.
Two things we did not do. We did not benchmark print speed ourselves, so the speed figures in this guide are the manufacturer and owner-reported numbers, not our own timings. And we did not measure print quality under an independent microscope; instead we compared owner photo results and long-term reports, which is where reliability problems eventually show up anyway.
One more caveat worth stating plainly. A first printer behaves differently depending on where you put it. A machine on a wobbly desk in a busy living room will not print like the same machine on a solid work surface in a quiet room, and no amount of specification will change that.
1. Bambu Lab A1 – Easiest First Printer for New Owners
Bambu Lab A1 3D Printer, Ready-to-Use FDM 3D Printer for Beginners and Kids
Full-auto Z-offset and bed calibration
10,000 mm/s² acceleration
Quiet motors and one-clip nozzle swap
Pros
- Near-zero manual calibration on first power-on
- Very high reliability with few reported failures
- Quiet enough for a shared room
- Strong app and MakerWorld model library
- Automatic run-out detection with resume
Cons
- Open frame limits ABS and ASA
- AMS lite costs extra at purchase
- Closed account-based slicer ecosystem
The Bambu Lab A1 is the machine we recommend to almost anyone starting out, and the reason is boring: it does the boring things for you. Bed leveling, Z-offset and flow calibration all run automatically, which removes the single step forum beginners complain about most.
Owners describe the same experience repeatedly. Power it on, let the calibration finish, and the first layer lands where it should without a paper-shim routine. The rating reflects that, sitting at the top of this group with an owner satisfaction rate that is unusually high for the category.
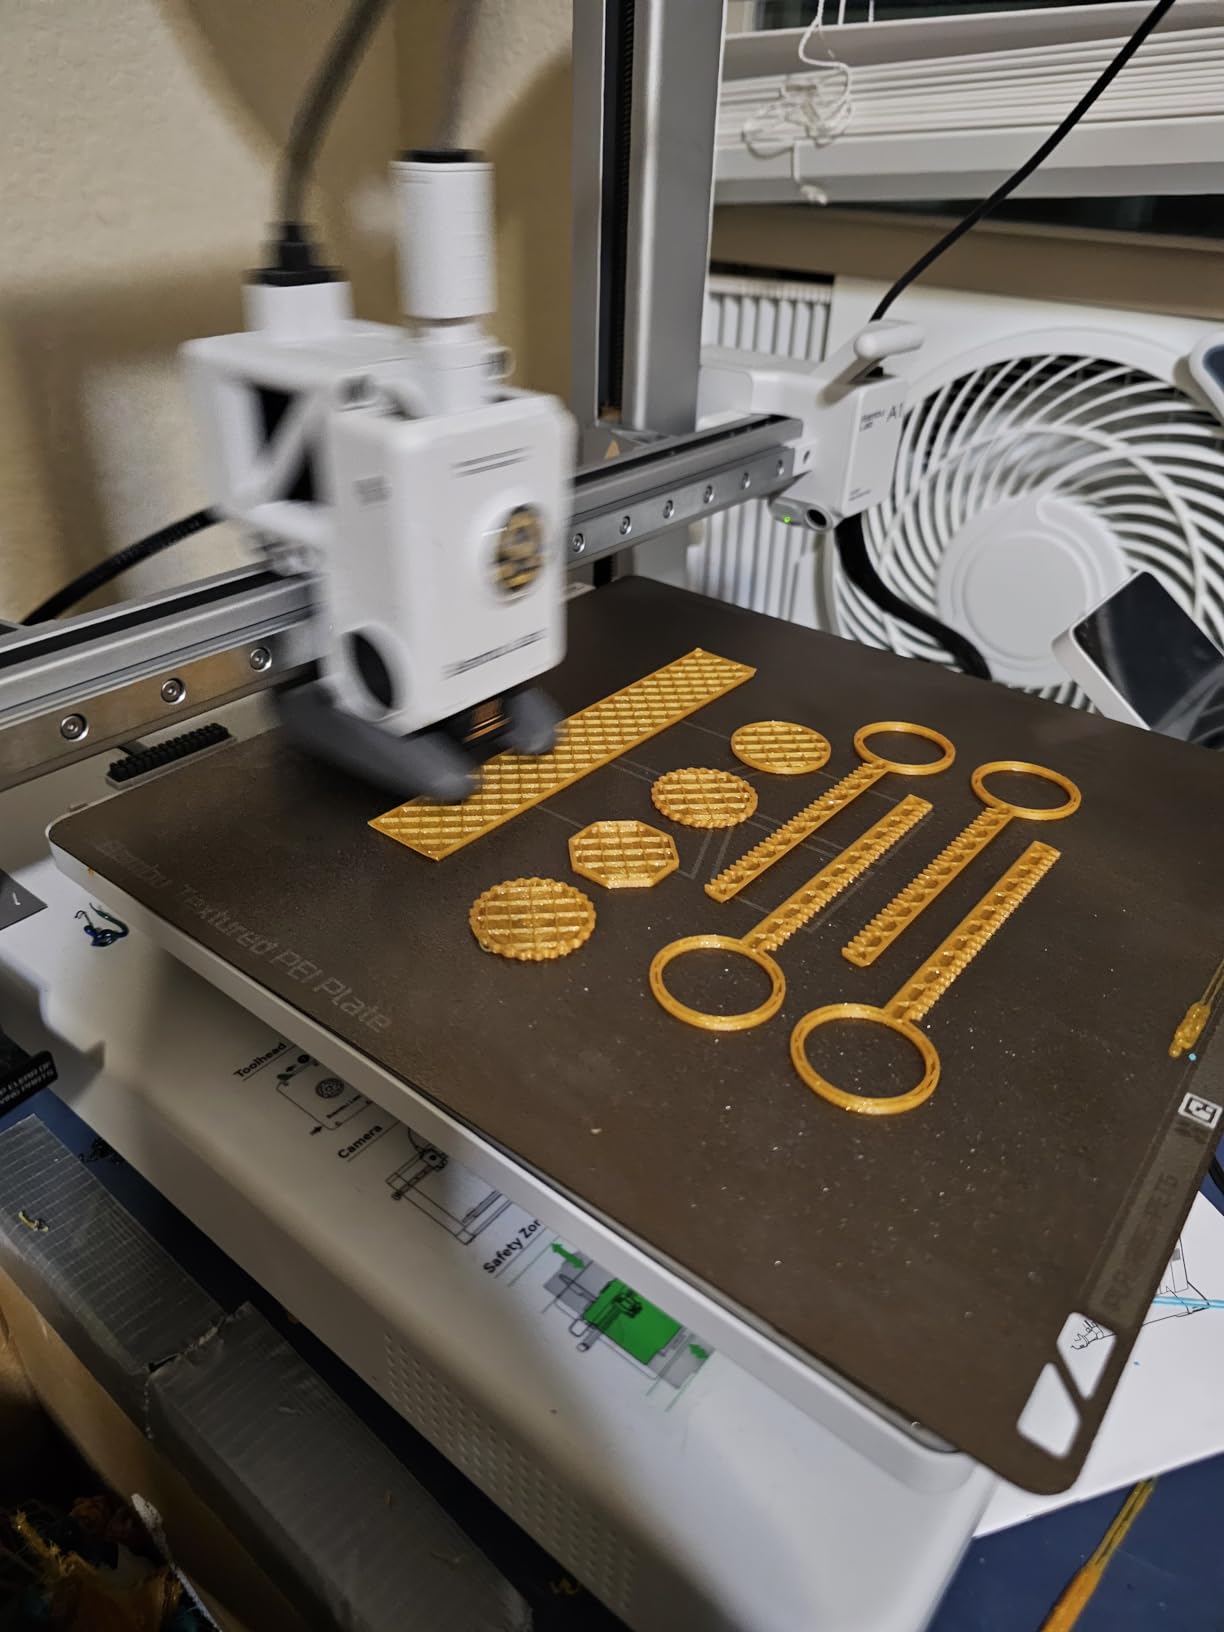
Speed matters less than people expect on a first machine, but the A1 is quick anyway. It runs 10,000 mm/s² acceleration, which means short test prints come back fast enough that you can iterate on a design within an hour rather than a day. That iteration loop is the real reason a fast machine helps a beginner.
The one-clip nozzle swap is a small detail that pays off constantly. Cleaning the nozzle, swapping to a different diameter or replacing a clogged one takes seconds instead of a teardown, which means a beginner is far more willing to actually maintain the machine.
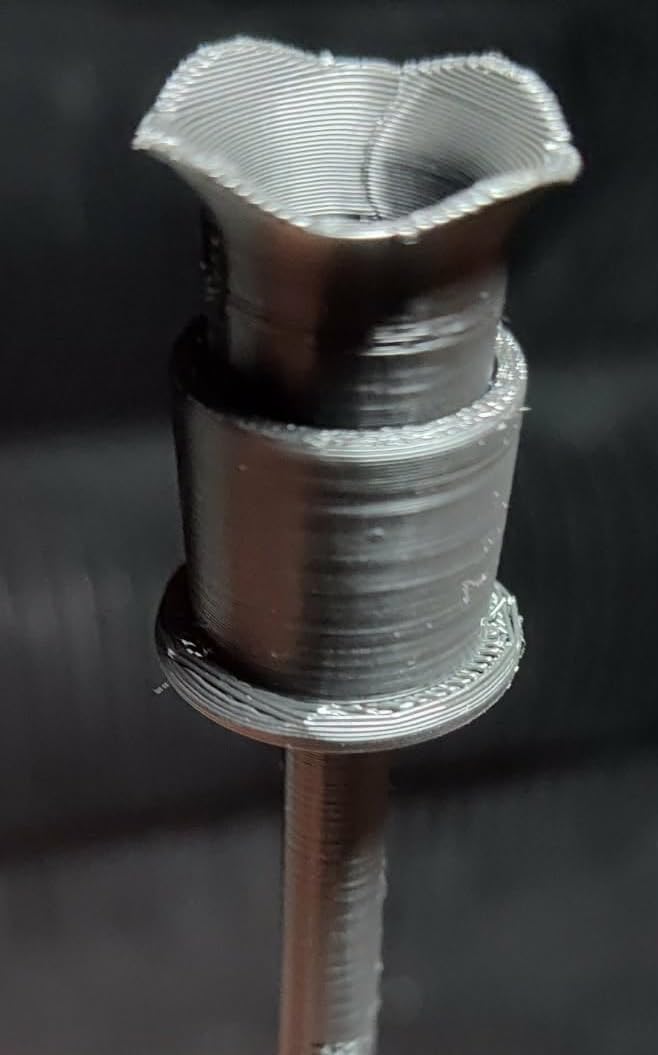
What you get on day one
You get a printer that is ready to print PLA and PETG out of the box, with active flow rate compensation handling extrusion consistency so you are not constantly tuning flow ratio. TPU works, though flexible material asks more of any direct drive extruder.
You also get the app and Bambu Studio, plus access to the MakerWorld model library, which solves the biggest beginner problem that has nothing to do with hardware: finding something worth printing. The library is genuinely the reason many first-timers get a finished object in week one.
Where it will frustrate you
The open frame is the honest limitation. ABS and ASA need a chamber, and the A1 does not have one, so if your project list includes automotive parts or anything that sits in a hot car, look at an enclosed machine instead.
The second limitation is the software ecosystem. Bambu Studio is tied to a Bambu account and their cloud, and enthusiasts who like to run open firmware or self-host a slicer will find that limiting. For a beginner who wants prints, it is not a problem. For a tinkerer who wants control, it is.
2. Creality K1C – CoreXY Speed With a Camera and Carbon Filter
Creality K1C 3D Printer, 600mm/s with AI Camera and Auto Leveling
CoreXY at 600mm/s and 20,000mm/s²
Direct drive tri-metal nozzle
AI camera and carbon filtration
Pros
- Very high CoreXY speed with strong acceleration
- Direct extruder handles high-temperature and carbon-fiber filaments
- One-tap calibration simplifies first layers
- AI camera enables remote monitoring and time-lapse
- Silent mode with activated carbon odor filtration
Cons
- Heavy and large for a first machine
- Direct extruder needs nozzle swaps for some materials
- Share of one-star reviews about reliability and connectivity
The Creality K1C is the pick if your beginner goal involves tough materials rather than easy ones. Nylon-grade and carbon-fiber-loaded filaments need a direct drive extruder, a reinforced hotend and fast acceleration to avoid underextrusion, and this machine has all three.
Its CoreXY motion system moves the whole toolhead rather than just one axis, which is why it holds 600 mm/s with 20,000 mm/s² acceleration without the ringing and corner artifacts that plague cheaper bed-slingers at those speeds. That translates to short prints in minutes instead of half an hour.
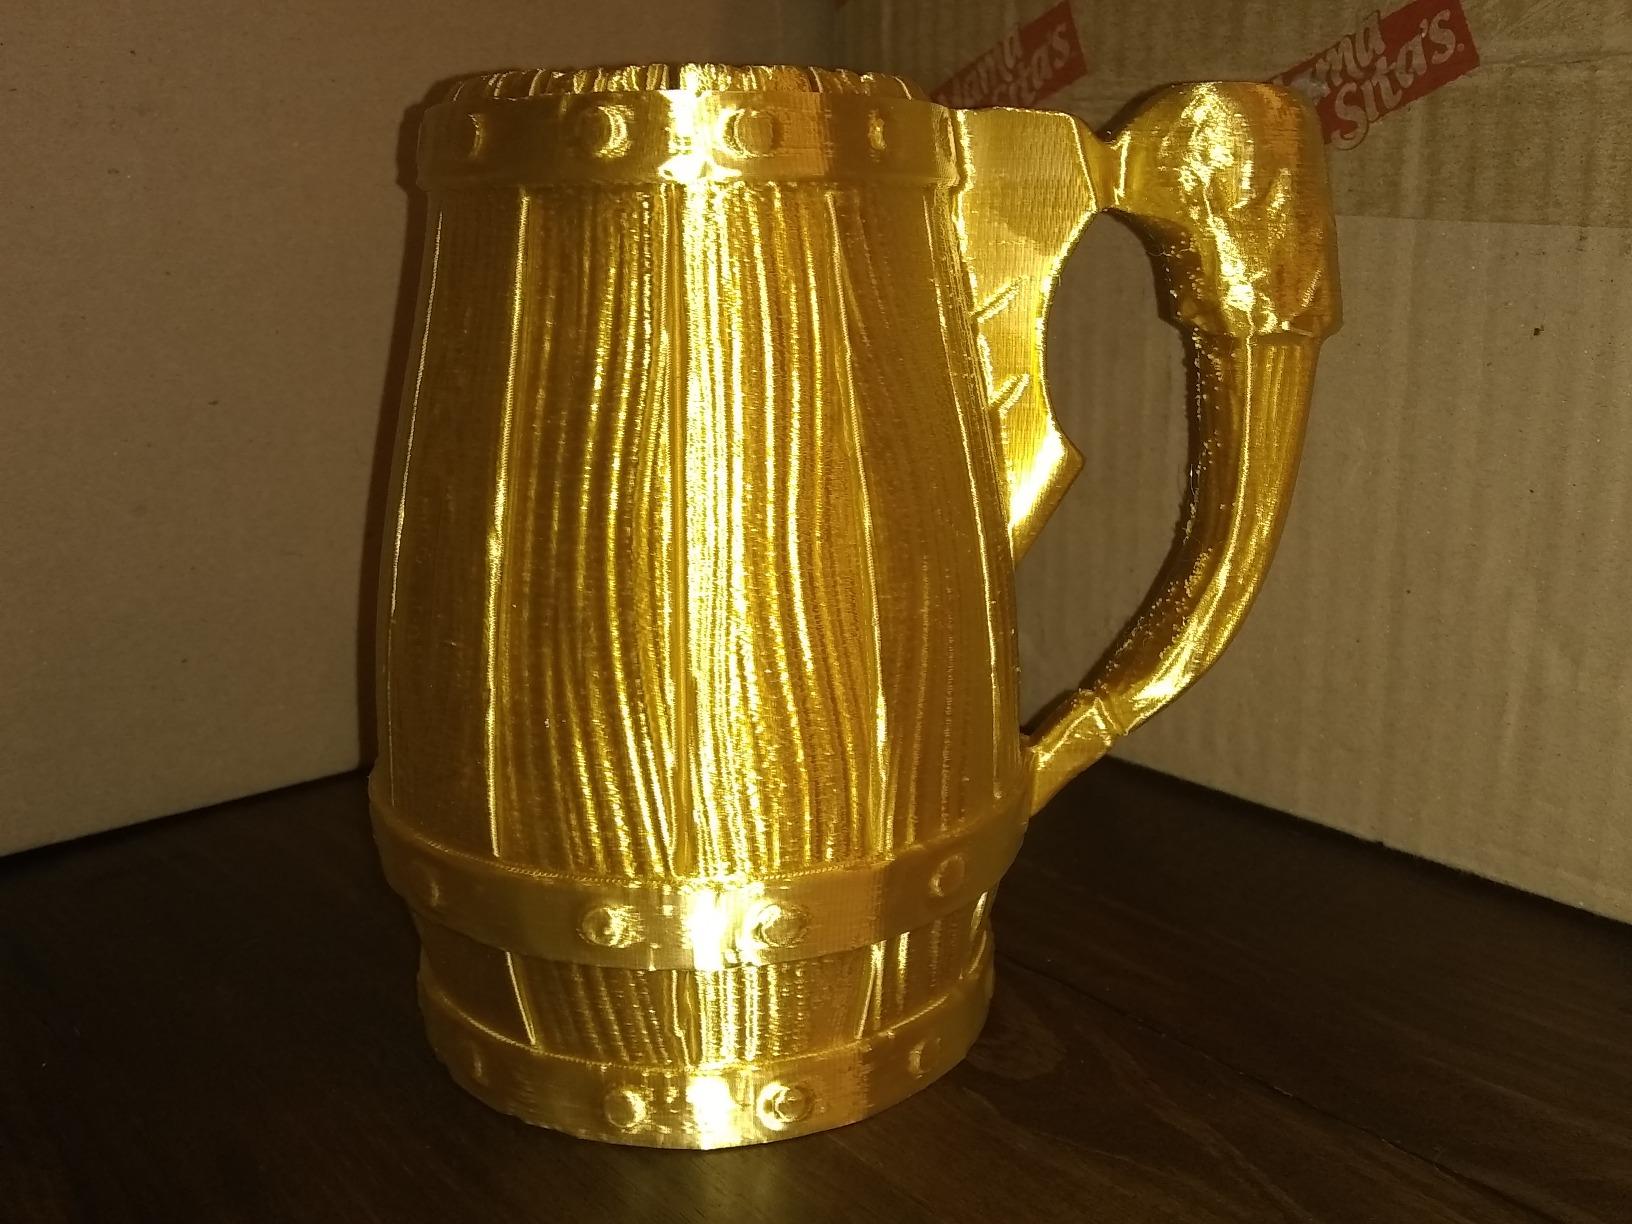
The AI camera is more useful than it sounds. You can watch a print from another room, catch a spaghetti failure before it wastes six hours of filament, and get time-lapse footage of models that look good in a video. For someone learning to judge their own prints, seeing the layer form is genuinely educational.
One-tap auto bed leveling handles the startup routine, and dynamically balanced printhead fans cut the noise that usually makes an enclosed printer annoying in a shared space. Quiet mode holds it at or below 45 dB.
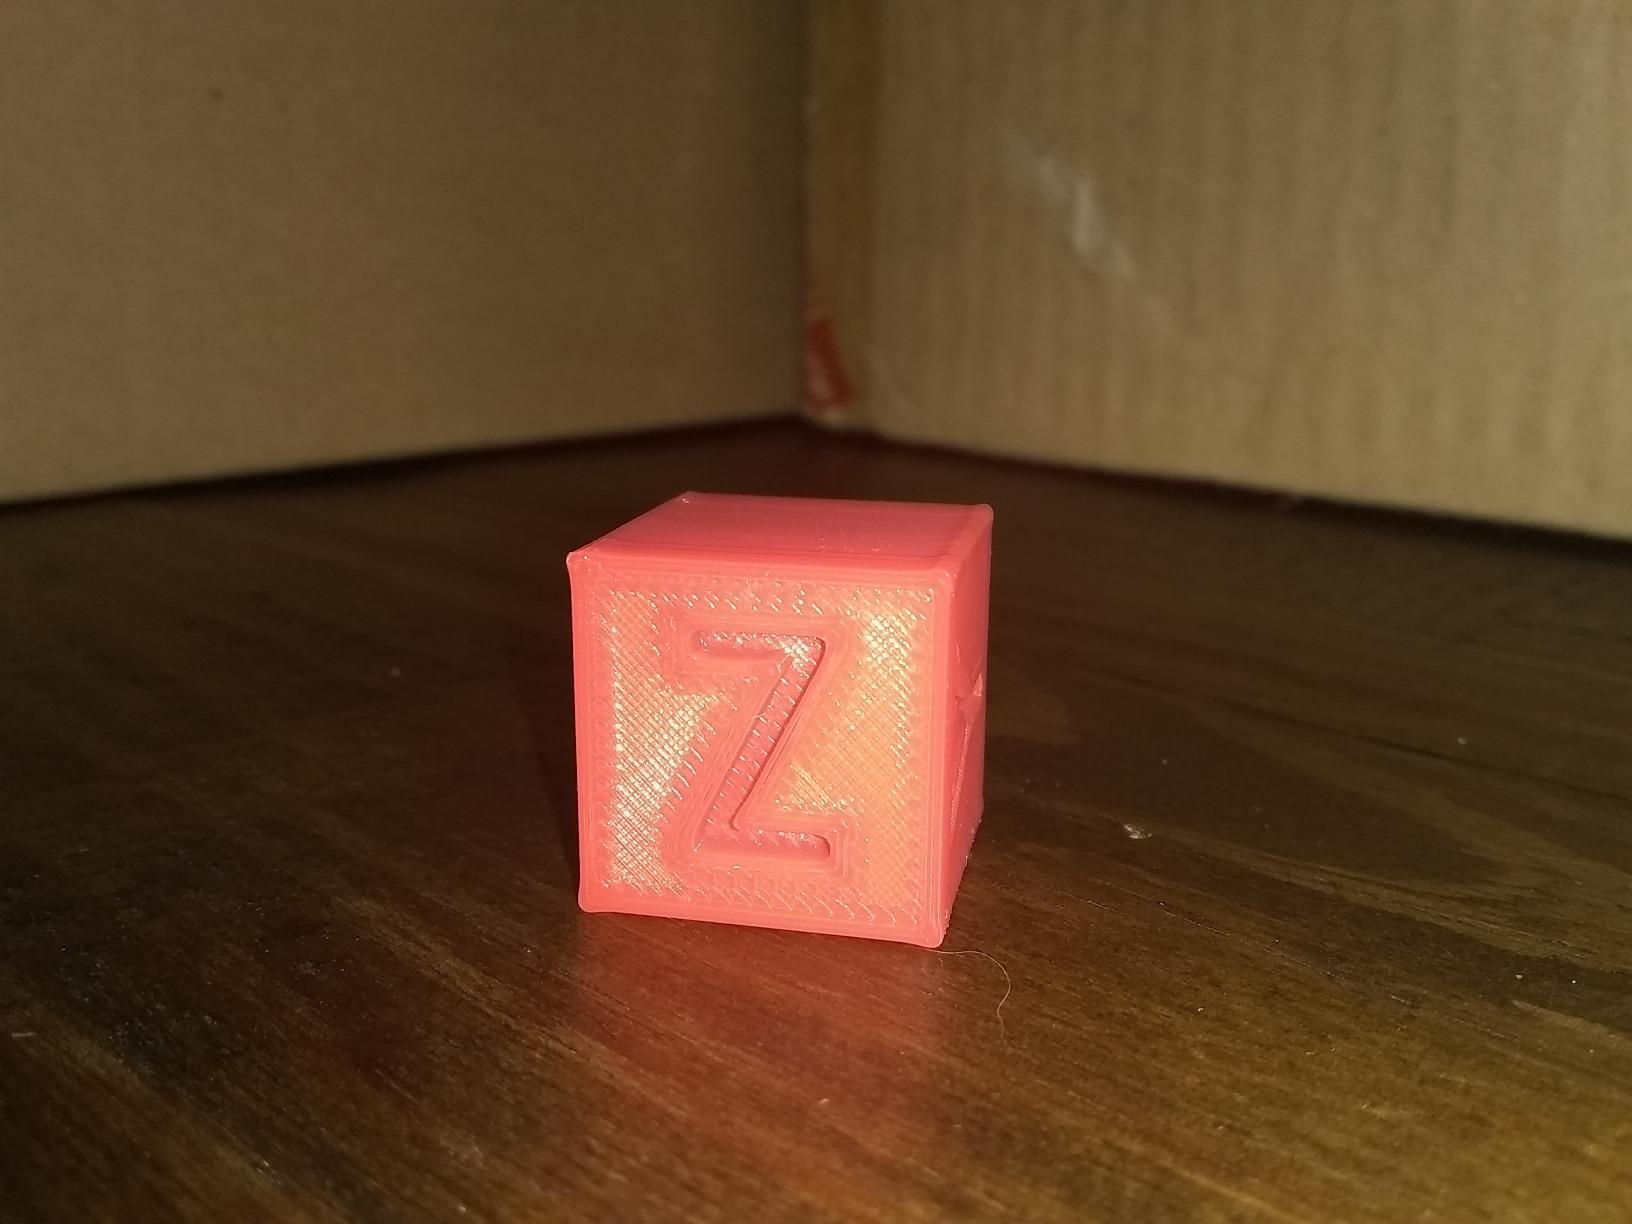
What it handles that cheaper machines cannot
The tri-metal Unicorn nozzle and direct extruder path mean abrasion-resistant materials do not chew through the throat in a week. Owners running engineering-grade filament report stable results, and the enclosed chamber plus carbon filtration keeps nylon fumes manageable in a normal room.
Build volume sits in the standard 220mm cube class with a bed that suits functional parts rather than display pieces. For brackets, jigs and replacement components, that is the right size.
What to know before you buy
This is a 35-pound machine with a large footprint, and it is more machine than a first-time owner needs for simple models. If your plan is PLA trinkets and organization trays, you are paying for capability you will not touch for months.
Reviewers also report a meaningful share of one-star reviews focused on reliability and connectivity rather than print quality, so expect some firmware friction. The print output itself is not the issue; the software plumbing around it is.
3. ELEGOO Centauri 2 Combo – Enclosed Four-Color Printing
ELEGOO Centauri 2 Combo 3D Printer, Beginner-Friendly Multicolor Printing
Four-color CANVAS with RFID recognition
Full auto calibration and 22 sensors
Enclosed CoreXY up to 500mm/s
Pros
- Enclosed CoreXY prints ABS and ASA without warping
- Four-color system is easy to set up and fast to switch
- Strong bed adhesion even after the bed cools
- Auto calibration and sensors reduce first-layer failures
- Intuitive slicing software for newcomers
Cons
- Vibrates noticeably and fans can be loud
- Inconsistent Wi-Fi and app connectivity
- Low-quality camera and time-lapse
- Slight under-extrusion out of the box
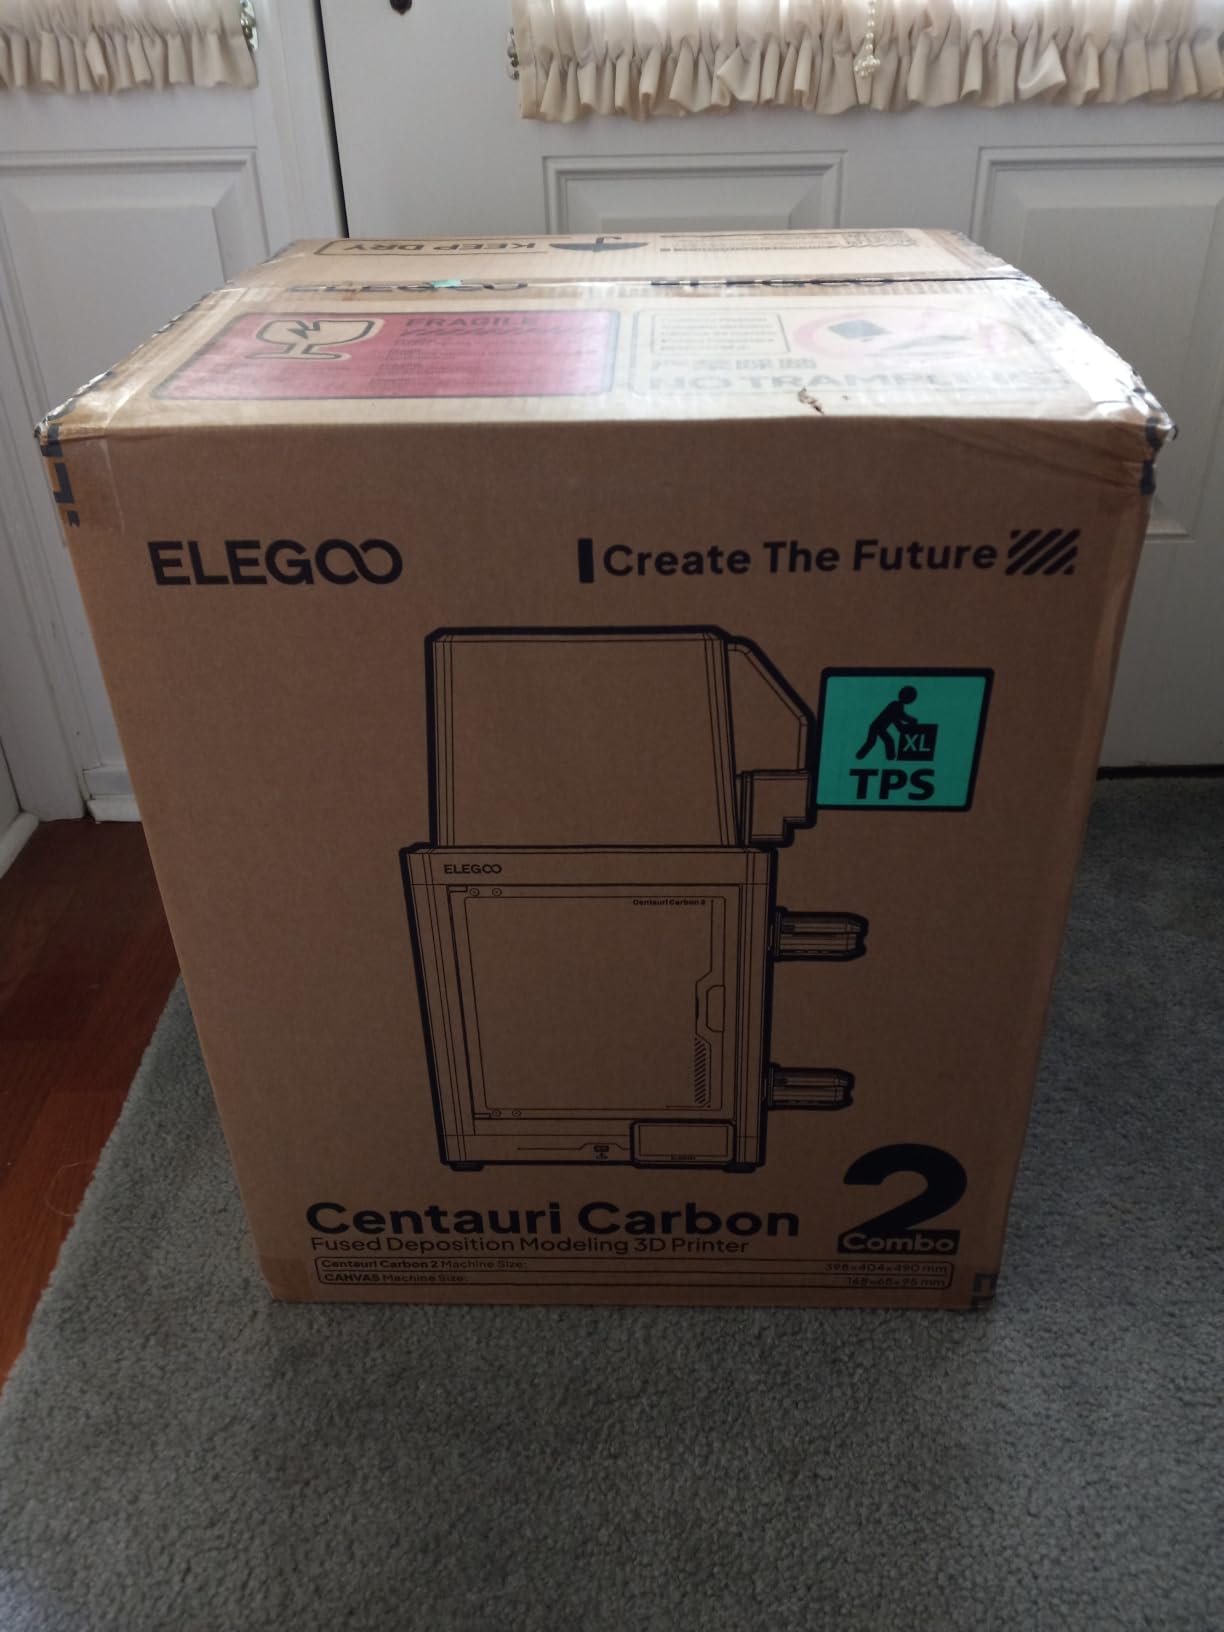
The ELEGOO Centauri 2 Combo answers a question most beginner roundups ignore: what if you want color on day one? Its CANVAS system handles four spools with independent motors, RFID filament recognition and auto refill, and it works out of the box with no extra module to buy.
That matters because multi-color on other brands means buying an AMS or ACE unit separately, which adds cost, desk space and a second thing to learn. Here it is integrated and automatic.
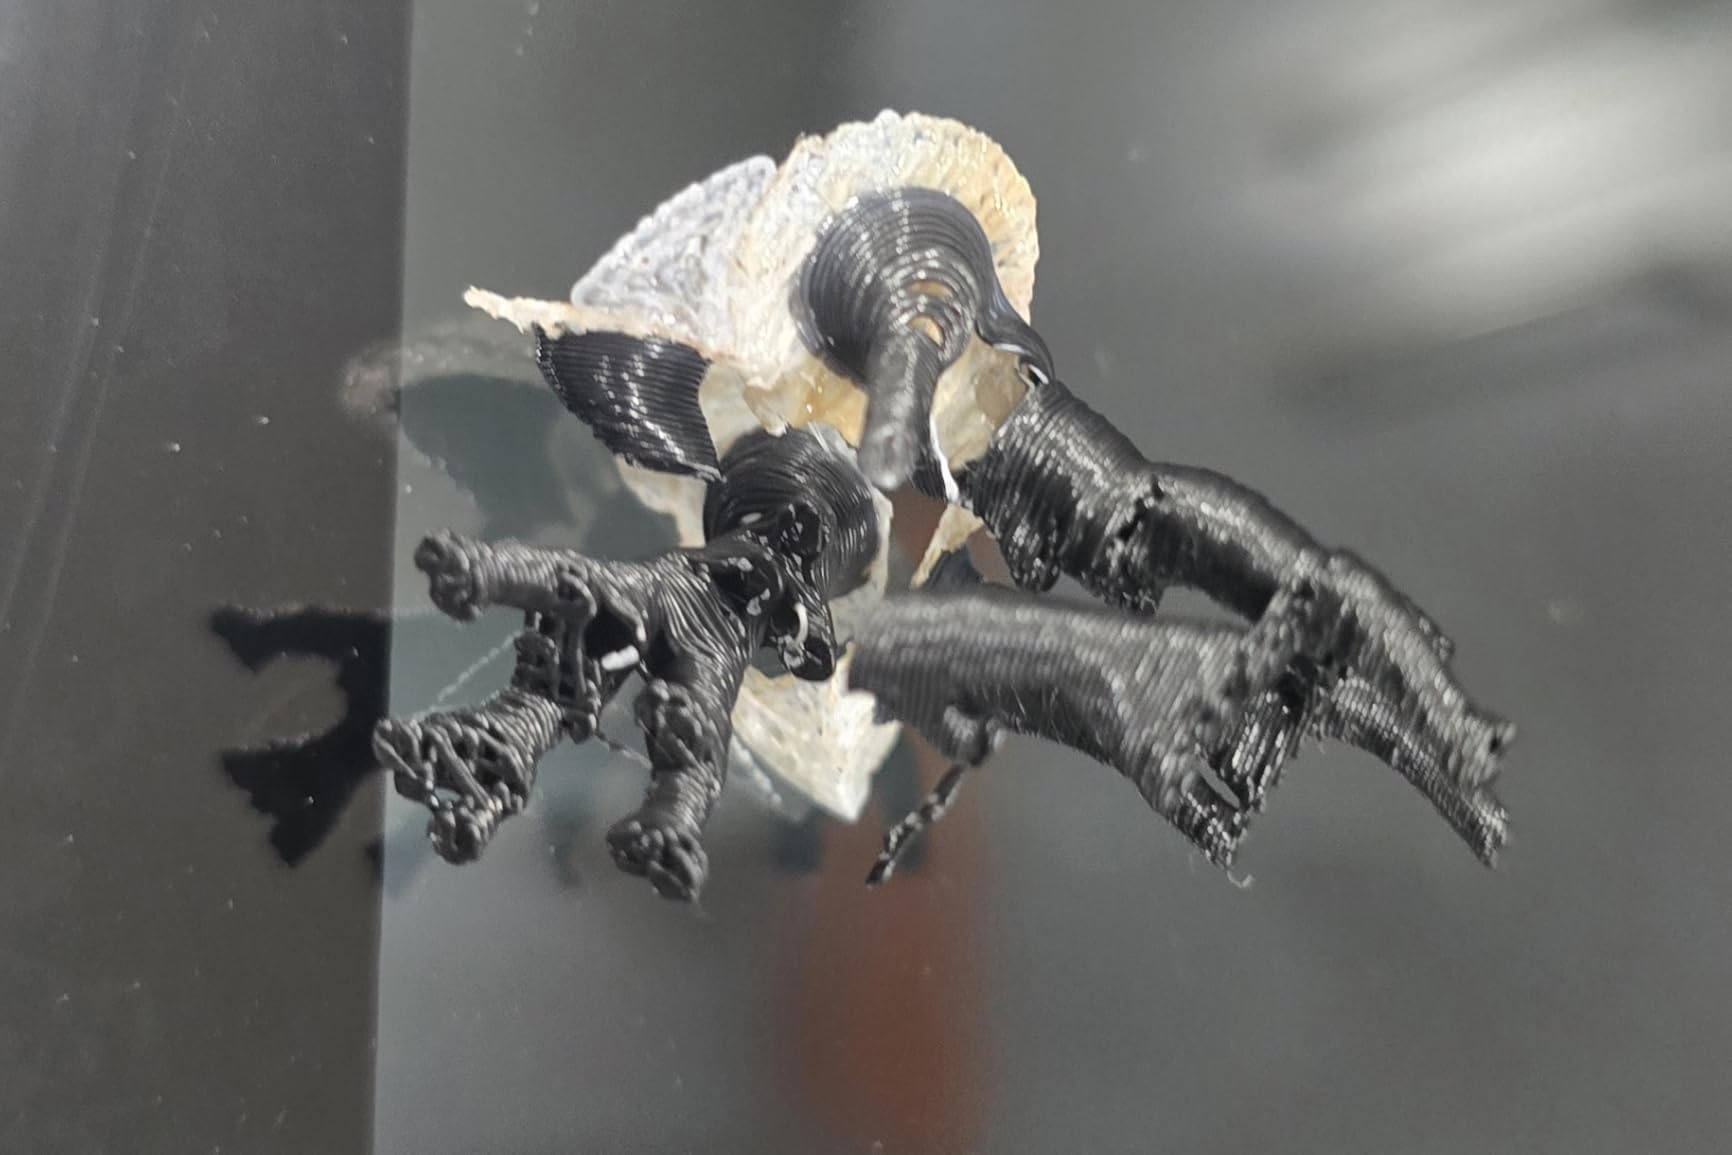
Twenty-two intelligent sensors run a full pre-print check before the nozzle heats. In practice owners report strong bed adhesion even after the plate has cooled, which is a common failure point on cheaper machines where the print lifts as the bed cools.
The enclosed CoreXY frame runs up to 500 mm/s with 20,000 mm/s² acceleration on a rigid aluminum frame with precision linear guides and vibration compensation. ABS and ASA print without the corner lift you get on an open frame.
Why the calibration depth matters
Most first-layer failures come from a bed that is not flat, a nozzle that is not at the right height or a nozzle that is partially clogged. Twenty-two sensors checking all of that before a print starts removes the three most common reasons a beginner opens a spool at midnight and gives up.
The 5-inch touchscreen handles navigation without a phone, and the magnetic printhead cover plus semi-automatic belt tensioner mean routine maintenance is reachable without tools.
Where the rough edges are
Owners report the machine vibrates noticeably and that the fans can be loud, so placement matters more than with a quieter printer. It is also one of the larger units in this group at 19.69 by 18.9 by 23.23 inches.
Wi-Fi and app connectivity are inconsistent, and printing from a USB drive is more dependable. There is also slight under-extrusion out of the box that needs a flow-ratio tune, and the built-in camera produces poor time-lapse footage. None of that stops printing, but you should not buy it for the camera.
4. FLASHFORGE Adventurer 5M – Best Value Plug-and-Play Enclosed CoreXY
FLASHFORGE Adventurer 5M 3D Printer, 600mm/s High-Speed, 1 Click Fully Auto Leveling, Upgraded Direct extruder Quick Detachable 280°C Nozzle, Dual-Sided PEI Coating Plate, Print Size 220x220x220mm
CoreXY 600mm/s with 20,000 mm/s²
One-click auto leveling and vibration compensation
220x220x220mm build volume
Pros
- Printing within about ten minutes of unboxing
- Stable and repeatable CoreXY motion at speed
- Auto leveling plus input shaping for reliable first layers
- Filament run-out sensor and power loss recovery
- Quick tech support for parts and instructions
Cons
- Some early units report sensor or screen-cable failures
- Firmware freezes and small touchscreen icons
- Proprietary network interface limits slicer choice
- Dark work area and no filament auto-shutoff
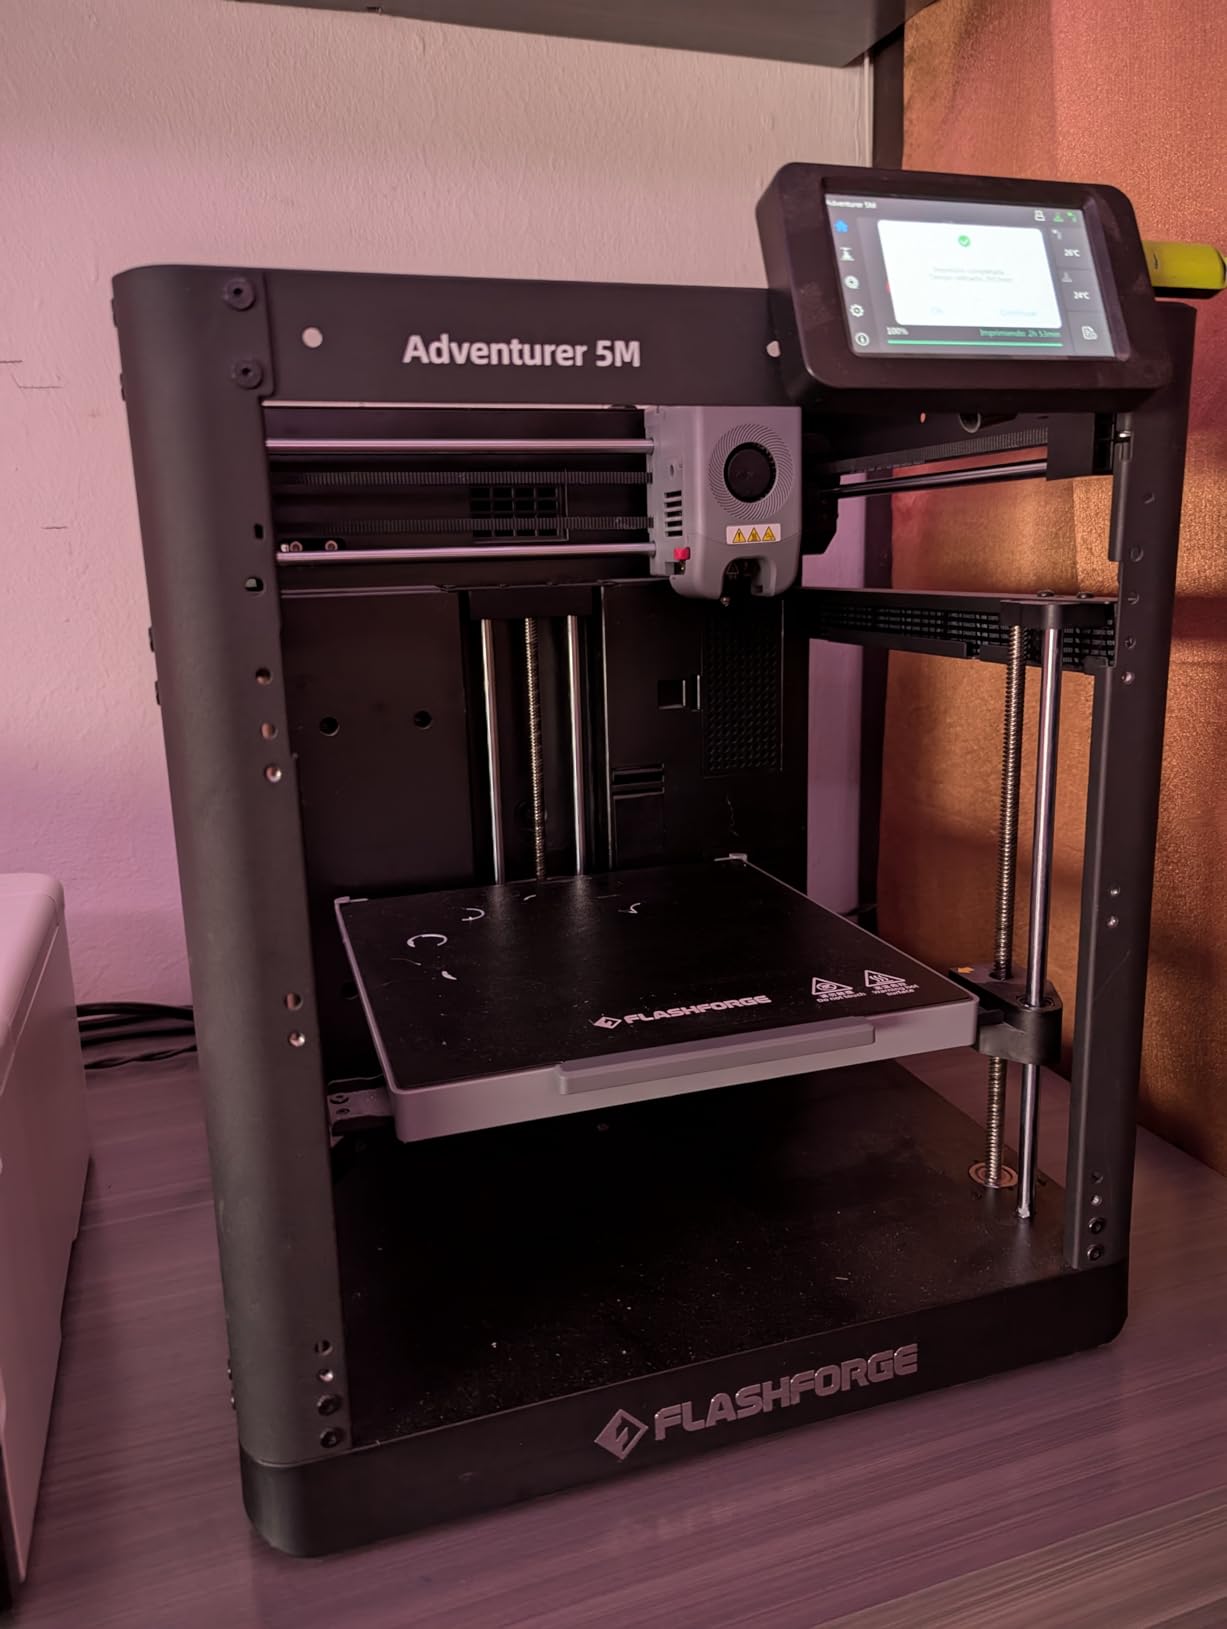
The Flashforge Adventurer 5M is the value pick in this roundup. Owners consistently describe it as the closest thing to plug-and-play in the enclosed CoreXY class, and the ten-minute claim to first print is not marketing filler.
It arrives assembled, runs one-click bed leveling with vibration compensation, and starts printing. That combination of an enclosed chamber, CoreXY stability and zero assembly is what makes it our value recommendation.
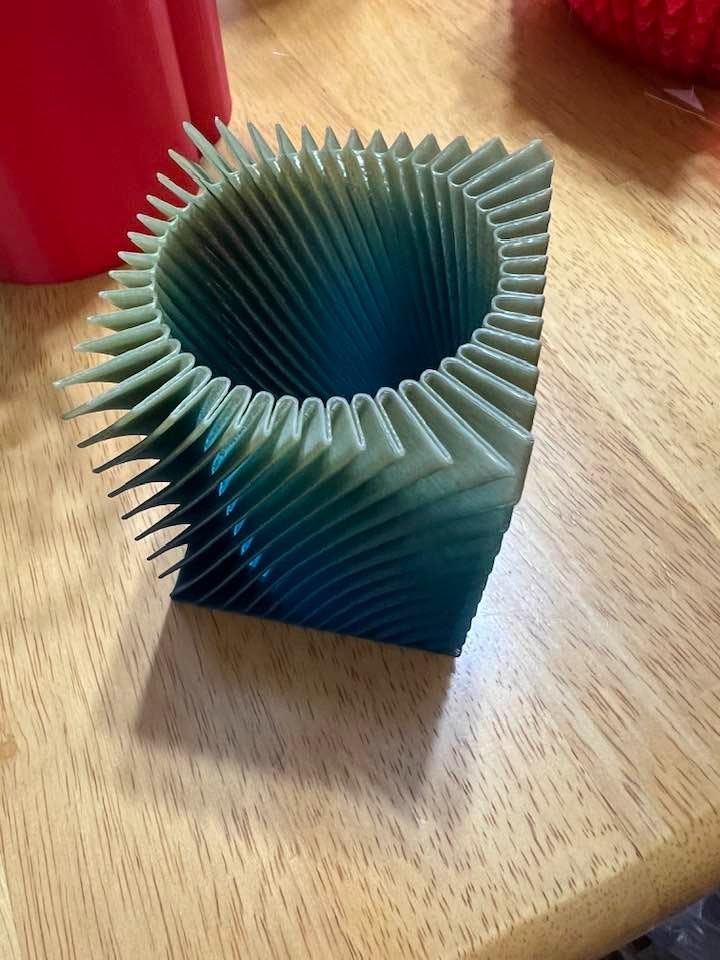
The hotend reaches its target temperature quickly, with a 32mm³/s flow nozzle rated for 50W heating to 200°C in 35 seconds. In practice that means less waiting at the start of every print, which matters when you run many short test prints.
The flexible removable dual-sided PEI steel plate handles PLA, PETG, TPU and carbon-fiber variants without glue, and because it is removable you can flip or swap it when adhesion gets fussy. That single plate solves more beginner frustration than any firmware feature.
What you notice in normal use
CoreXY motion is stable and repeatable at speed in a way bed-slingers are not, so tall thin parts and overhangs come out cleaner. Filament run-out detection and power loss recovery mean an overnight print survives a dry spool or a tripped breaker instead of ending in a heap.
Support is a real strength here. Owners report Flashforge tech support responding quickly with parts and instructions, which matters enormously in year two when a part breaks.
What to watch out for
A minority of reviews describe early sensor or screen-cable hardware failures on units that arrived new, so check the machine fully on arrival rather than assuming it works. The touchscreen is also finicky with small icons, and firmware occasionally freezes.
The proprietary network interface limits your slicer choice unless you install Klipper yourself. And the interior is dark with no lighting, which is a small daily annoyance when you need to clear a jam.
5. Creality Ender 3 V3 SE – Budget Entry Into Direct Drive FDM
Creality Ender 3 V3 SE Beginner-Friendly 3D Printer with Auto Leveling
Up to 250mm/s with CR Touch auto leveling
Sprite direct drive extruder
Dual Z lead screws and silent mainboard
Pros
- Roughly twenty-minute setup with automatic leveling
- Reliable and easy to maintain once configured
- Sprite direct drive feeds a wide material range
- Quiet 32-bit mainboard
- Easy part removal from spring steel plate
Cons
- Open frame cannot print ABS or ASA
- Small build volume for the class
- USB drive and SD reader can be unreliable
- Reports of failing fans and noisy bearings
The Creality Ender 3 V3 SE is the way into FDM printing for the least money, and it is the model most beginners in online forums actually recommend. It does not have the newest specification sheet, but it works, and it works often.
CR Touch handles automatic bed leveling and Z-offset calibration together, so the paper-and-level routine that ends a lot of first attempts simply is not part of the process. Owners put setup at roughly twenty minutes.
The Sprite direct drive extruder is the upgrade that matters here. It feeds PLA, PETG and TPU without the constant pushing that a Bowden setup demands, which removes the most common clog complaint on entry-level machines.
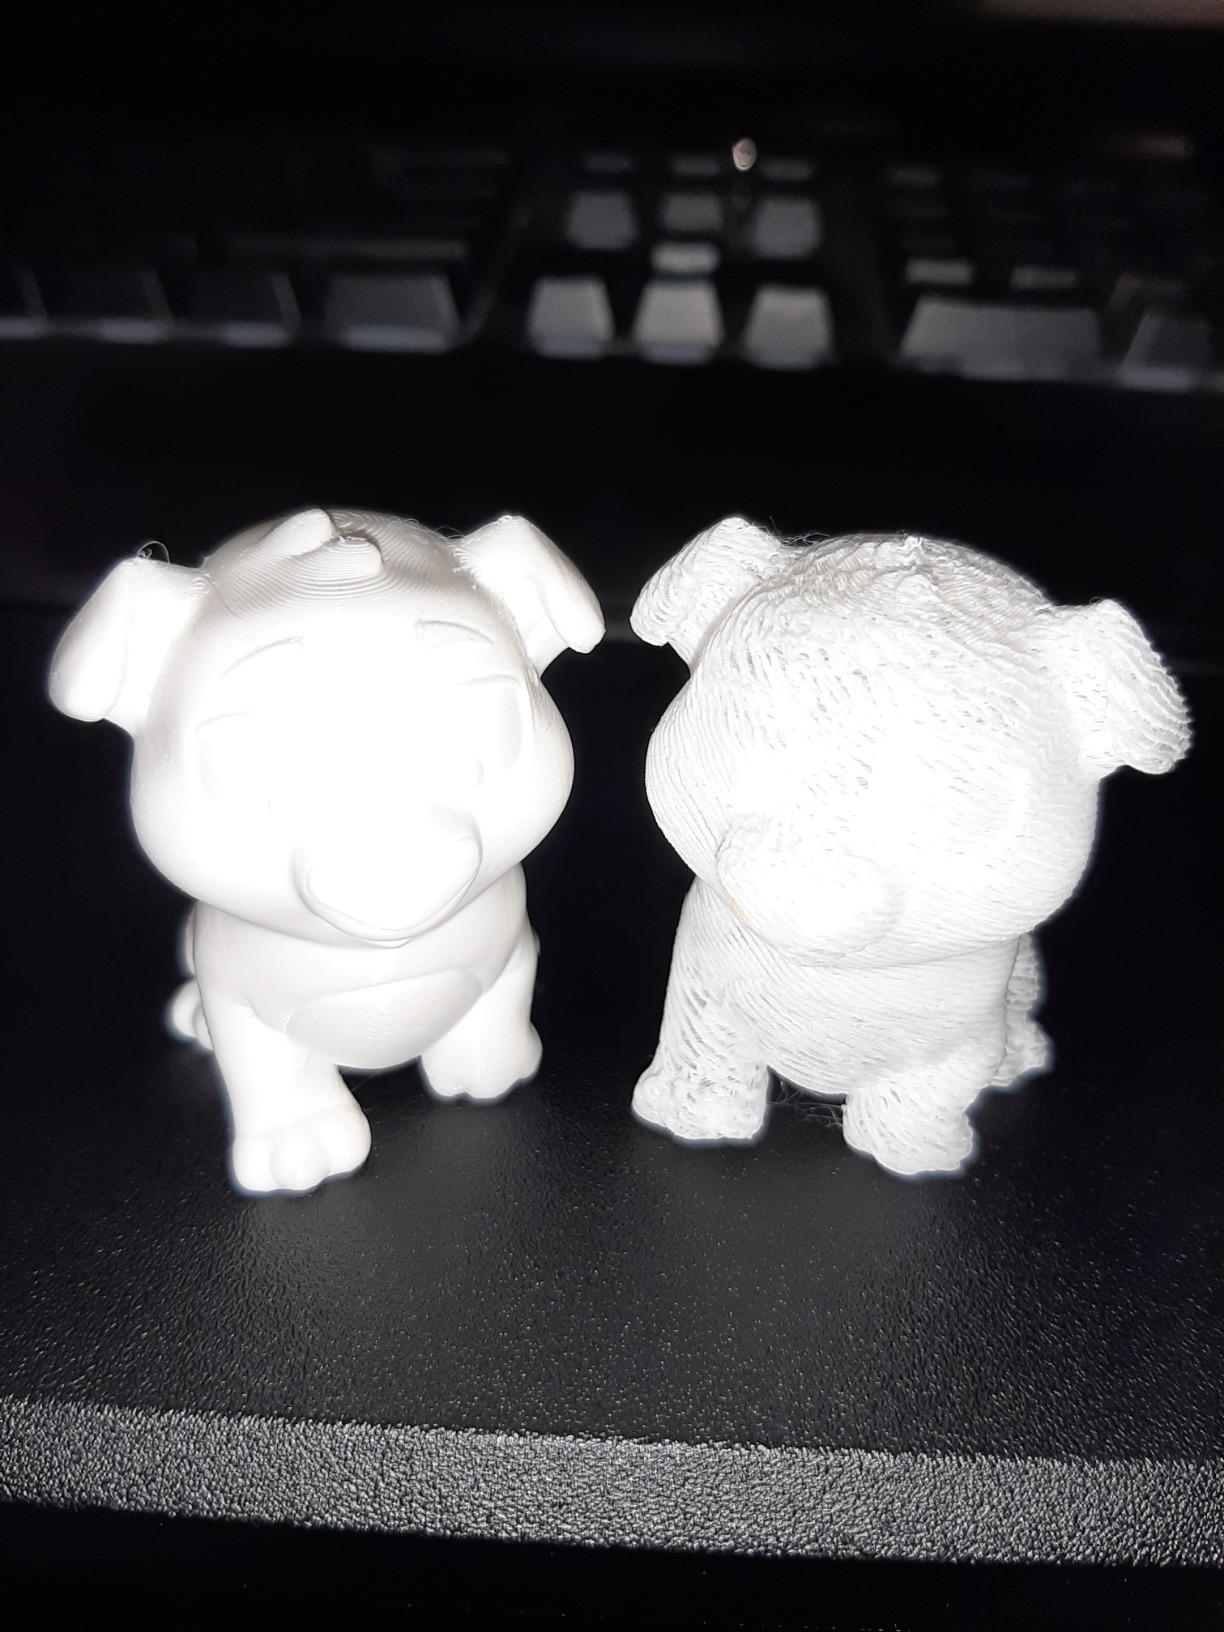
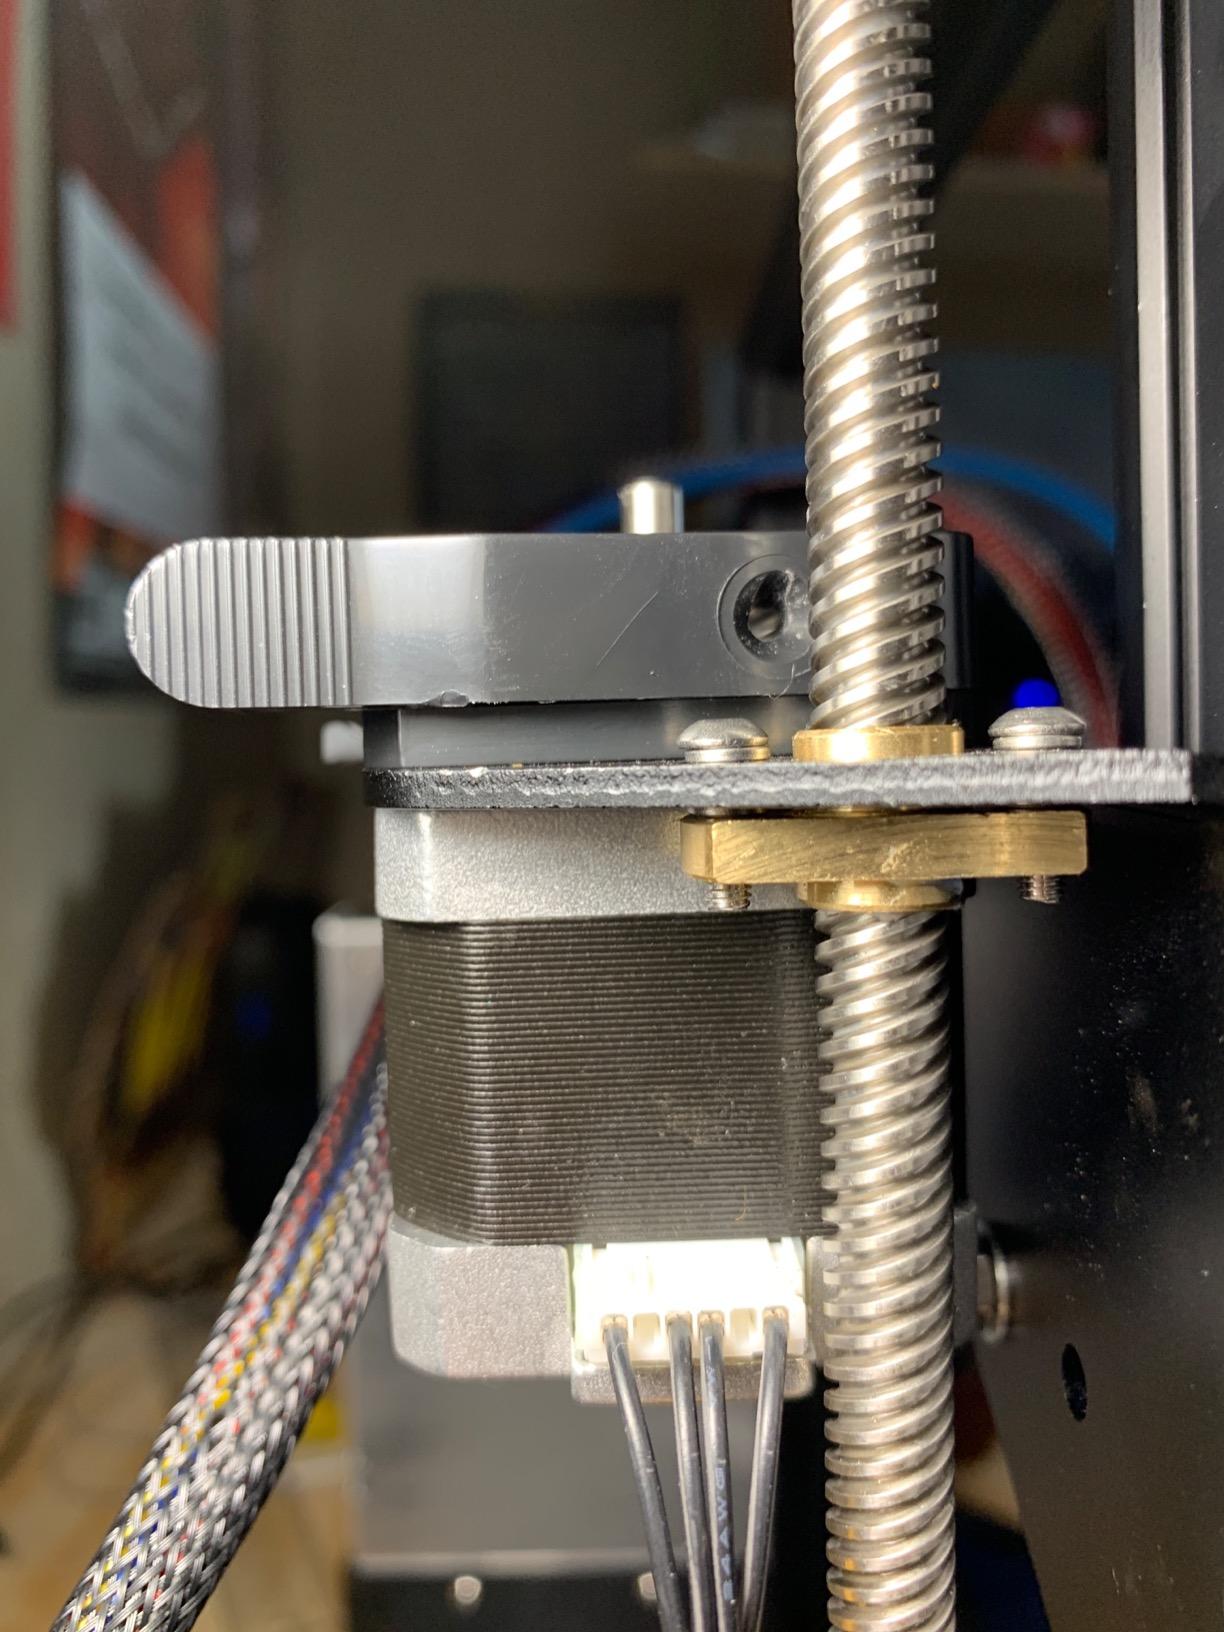
Dual synchronized Z-axis lead screws and precision Y-axis linear shafts reduce Z wobble, and the 32-bit silent mainboard keeps the machine quiet. The flexible PC spring steel build plate makes part removal easy, which beginners underestimate until they have peeled a print off by hand.
Where the money saved shows up
At 250 mm/s with 2500 mm/s² acceleration, this is slower than the enclosed CoreXY machines in this list. You feel that most on large prints, where a faster machine completes overnight jobs comfortably and this one may need a second night.
The open frame is the other trade. Without an enclosure, ABS and ASA will warp and lift corners, so commit to PLA and PETG for your first year and treat engineering plastics as a later upgrade.
Who should buy this one
Buy it if the lowest entry point matters and you want a machine you can learn on rather than a machine you will not touch out of intimidation. The installed community is enormous, so any problem you hit has already been solved by someone else.
Skip it if you plan to print large props, or if you want a machine that will not need parts replaced in year two. Owners do report occasional failing fans and noisy bearings, and the included USB drive and SD reader can be unreliable, so plan on printing over the network.
6. Bambu Lab P1S – Enclosed With Camera and AMS Multi-Color Path
Bambu Lab P1S 3D Printer, Ready-to-Use FDM 3D Printer
Fully enclosed build chamber
500mm/s and 20,000 mm/s²
Up to 16 colors with AMS and built-in camera
Pros
- Out-of-box ready with automatic setup and leveling
- Consistent print quality and speed
- Enclosed build supports ABS and ASA without warping
- Built-in camera with app monitoring and remote printing
- Excellent customer service and helpdesk
Cons
- Multi-color requires a separate AMS unit
- No built-in touchscreen
- Camera frame rate is low
- Silk and translucent filaments can clog the hotend
The Bambu Lab P1S is the sensible step up from the A1, and for many beginners it is the better long-term buy. It keeps everything that makes the A1 easy, then adds a fully enclosed chamber and a built-in camera.
The enclosure is the decisive feature. ABS and ASA print without the warping you get on an open frame, which opens up functional parts, automotive-style components and anything in a warm room. It runs at 500 mm/s with 20,000 mm/s² acceleration.
Material support is broad: PLA, PETG, TPU, PVA, PET, ABS and ASA are supported, PA and PC are capable with care, and Bambu advises against carbon-fiber and glass-fiber filaments. That last caveat matters if you were planning to start with reinforced filament.
Long-term owners with hundreds of print hours report flawless output, excellent bed adhesion and a build that feels premium in the hand. Automatic bed leveling and a fifteen-minute setup get you printing without a calibration session.
Thinking about color early
Add the Bambu Lab AMS and this machine prints up to 16 colors. That is a bigger multi-color ceiling than most competitors offer, and it is the reason P1S owners tend to stay in the ecosystem rather than move on after a year.
The AMS is a separate purchase, so budget for it as a deliberate second-stage decision rather than expecting color on day one. Many people run single-color on the P1S for months before they need it.
What to know before choosing it over the A1
There is no built-in touchscreen, so control happens through the app or a computer. If you like walking up to a machine and poking a screen, that will annoy you daily. If you print from your phone or laptop anyway, it does not matter.
The camera frame rate is low, which makes it a poor live monitor for a fast print, and silk or translucent filaments can cause hotend clogs because fine strands cool and set in the nozzle. Also expect the machine to be noticeably heavier and larger than the A1.
7. TINA2S Mini Starter Kit – Compact and Ready for Classrooms
TINA2S Fully Assembled Mini 3D Printer for Kids and Beginners, Starter Kit
Fully assembled with no build required
8.3 x 8.3 x 11.4 inch footprint
Auto leveling and dual Z rails with 2.4-inch LCD
Pros
- Arrives fully assembled and already printing
- Compact and light for classrooms and dorms
- Starter kit includes filament and preloaded model card
- Auto leveling and simple filament loading suit children
- Open-source slicer support on Mac and Windows
Cons
- Small build volume limits projects
- Only metal or magnetic plates work with the sensor
- Proximity sensor malfunctions on non-metal plates
The TINA2S is a different kind of answer to this question. It is not a machine for your own projects; it is a machine for a child, a classroom or a dorm desk where assembly time and adult supervision are the real constraints.
It arrives fully assembled at 6.4 pounds, so there is nothing to build and nothing to break during a first attempt. The starter kit includes filament, a preloaded microSD card with models on it and the accessories needed to start printing.
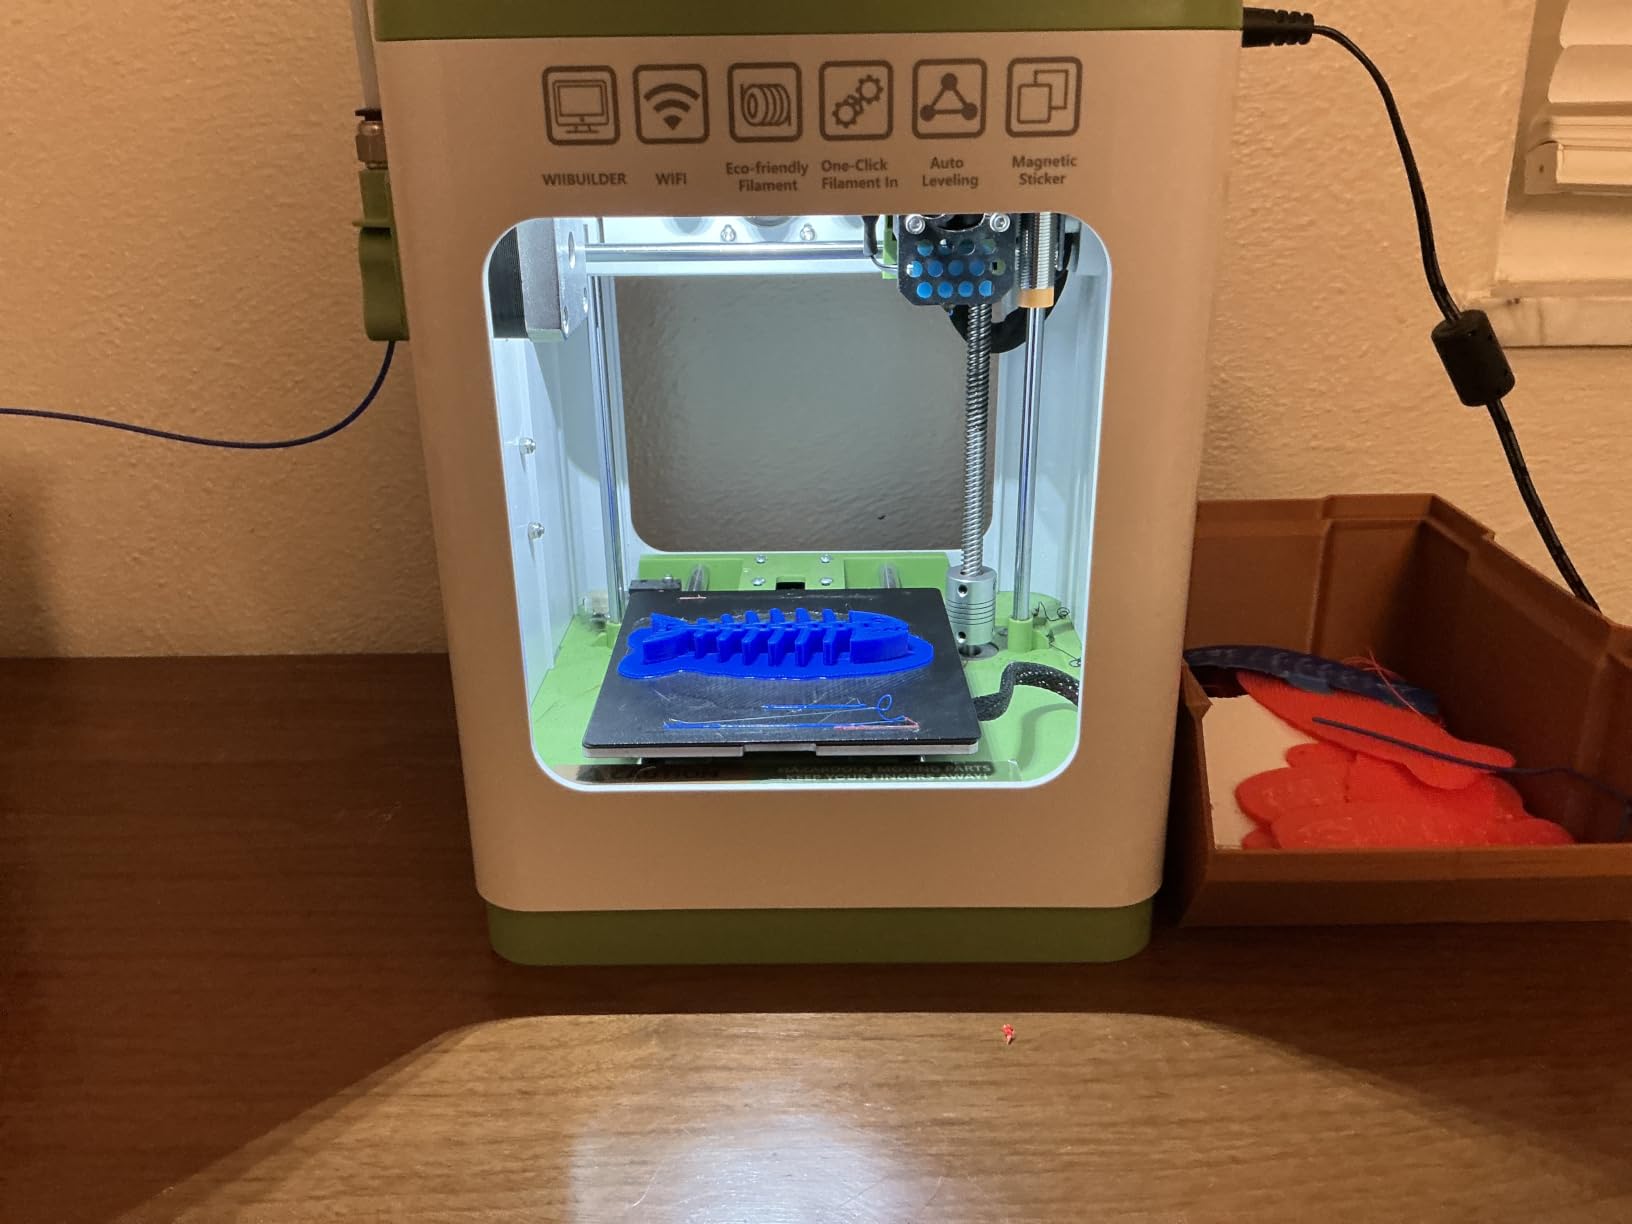
Auto leveling, a dual Z-axis rail and a 2.4-inch LCD keep the interface simple, and one-touch filament load and retract means a child can reload without an adult. It works with 1.75mm PLA, PLA Pro and TPU, and supports Wi-Fi plus the usual open-source slicers.
Owners highlight that it prints within minutes of delivery and suits classroom use well. For a group of students learning that a digital model becomes a physical object, the simplicity of the machine is the entire product.
What makes it family-friendly
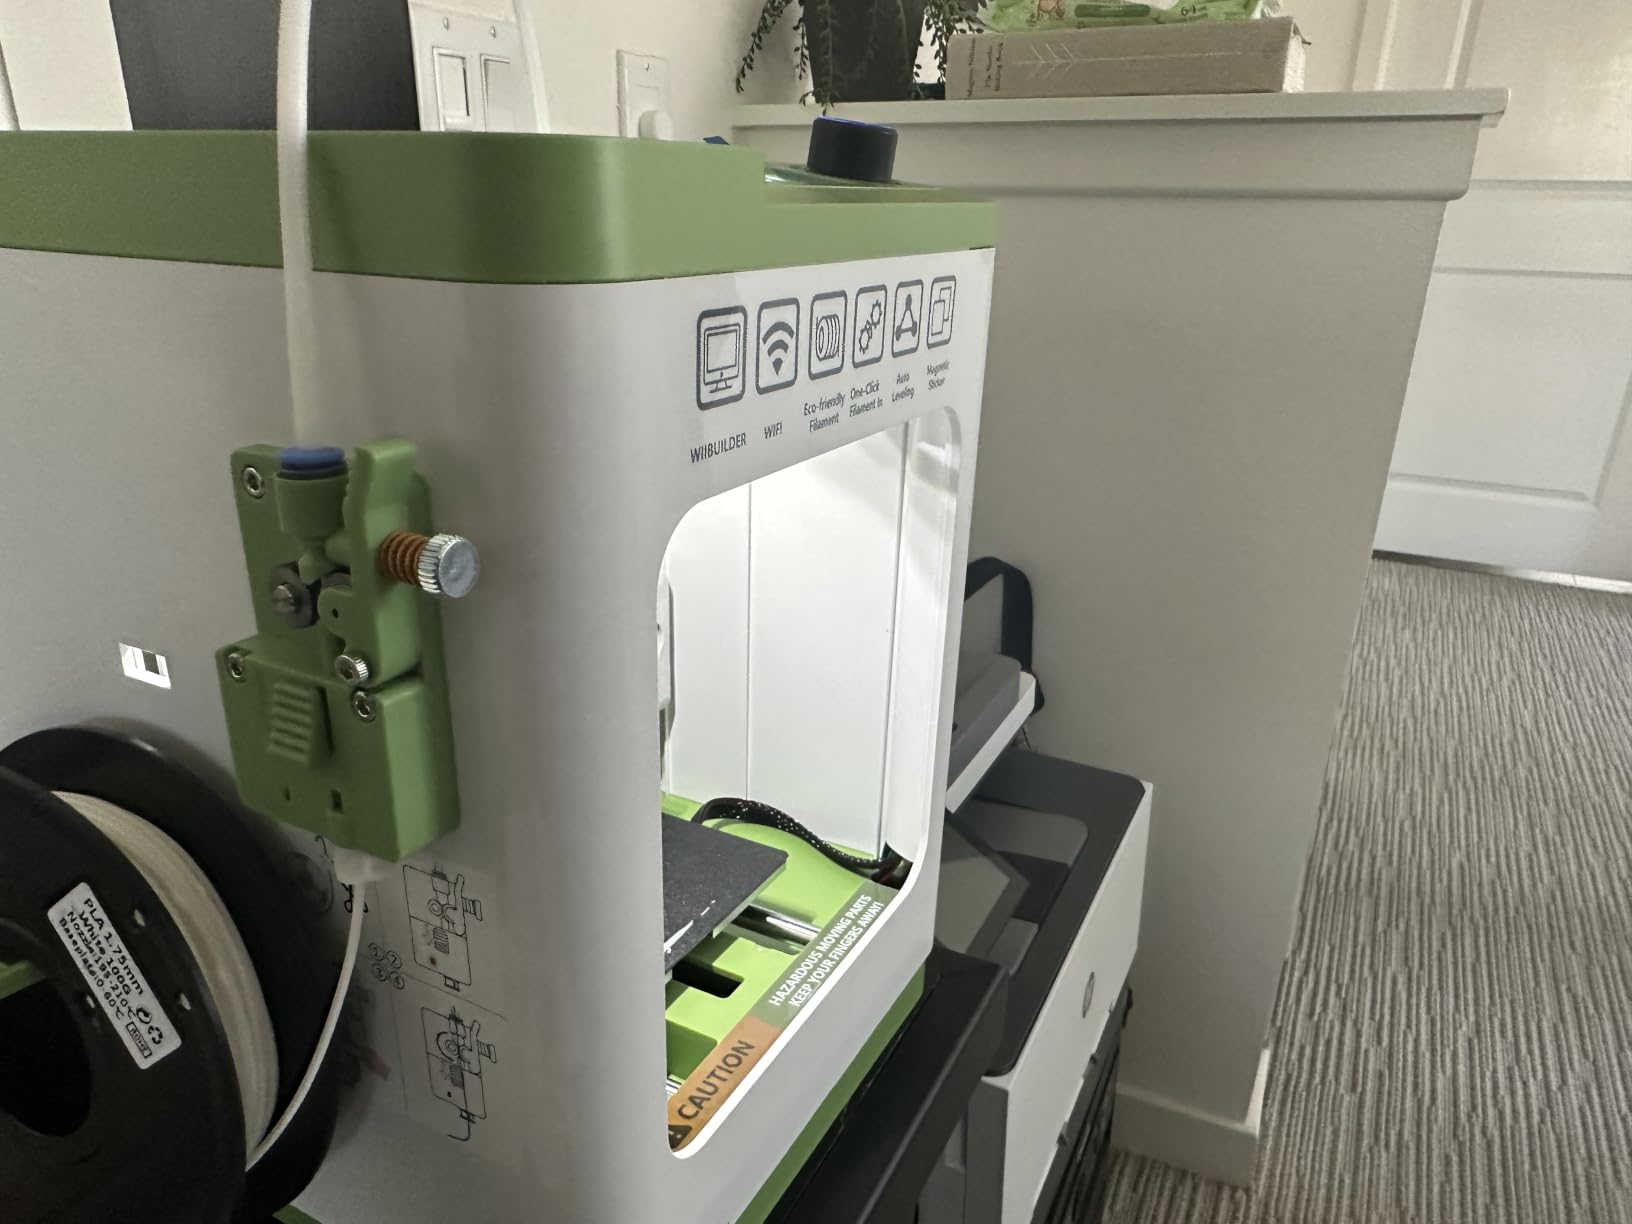
At that weight and footprint, it can live on a shelf, a windowsill or a dorm desk and be moved by a child. There is no enclosed hot chamber to worry about, and the materials it takes are the low-temperature ones, so the surface risk is lower than a 280°C hotend in a walk-in closet.
The model library approach works here too. Rather than asking a beginner to design something, the preloaded card gives a new user something to print in the first ten minutes.
Where it runs out of road
The build volume is very small, and once a user wants to print anything larger than a small model, they need a different printer. The proximity sensor also only works with metal or magnetic build plates, so a non-metal plate will cause malfunctions.
Think of it as an entry instrument rather than a hobby machine. If the goal is a first serious 3D printer, this is not it. If the goal is getting someone started safely and cheaply, it is hard to argue with.
8. FLASHFORGE AD5M – All-Metal CoreXY With Tool-Free Nozzle Swaps
FLASHFORGE AD5M 3D Printer Fully Auto Calibration Print with 1-Click Max 600mm/s Speed, All-Metal CoreXY Structure Precise Printing, Easy-Maintenance Quick-Swap Nozzle, Print Size 220x220x220mm
All-metal CoreXY rated to 600mm/s
One-click leveling and nozzle-to-bed offset
Tool-free nozzle swap in four sizes
Pros
- About fifteen to twenty minutes of assembly then it works
- OrcaSlicer has a gentle learning curve
- Quieter than expected in a separate room
- Tool-free three-second nozzle swap
- Power loss recovery and double-sided PEI plate
Cons
- Adhesion and dispensing can be inconsistent with third-party filament
- Wi-Fi and app connectivity is spotty
- Some units failed basic test prints out of the box
- Slicing needs a Windows or Mac PC
- Noisy and slow bed heat-up
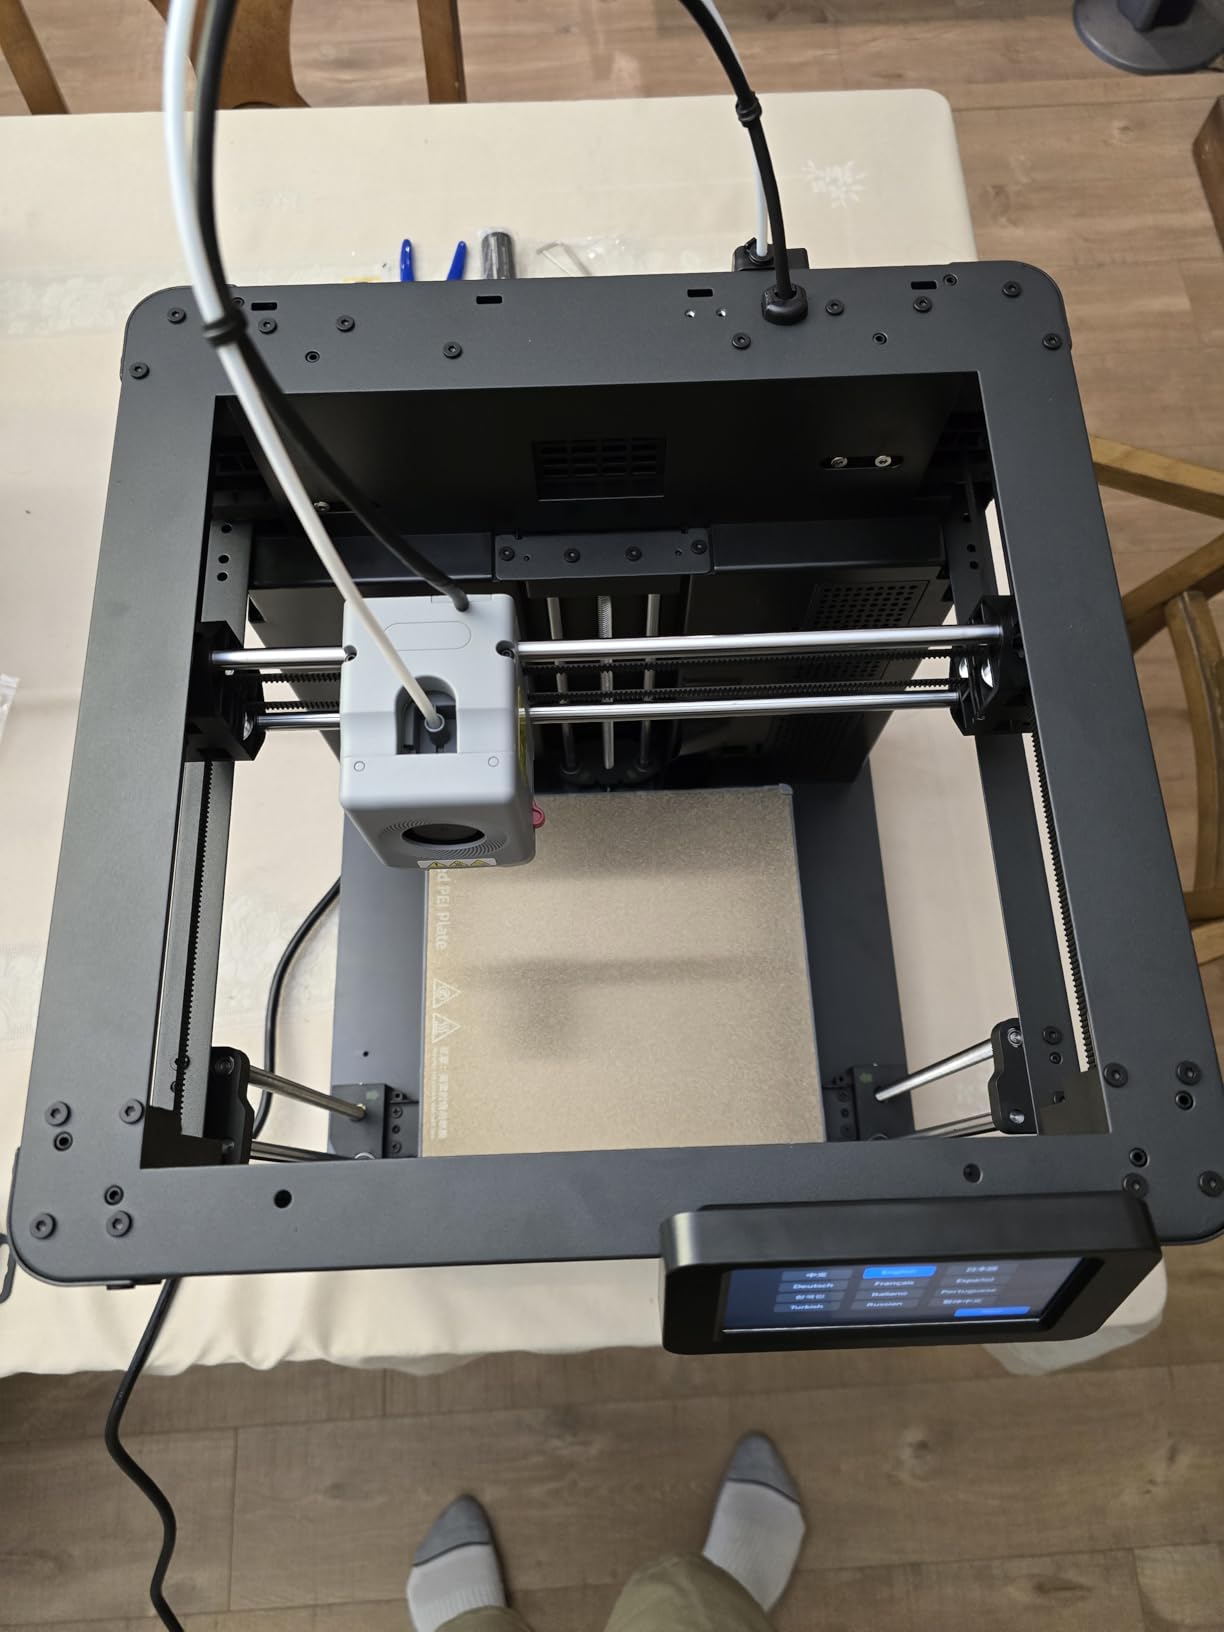
The Flashforge AD5M is the pick for someone who wants to understand how a printer works rather than just own one. It needs a short assembly session, and that is a feature here, not a flaw.
Putting a machine together teaches you where the belts, gantry and motion system sit, so when something misbehaves you have a mental model instead of guesswork. It also means you own the machine from the first minute, including the firmware.
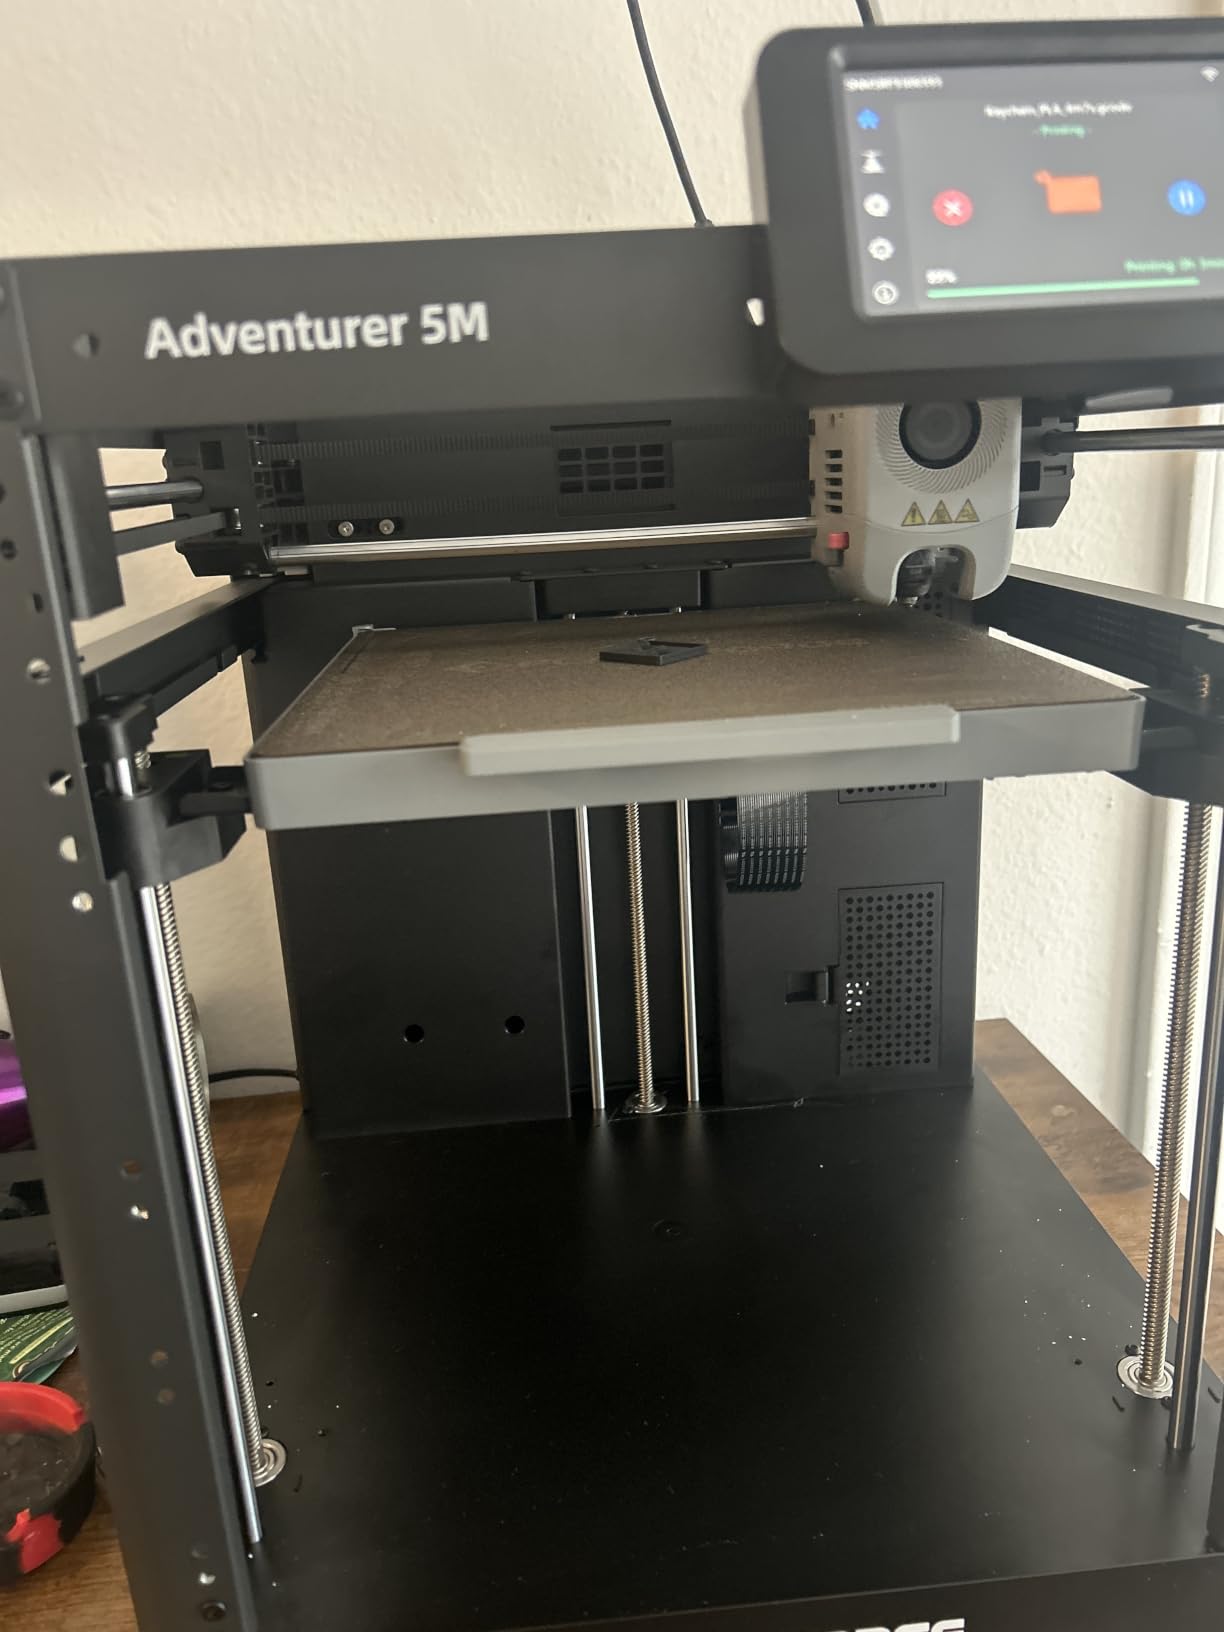
The all-metal CoreXY structure is rated to 600 mm/s and holds geometry well at speed. Fully automatic one-click leveling and nozzle-to-bed offset calibration remove the fiddly part while keeping the mechanical transparency that makes it a good learning platform.
The tool-free quick-release nozzle is the detail that changes daily use. Swapping between 0.25, 0.4, 0.6 and 0.8mm takes about three seconds, which makes it realistic to run a fine nozzle for miniatures on the same machine you use for a vase.
What the open design gets you
OrcaSlicer ships with it and has a gentle learning curve for new users, so you will actually learn the slicer instead of accepting whatever defaults exist. Power loss recovery and filament run-out handling protect long prints, and the double-sided flexible PEI plate means you are not re-gluing anything.
Owners report it is quieter than expected when running in another room, which makes it a workable bedroom or home-office printer.
What to expect in practice
Adhesion and dispensing can be inconsistent with third-party filament, which is the most common complaint, so start with branded spools while you learn. Wi-Fi and phone app connectivity is spotty and Ethernet works better.
Some units reportedly failed basic test prints out of the box, so test early. Slicing still requires a Windows or Mac computer even when the print itself is managed from a tablet, and the bed is noisy and slow to heat compared with the others here.
9. Creality K2 SE 4C – Compact Four-Color Without Upgrade Modules
Creality K2 SE 4C 3D Printer, Multi-Color 3D Printer, 500mm/s Fast Printing
Built-in four-color system with no extra assembly
CoreXY 500mm/s with 20,000mm/s²
Bed leveling probes only the active area
Pros
- Four-color printing works out of the box with no modules
- Compact footprint for a multicolor system
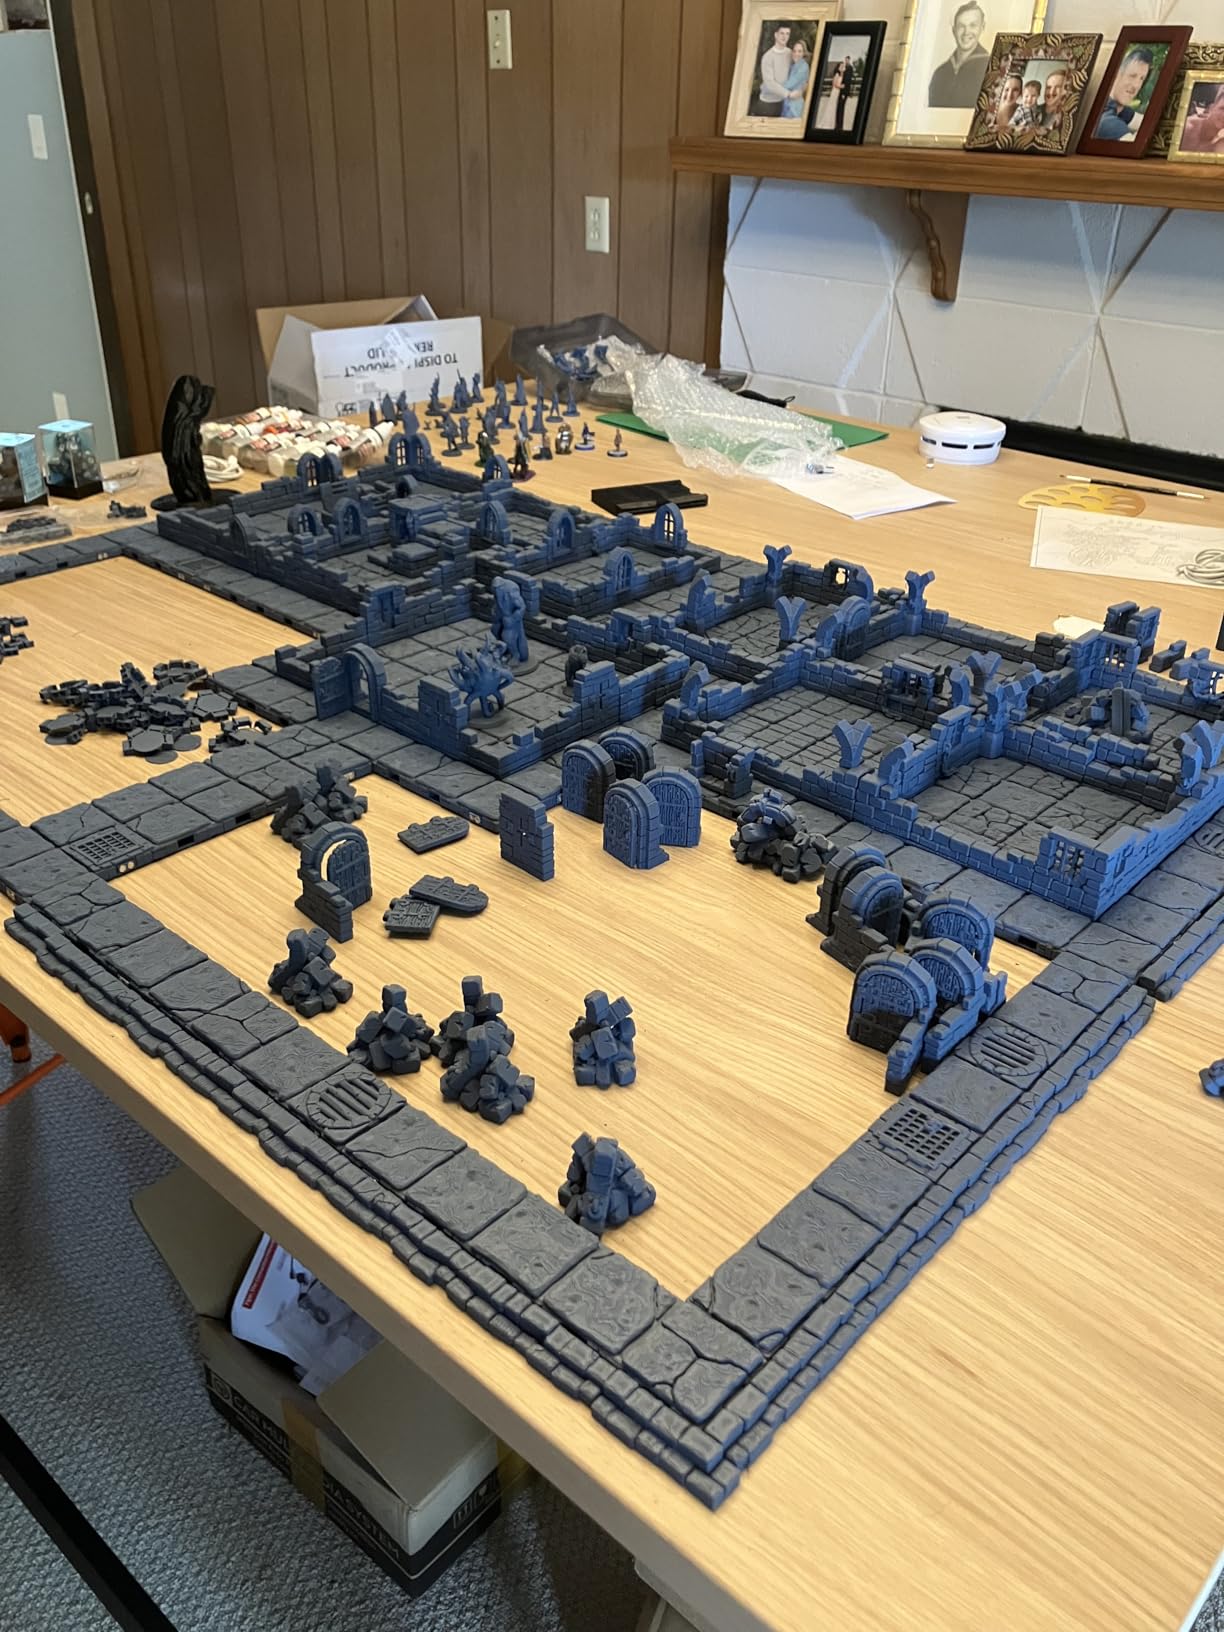
- CoreXY speed for fast prototypes and cosplay props
- Bed leveling probes only the active area to save time
- Run-out tangle and power-loss protection
- Open access to Creality OS and Fluidd UI
Cons
- Newer model with a smaller user base and less long-term history
- Highest share of one-star ratings in this roundup
- Color changes require purging which adds time and waste
- One of the heaviest machines here at 35.5 pounds
The Creality K2 SE 4C solves the multicolor footprint problem. Most four-color systems need a box the size of a second small printer sitting beside the machine, and this one integrates the system into a 37 percent smaller footprint.
Four colors work immediately with no upgrade modules, no assembly and no extra unit to plug in. If multi-color is a requirement rather than a someday idea, that is worth a great deal of desk space saved.
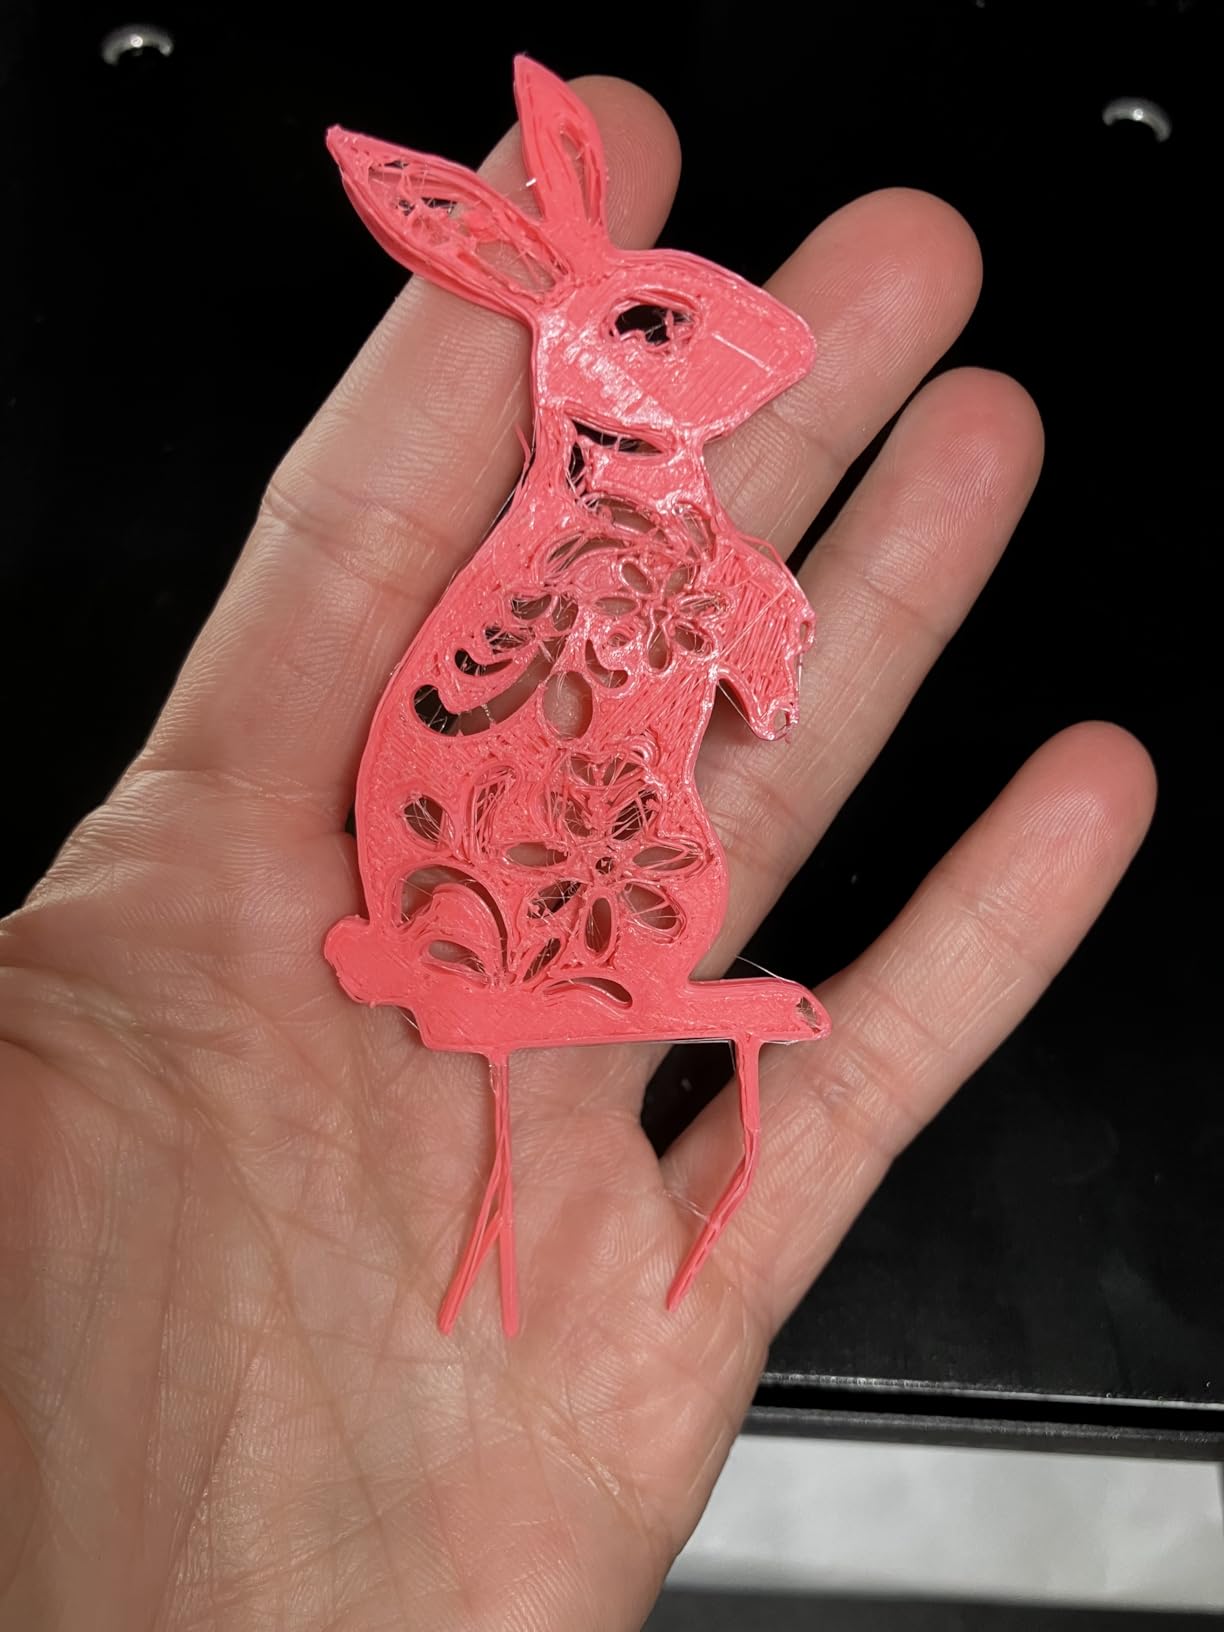
Underneath, it is a capable CoreXY machine at 500 mm/s with 20,000 mm/s² acceleration, which is fast enough for prototypes and cosplay props rather than only for decorative multi-color pieces. Filament tangle detection is a nice touch that prevents the kind of ruined spool nobody warns you about.
The intelligent auto bed leveling probes only the active print area, so a small model does not pay for a full-bed mesh. Run-out detection, power loss recovery and skip-partial-failure all reduce the ways an unattended print dies.
Why open firmware matters
Creality OS with Fluidd UI and root access, plus offline USB printing, is unusual at this level. If you want to change settings, run custom macros or print without a cloud account, this machine allows it, which answers the cloud-dependency anxiety beginners voice online.
It is also relevant if you ever sell it. Open firmware makes the machine useful to the next owner regardless of whether an account still works.
What the reviews hold back
This is a newer model, so it has a smaller installed user base and less long-term review history than anything else here. It also carries the highest share of one-star ratings in this roundup at 16 percent, with the average landing lowest among these ten despite solid four-to-five-star usability reports.
Color changes require purging between colors, which adds time and wasted filament on every transition. At 35.5 pounds it is one of the heaviest machines in the group, so the compact footprint does not translate into a light machine.
10. Entina Tina2C – App-Guided Printing Built for STEM
Entina Tina2C 3D Printer for Kids & Beginners, Fully Assembled Starter Mini 3D Printer, Start in 8 Mins, App & WiFi Control, Auto Leveling, 3000+ Model Library, 20+ Creative DIY Modules for STEM, Home
Guided app setup with first print in about 8 minutes
3.9 x 3.9 x 3.9 inch build volume
25+ STEM modules with Wi-Fi and TF card
Pros
- Prints usable parts within 24 hours of unboxing
- Compact and light for a desk or classroom
- App model library and STEM modules keep kids engaged
- Flexible magnetic plate makes part removal easy
- Responsive customer service
Cons
- Very small build volume limits it to trinkets and small parts
- Prints can come out slightly wobbly
- Filament loading and mid-print snapping need troubleshooting
- Not fully hands-off for unsupervised children
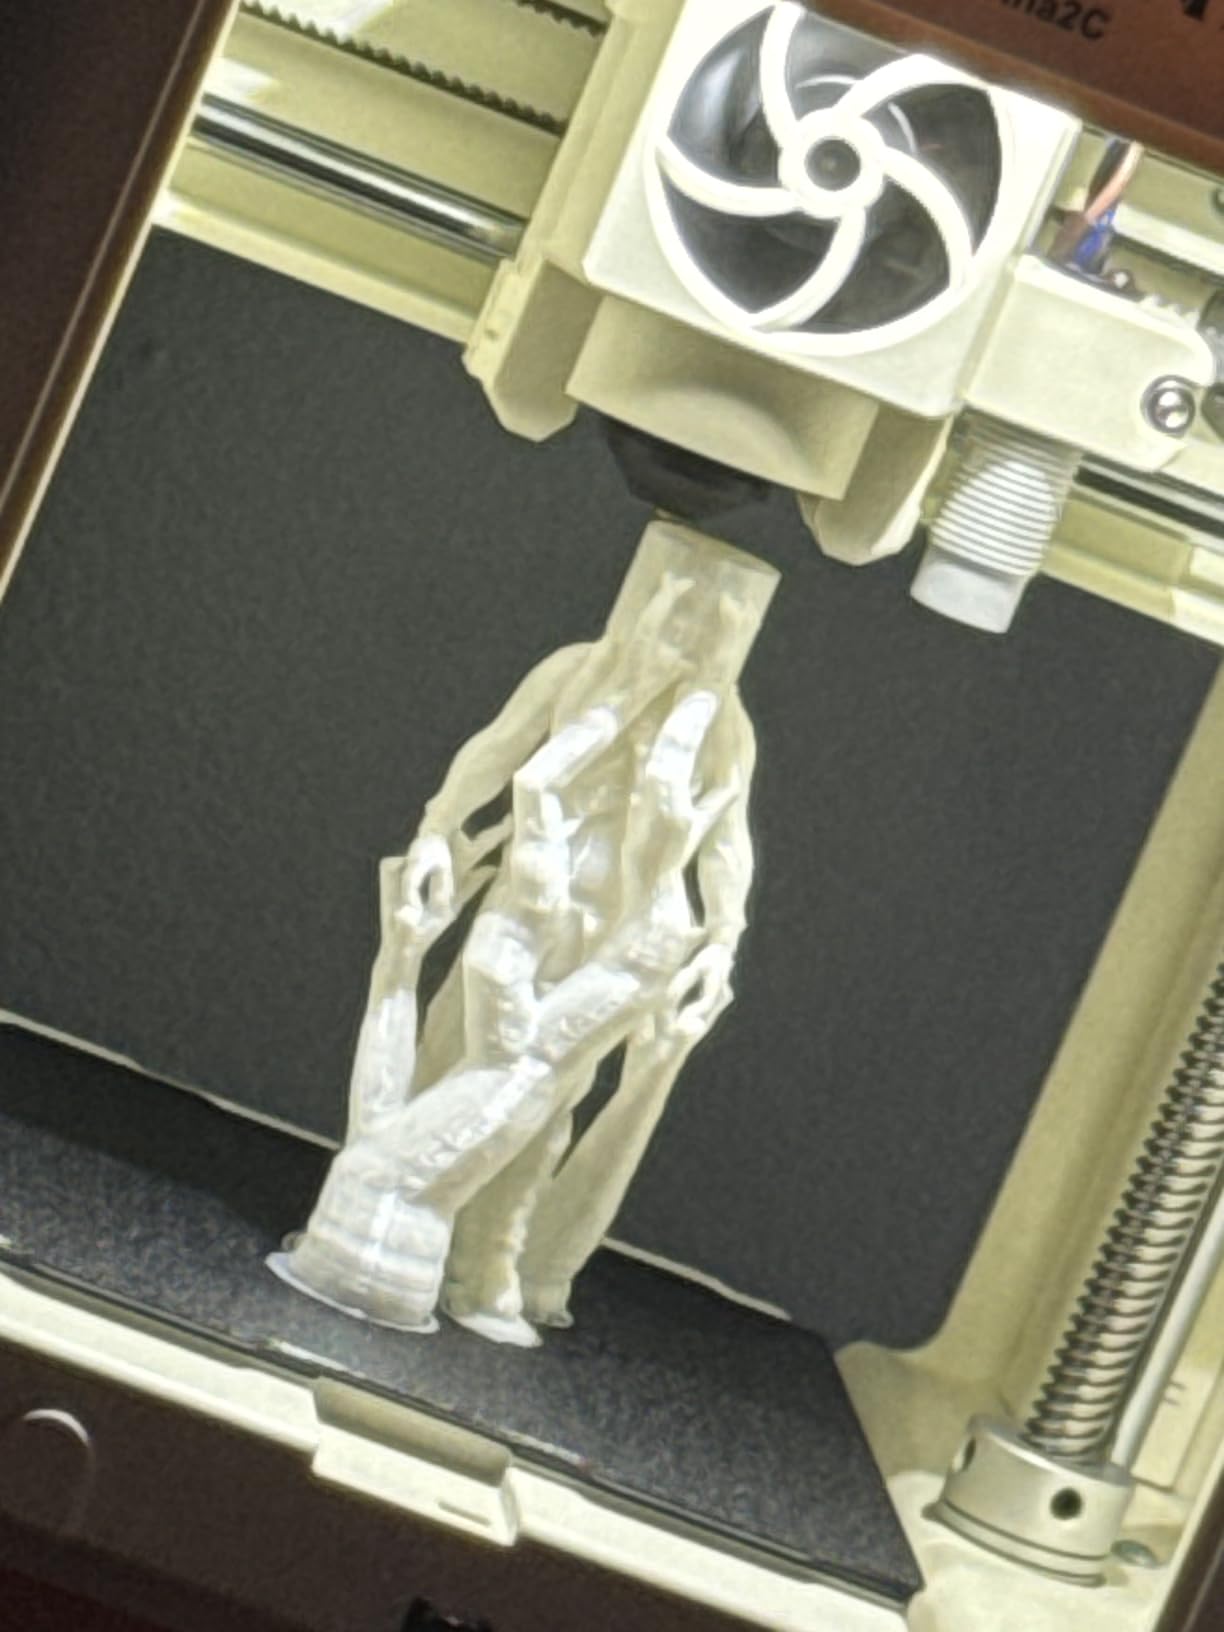
The Entina Tina2C is built around one idea: the hardest part of 3D printing for a beginner is not the hardware, it is knowing what to print and how. The Poloprint Cloud app handles guided setup, and owners report a first print in about eight minutes.
At 5.28 pounds and 8 by 6.5 by 10 inches, it is the lightest machine here and genuinely lives on a desk. LED lighting, a self-cleaning nozzle and a quick-swap printhead round out a package aimed at homes and classrooms.
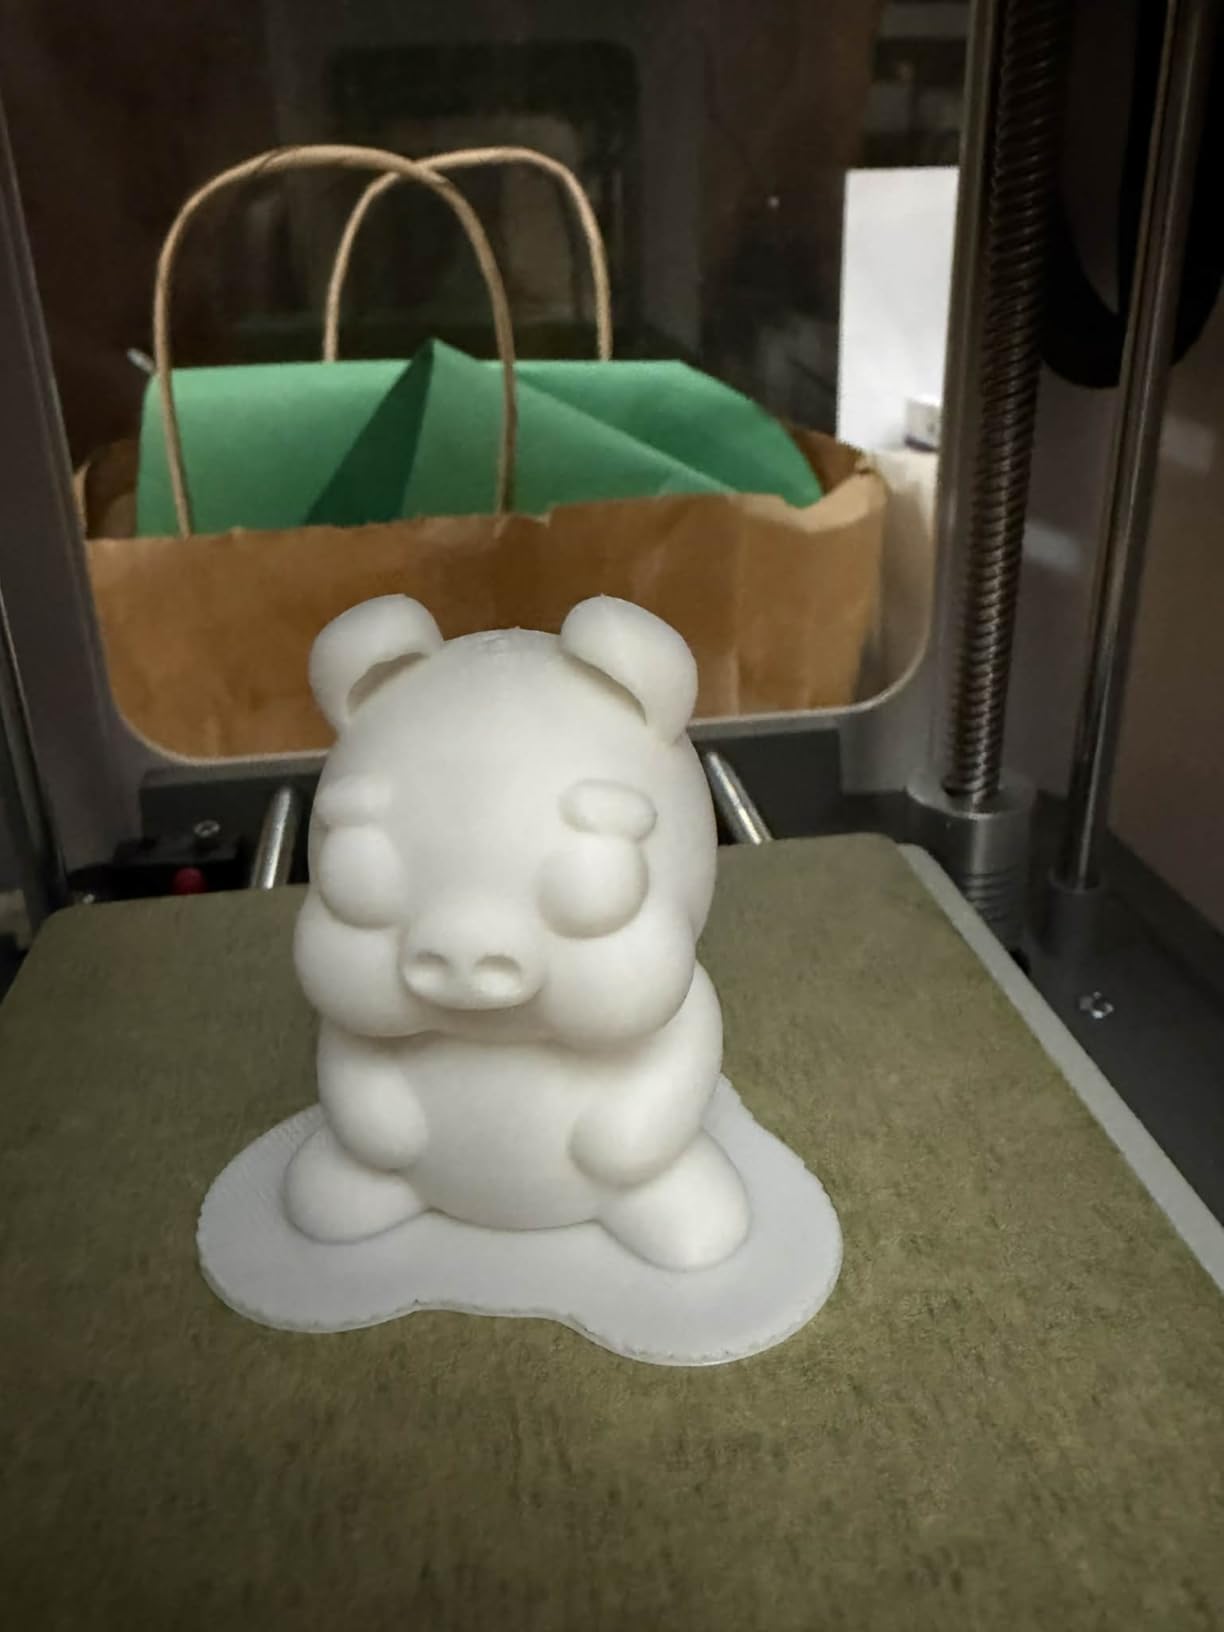
The educational layer is the differentiator. There are 25-plus creative STEM modules and a library of more than 3,500 models, plus AI-powered search and a photo-to-print feature that will keep a child occupied long after the first plastic box opener.
Printing is available over 2.4GHz Wi-Fi with a TF card fallback for offline use, and it runs on Windows, macOS, Linux and Chromebook with Cura and Simplify3D support, which matters for schools with mixed devices.
What works well for a first user
Owners report printable parts within a day of unboxing, and the flexible magnetic build plate makes part removal easy enough for small hands. Auto leveling, power loss recovery and a quick-swap printhead mean fewer reasons for a beginner to abandon a print mid-way.
It is a genuinely satisfying first machine for anyone whose interest started with an app or a classroom rather than with hardware research.
Where the limits bite
The 3.9-inch cube build volume means everything is a trinket or a small part. Prints can come out slightly wobbly, which is fine for a fidget toy and frustrating for anything you want to keep.
Filament loading and occasional mid-print filament snapping need troubleshooting, and some users find it is not fully hands-off for unsupervised children. Treat it as an introduction with a natural upgrade point rather than a long-term machine.
Key Features to Consider When Buying Your First 3D Printer
These are the features that decide whether a first printer is a joy or a weekend of frustration. Each one below is something we verified on the machines in this roundup.
Automatic bed leveling and Z-offset calibration. This removes the single step beginners cite most often as the reason they gave up. Every machine here does it, and on the Bambu Lab A1 and ELEGOO Centauri 2 Combo it also runs pre-print checks on the nozzle and flow.
An enclosed build chamber. Required for ABS and ASA, which warp on an open frame. Worth it if you plan functional or automotive parts; unnecessary if PLA is your material. The Flashforge Adventurer 5M, ELEGOO Centauri 2 Combo, Creality K1C and Bambu Lab P1S are the enclosed options here.
Direct drive rather than Bowden. A short filament path feeds TPU and resists clogs, which removes two common beginner problems at once. Every machine in this roundup uses a direct drive or direct extruder layout.
CoreXY rather than bed slinger motion. CoreXY moves the whole toolhead, holds speed without corner artifacts and produces cleaner overhangs and tall thin parts. The trade is cost, weight and footprint.
A PEI spring steel build plate. Texture on the plate gives PLA and PETG adhesion without glue, and removable plates let you switch surfaces when a material behaves differently.
Speed and acceleration. Speed matters less than people expect, but acceleration decides how fast short test prints come back. That is the loop a beginner actually uses when learning to design.
Filament run-out and power loss recovery. Both stop an unattended overnight print from becoming a pile of plastic. Cheap machines often skip them.
Multi-color from the start or later. Integrated four-color systems like the Centauri 2 Combo and Creality K2 SE 4C work immediately, while Bambu and Flashforge multi-color is a separate module you add later.
The order of importance matters as much as the list. Calibration and bed adhesion come first because they decide whether you get a finished object, enclosure and material range come second because they decide whether you outgrow the machine, and everything else is refinement. Ranking features this way is the same approach we take in our 8 Best Gas Grills for Beginners Reviewed, where forgiving ignition and easy cleanup mattered far more to a first-time owner than maximum heat output.
Learning Curve and Time to Your First Successful Print
Nobody publishes time-to-first-print numbers, which is why this is the question we get most often from people deciding. The honest answer is that the gap between brands is measured in hours, and for a beginner that difference is everything.
Plug-and-play machines such as the Bambu Lab A1, the Flashforge Adventurer 5M and the Entina Tina2C can go from unboxing to a finished part the same afternoon. Owners report about ten minutes on the Adventurer 5M and about eight minutes of guided setup on the Tina2C. There is no calibration notebook and no manual leveling.
Machines that require a short assembly, like the Flashforge AD5M at roughly fifteen to twenty minutes, sit in the middle. You spend that time learning where the parts are, which pays back later when something needs adjusting.
Bed slingers with manual calibration sit at the slow end, and that is exactly the category that produces forum horror stories about first layers failing repeatedly. The Creality Ender 3 V3 SE is the counter-example here, because CR Touch automated leveling removes the step entirely.
Our rule of thumb: if your first free weekend is the only weekend you have, buy an auto-calibrating enclosed or semi-enclosed machine. If you want to learn the mechanics and enjoy maintenance, an open machine with a good community is more rewarding.
Whichever route you take, the skill itself is learned by repetition rather than study, and the fastest way to build confidence is a tool that removes technique from the equation. That is the logic behind our 10 Best Immersion Blenders for Beginners Guide, where the goal was the first smooth result rather than the tenth technique.
What You Need Beyond the Printer in Year One
The printer is the part people budget for and the smaller part of what the hobby costs. The extras below are where beginners get surprised, and none of them are optional if you want consistent results.
Filament. Start with two spools of good PLA in different colors. Cheap filament is the most common cause of under-extrusion, stringing and inconsistent diameter, and it costs more in ruined prints than it saves on the spool.
A filament dryer. Humid filament causes popping, stringing and clogs, and it is the single accessory owners recommend most often. If you live somewhere humid, this is not optional.
Spare nozzles. Brass nozzles wear and a clogged nozzle ends a print. Keep one or two spares and learn to swap one, which on the Flashforge AD5M and Bambu Lab A1 takes seconds with no tools.
A brass nozzle upgrade. Cheap on most machines, and it makes abrasive filaments viable if your extruder can feed them.
Basic tools and cleaning supplies. A nozzle cleaning needle, flush material, isopropyl alcohol and a brush cover the routine maintenance that keeps a hotend healthy.
A digital caliper. Useful for checking layer height settings and measuring real-world accuracy of a finished part. Less essential, but cheap.
Storage matters as much as the consumables, and a simple drawer organizer keeps spares and tools findable instead of scattered. Our 8 Best Mixing Bowls Sets for Beginners guide covers the same principle for a kitchen bench: give every small item a fixed home so setup and teardown take seconds.
Common Beginner Problems and the Machine That Eases Each One
Almost every beginner frustration maps to a specific machine choice or a specific habit. Here is what we hear most, paired with the pick that handles it best.
The first layer will not stick. The usual cause is a bed that is not level or a dirty plate. Every machine here levels itself, and the removable PEI plates on the Flashforge machines and the Ender 3 V3 SE make it easy to clean the surface between prints. The Bambu Lab A1 is the safest default if you want this handled without thinking.
Stringing between layers. Almost always retraction and temperature. Direct drive extruders on the Ender 3 V3 SE, Creality K1C and Flashforge AD5M reduce the distance the filament travels between the extruder and nozzle, which makes retraction tuning far less critical.
Layer shifts on tall prints. Caused by loose belts, an unbalanced gantry or a single Z-axis. The dual synchronized Z lead screws on the Ender 3 V3 SE and the CoreXY frames on the Flashforge machines and Creality K1C hold Z position much better. If you print tall cosplay pieces, weight matters.
Nozzle clogs. Hotend temperature, leftover material and wet filament are the triggers. The tri-metal nozzle and high-flow hotend on the Creality K1C tolerate abrasive material, and a dryer fixes the wet-filament half of the problem on any machine.
ABS and ASA lifting at the corners. You need an enclosure. That points straight to the Flashforge Adventurer 5M, ELEGOO Centauri 2 Combo, Creality K1C or Bambu Lab P1S.
Losing an overnight print. Filament run-out sensors and power loss recovery solve this, and both are standard on the Flashforge AD5M, Flashforge Adventurer 5M, Creality K2 SE 4C and Bambu Lab A1. On other machines, treat every long print as supervised until you add a sensor.
Slicer settings overwhelming you. Use the machine’s bundled slicer for your first twenty prints and change one setting at a time. The Creality K2 SE 4C also supports offline USB printing, which removes cloud connectivity from the equation entirely.
Multi-Color Upgrade Paths for First-Time Buyers
Multi-color is the most common second purchase after the printer itself, and the route differs sharply by brand. Deciding early matters, because some paths are additive and others are baked in.
Bambu Lab. The A1 takes the AMS lite for four-spool color, and the P1S takes the full AMS for up to 16 colors. Both are separate purchases, and owners commonly advise adding the unit at purchase if color matters, since availability and pairing are simplest then.
ELEGOO. The Centauri 2 Combo has four-color CANVAS built in, with RFID filament recognition and auto refill. Nothing to buy later.
Creality. The K2 SE 4C integrates four colors with no upgrade module, in a compact footprint. The K1C is single-color, so multicolor means a different machine rather than an add-on.
Flashforge. The Adventurer 5M and AD5M are single-color, and the AD5M’s open design makes adding hardware something you can do yourself.
One warning that applies to every brand: multi-filament systems are more likely to jam on damp filament. Budget for a dryer alongside any color upgrade, not after.
Frequently Asked Questions
Can I teach myself 3D printing?
Yes. Almost every beginner skill is learnable in a weekend: loading filament, slicing a model, and monitoring a print. Pick a machine with automatic bed leveling so your first lesson is not calibration, and use the bundled slicer defaults for your first twenty prints.
How expensive is 3D printing as a hobby?
The printer is only part of it. In year one you also need filament in two or more colors, a filament dryer, spare nozzles, cleaning supplies and a small tool kit. Electricity is modest. The extras are a one-time cost that reappears mainly as filament.
What is currently the best 3D printer for home use?
The Bambu Lab A1 is the best all-round choice for a beginner, because full-auto calibration means it produces a good first layer without manual work. If you need an enclosed chamber for ABS and ASA, the Flashforge Adventurer 5M is the best value option.
What are the best 3D printers for home use?
It depends on the job. The Bambu Lab A1 suits most first printers, the Flashforge Adventurer 5M covers enclosed printing cheaply, the Creality K1C handles tough engineering filaments, the ELEGOO Centauri 2 Combo and Creality K2 SE 4C do four-color out of the box, and mini kits suit kids and classrooms.
Is 3D printing hard to learn?
The hardware is easy and the software is the learning curve. Slicer settings look overwhelming until you understand that a first print needs almost none of them. Changing one setting at a time and comparing results is how people get comfortable, usually within a few prints.
What filament should a beginner buy first?
PLA. It prints at low temperatures, barely smells, sticks to almost any textured plate and forgives beginner mistakes. Add PETG once your first few prints succeed, and treat TPU as an advanced material because flexible filament exposes feed problems.
Do I need an enclosed 3D printer?
Only if you plan to print ABS or ASA, which warp on an open frame. For PLA and PETG an open frame is lighter, cheaper and easier to work on. If you keep parts in a hot car or make functional components, buy enclosed from the start.
FDM or resin for a beginner?
FDM. It is safer, quieter and needs no washing or curing step. Resin gives finer detail for miniatures but adds gloves, ventilation, alcohol washing and UV curing, which is effectively a second hobby on top of the first.
Final Recommendations for Your First Printer in 2026
Buy the Bambu Lab A1 if you want the shortest path from opening the box to a finished object. It asks the least of you, holds the highest rating in this group and quietly handles the things that make beginners quit.
Buy the Flashforge Adventurer 5M if you want an enclosed machine without spending enclosed-machine money. Buy the Creality Ender 3 V3 SE if the lowest entry point is the deciding factor. Buy a mini kit such as the TINA2S or Entina Tina2C if the machine is for a child or a classroom rather than for your own projects.
And spend the first evening printing something simple before you touch a single setting. That habit, not the model, is what determines whether you are still printing in 2026.