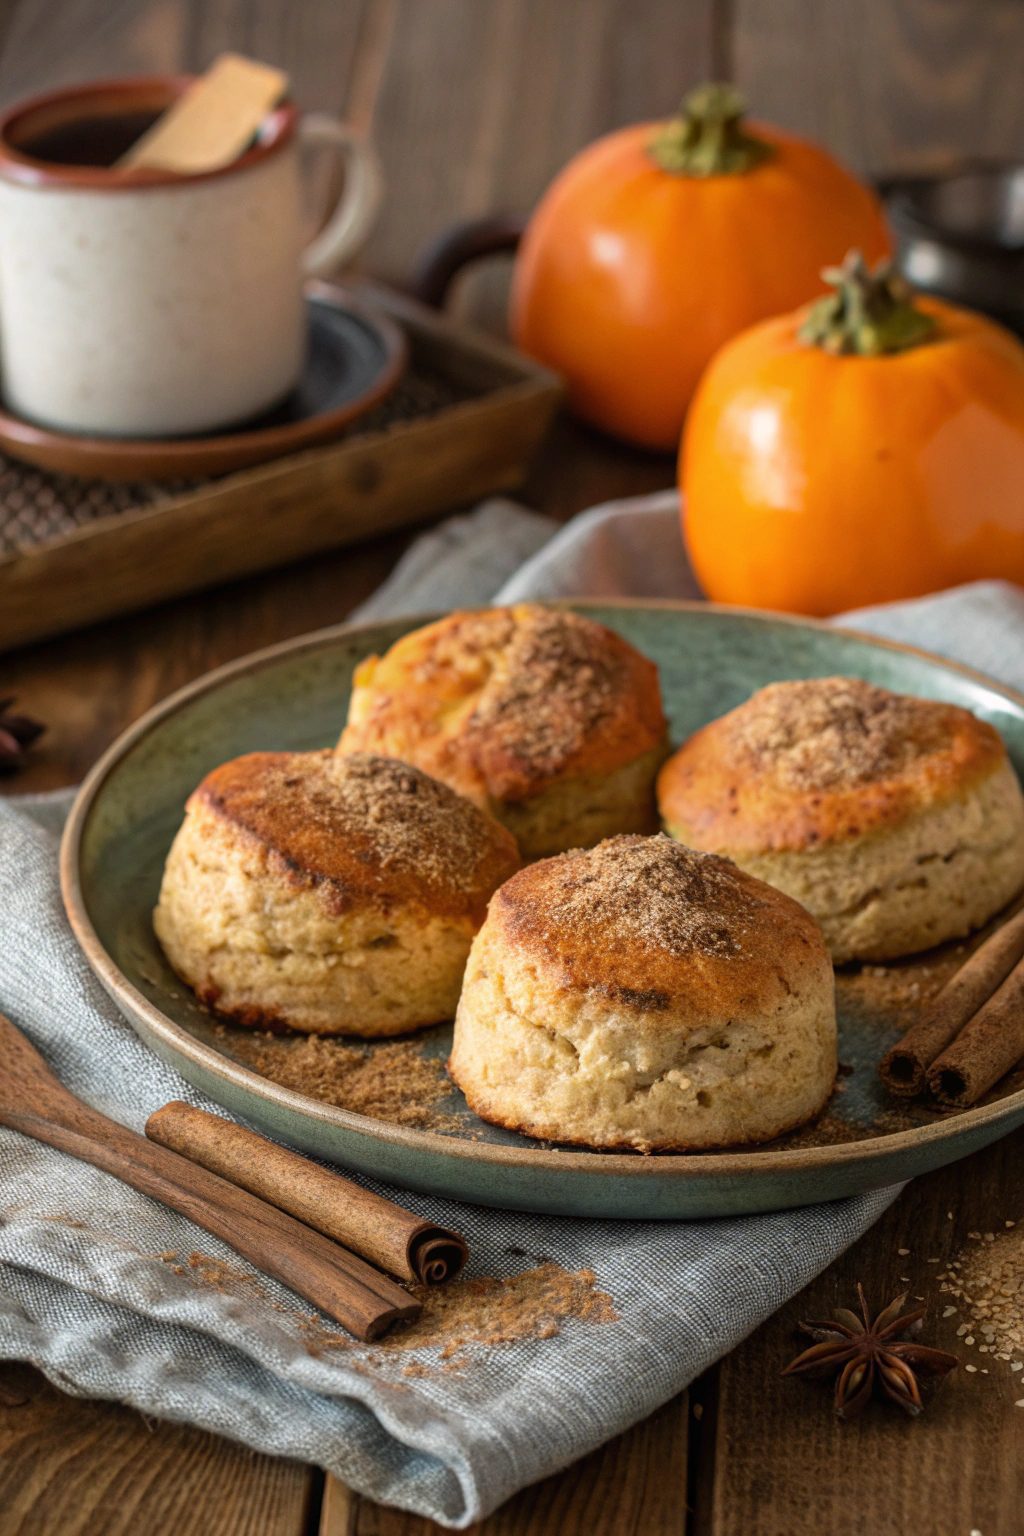
Embrace the cozy flavors of autumn with these delightful Persimmon and Cinnamon Scones. This recipe transforms sweet, seasonal persimmons into a warm, spiced treat perfect for a crisp morning. The tender, crumbly texture of the scones combined with the unique, honey-like sweetness of caramelized persimmons and a kick of cinnamon creates a truly memorable baked good.
Topped with a simple yet elegant glaze made from the persimmon’s own juices, these scones are a sophisticated and comforting addition to any breakfast or afternoon tea spread, sure to impress your family and friends.
Table of Contents
Ingredients You’ll Need
Here is a complete list of everything you need to create these amazing scones.
- 2-3 Fuyu persimmons (about 2 cups chopped)
- 2 ½ cups all-purpose flour
- ½ cup + 2 teaspoons cold butter, cut into ½” cubes
- ¼ cup brown sugar
- ⅓ cup granulated sugar
- ½ teaspoon nutmeg
- 2 ½ teaspoons cinnamon
- 1 tablespoon baking powder
- 1 teaspoon salt
- 2 large eggs
- ½ cup buttermilk
- ½ cup powdered sugar
- A splash of milk or cream (about 1 teaspoon)
How to Bake Persimmon and Cinnamon Scones?
Follow these simple steps to bake the perfect batch of scones.
Step 1: Prepare the Persimmons
Begin by peeling, coring, and slicing your persimmons into ½-inch chunks. In a skillet over medium heat, melt 2 teaspoons of butter. Add the chopped persimmons, brown sugar, 1 ½ teaspoons of cinnamon, and the nutmeg. Cook for 8-10 minutes, stirring frequently, until the persimmons are tender and caramelized.
Step 2: Cool the Fruit and Reserve Juice
Remove the skillet from the heat. Strain the caramelized persimmons, collecting the juices in a separate small bowl. Set the juice aside for the glaze later. Place the strained persimmon chunks in the refrigerator to cool completely while you prepare the scone dough.
Step 3: Mix the Dry Ingredients
In a large bowl, measure the all-purpose flour, granulated sugar, baking powder, salt, and the remaining 1 teaspoon of cinnamon. Whisk everything together until well combined.
Step 4: Cut in the Butter
Add the cold, cubed butter to the dry ingredients. Using a pastry cutter, your fingertips, or a stand mixer on low, cut the butter into the flour mixture until the pieces are the size of small almonds. A crumbly texture is what you’re looking for.
Step 5: Combine Wet and Dry Ingredients
Once the persimmons have cooled, gently fold them into the flour and butter mixture. In a separate bowl, whisk the eggs and buttermilk together. Pour about two-thirds of this wet mixture into the dry ingredients and gently mix until the dough just starts to come together. Add the remaining buttermilk mixture; the dough should look scrappy and a bit rough.
Step 6: Form and Chill the Dough
Turn the dough out onto a lightly floured surface. Gently pat it together to form a 7-8 inch disk. Do not overwork the dough. Cut the disk into 6 equal wedges. Place the wedges on a baking sheet and chill them in the refrigerator for 10-15 minutes. This step is crucial as it helps the scones hold their shape while baking.
Step 7: Bake the Scones
Preheat your oven to 350°F (175°C). Bake the chilled scones for 25-30 minutes, rotating the pan halfway through. The scones are done when they are golden brown with slightly darker, crunchy edges. Transfer them to a cooling rack for at least 10 minutes.
Step 8: Prepare the Glaze and Serve
While the scones are cooling, prepare the glaze. Sift the powdered sugar into a small bowl. Whisk in 2-3 tablespoons of the reserved persimmon juice, one tablespoon at a time, along with a splash of milk or cream, until you reach your desired consistency. The glaze should be smooth and thick enough to drizzle. Drizzle the glaze over the cooled scones and enjoy!
Your Scone Questions Answered
Got questions? Here are some answers to common queries about making these scones.
What type of persimmons should I use?
This recipe works best with Fuyu persimmons, which are sweet and can be eaten while still firm. Hachiya persimmons are another common variety, but they are very astringent and must be completely soft and ripe before using, which makes them better suited for purées rather than chunky additions.
Can I make these scones ahead of time?
Yes, you can prepare the dough ahead of time. Form the scones, place them on a baking sheet, cover, and refrigerate for up to 24 hours before baking. You may need to add a few extra minutes to the baking time.
How should I store leftover scones?
Store leftover scones in an airtight container at room temperature for up to 2 days. For longer storage, you can freeze the unglazed scones for up to 3 months. Thaw at room temperature and warm in the oven before serving.
Why is it important to use cold butter?
Using cold butter is key to achieving a light and flaky scone. The cold butter creates small pockets of steam as it melts in the oven, which results in a tender, crumbly texture rather than a dense, tough one.
Pro Tips for Perfect Scones
- Don’t Overmix: Be gentle with the dough. Overmixing develops the gluten in the flour, which will make your scones tough instead of tender.
- Chill the Dough: Don’t skip the chilling step! It prevents the scones from spreading too much and helps them rise beautifully.
- Customize Your Scones: Feel free to add a cup of chopped nuts like pecans or walnuts along with the persimmons for extra crunch and flavor.