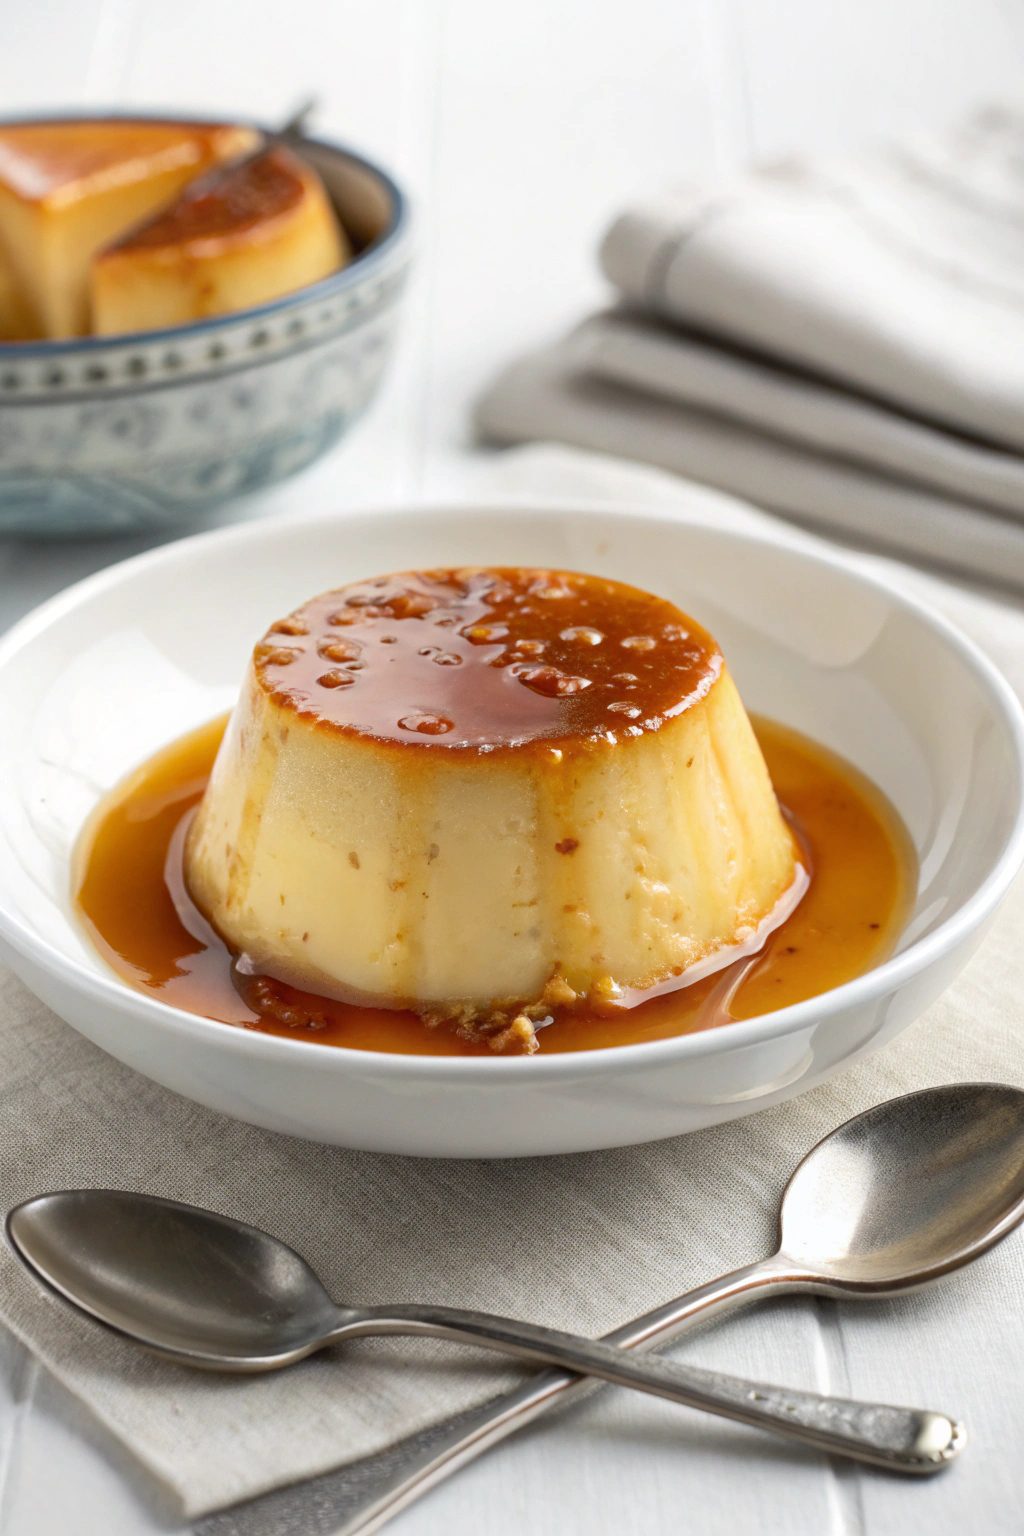
Discover the secret to a silky-smooth, perfectly sweet flan that’s surprisingly simple to make with just a few pantry staples. This classic dessert, known for its rich caramel topping and creamy custard, is an elegant treat perfect for any occasion.
With minimal effort and basic ingredients, you can create a show-stopping dessert that will impress everyone, from family dinners to special gatherings.
Table of Contents
- Essential Ingredients for a Perfect Flan
- Crafting Your Delicious Flan: Step-by-Step Instructions
- Step 1: Prepare Your Oven
- Step 2: Begin the Caramel
- Step 3: Cook the Caramel to Perfection
- Step 4: Coat the Pan with Caramel
- Step 5: Set Up the Water Bath
- Step 6: Prepare the Flan Mixture
- Step 7: Pour the Custard
- Step 8: Fill the Water Bath
- Step 9: Bake Until Set
- Step 10: Cool Down
- Step 11: Chill Thoroughly
- Step 12: Release and Serve
- Step 13: Enjoy!
- Your Flan Questions Answered
- Expert Tips for a Flawless Flan
Essential Ingredients for a Perfect Flan
Gather these simple components to create a truly delightful flan.
- For the Caramel:
- 1 cup granulated sugar
- 1/4 cup water
- For the Flan:
- 1 (14-ounce) can sweetened condensed milk
- 1 cup heavy cream
- 5 large eggs
- 2 large egg yolks
- 2 teaspoons vanilla extract
Crafting Your Delicious Flan: Step-by-Step Instructions
Follow these detailed steps to achieve a beautifully set and flavorful flan.
Step 1: Prepare Your Oven
Arrange a rack in the middle of your oven and preheat it to 350°F (175°C). This ensures your oven is ready for even baking.
Step 2: Begin the Caramel
In a small, heavy-bottomed saucepan, combine 1 cup granulated sugar and 1/4 cup water. Place over high heat and bring the mixture to a boil. Gently swirl the pan to help the sugar dissolve, but avoid stirring with a spoon.
Step 3: Cook the Caramel to Perfection
Once boiling, reduce the heat to medium. Continue to cook, swirling the pan occasionally, until the syrup transforms into a rich, dark amber caramel color. Be vigilant, as caramel can burn quickly.
Step 4: Coat the Pan with Caramel
Carefully and quickly pour the hot caramel into an 8-inch round cake pan. Tilt and swirl the pan immediately to coat the entire bottom surface evenly with the caramel. This will form the beautiful top layer of your flan.
Step 5: Set Up the Water Bath
Place the caramel-coated cake pan inside a larger roasting pan. This setup is essential for creating a water bath, which provides gentle, even heat for the custard.
Step 6: Prepare the Flan Mixture
In a blender, combine the entire can of sweetened condensed milk, 1 cup of heavy cream, 5 large eggs, 2 large egg yolks, and 2 teaspoons of vanilla extract. Blend on high until the mixture is completely smooth and uniform, typically about 30 seconds. Scrape down the sides if necessary.
Step 7: Pour the Custard
Carefully pour the smooth flan mixture over the hardened caramel in the cake pan. The caramel will remain at the bottom.
Step 8: Fill the Water Bath
With the roasting pan (containing the cake pan) already on the oven rack, carefully pour warm water into the roasting pan until it reaches halfway up the sides of the cake pan. Be extremely careful not to splash any water into the flan mixture.
Step 9: Bake Until Set
Bake for approximately 1 hour and 5 minutes. The flan is done when the edges are set and firm, but the center still has a slight jiggle when gently shaken. A toothpick inserted near the center should come out clean.
Step 10: Cool Down
Carefully remove the roasting pan from the oven. Transfer the cake pan to a wire rack and allow the flan to cool completely to room temperature. This step is crucial for the flan to fully set.
Step 11: Chill Thoroughly
Once cooled, cover the cake pan tightly with plastic wrap. Refrigerate for a minimum of 3 hours, or ideally, overnight. Proper chilling is vital for the flan to firm up and release cleanly from the pan.
Step 12: Release and Serve
When ready to serve, gently run a sharp knife or a small offset spatula around the inner edge of the cake pan to loosen the flan. Place a large serving plate upside down over the cake pan. In one swift, confident motion, flip both the pan and the plate over to release the flan onto the serving plate. The beautiful caramel will now be on top.
Step 13: Enjoy!
Serve your perfectly chilled flan as is, or enhance its presentation with fresh berries, a sprig of mint, or a dollop of whipped cream.
Your Flan Questions Answered
Got questions about making the perfect flan? We’ve got answers!
Why is a water bath necessary for flan?
A water bath (bain-marie) provides gentle, even heat, preventing the custard from cooking too quickly or curdling. This results in the signature silky-smooth, creamy texture that flan is known for.
How can I tell if my flan is fully cooked?
Your flan is ready when the edges are set and firm, but the center still has a slight jiggle. A toothpick inserted into the center should come out clean. Avoid overbaking, which can lead to a rubbery texture.
How long can I store homemade flan?
When stored properly in the refrigerator and covered tightly, homemade flan will stay fresh and delicious for up to 3 to 4 days. This makes it an excellent make-ahead dessert.
What if my caramel hardens in the saucepan before I pour it?
Caramel hardens quickly as it cools. If this happens, you can gently reheat the saucepan over very low heat, stirring constantly, until the caramel becomes liquid and pourable again. Be careful not to burn it.
Can I add other flavors to my flan?
Absolutely! While vanilla is traditional, feel free to experiment. You can add a touch of almond extract, orange zest, coffee, or even a splash of rum or brandy to the custard mixture before blending for a unique twist.
Expert Tips for a Flawless Flan
Elevate your flan-making with these professional insights.
- Perfect Caramel Every Time: Don’t stir the sugar and water mixture once it starts boiling. Gently swirl the pan instead to prevent crystallization. Watch it closely, as caramel can burn quickly.
- Smooth Custard: For an extra-smooth flan, strain the custard mixture through a fine-mesh sieve before pouring it over the caramel. This removes any bits of cooked egg or unblended ingredients.
- Chill Thoroughly: The chilling step is non-negotiable. A well-chilled flan is easier to unmold and has the best texture and flavor. Overnight chilling is ideal.
- Easy Unmolding: If your flan is sticking, you can briefly dip the bottom of the pan in hot water for 10-15 seconds before inverting it. This helps to slightly melt the caramel and release the flan.
- Presentation Matters: Serve your flan chilled, with the glistening caramel on top. For an elegant touch, garnish with fresh berries, a sprig of mint, or a light dusting of powdered sugar.